|
|

|
Porsche, and the Porsche crest are registered trademarks of Dr. Ing. h.c. F. Porsche AG.
This site is not affiliated with Porsche in any way. Its only purpose is to provide an online forum for car enthusiasts. All other trademarks are property of their respective owners. |
|
|
  |
| Puebloswatcop |
 Aug 25 2022, 09:15 AM Aug 25 2022, 09:15 AM
Post
#781
|
|
Senior Member    Group: Members Posts: 1,401 Joined: 27-December 14 From: Mineola, Texas Member No.: 18,258 Region Association: Southwest Region |
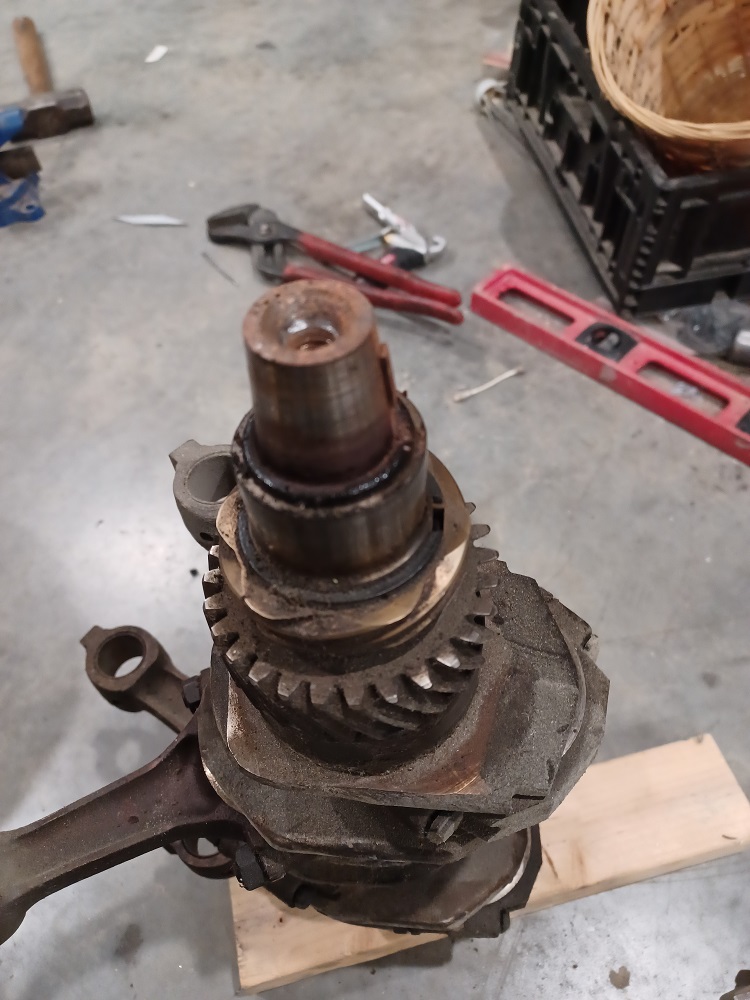
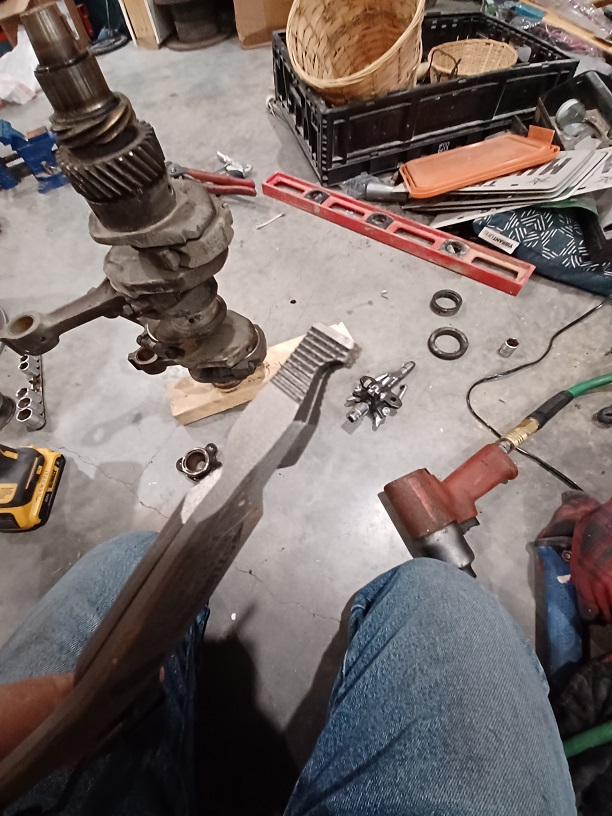
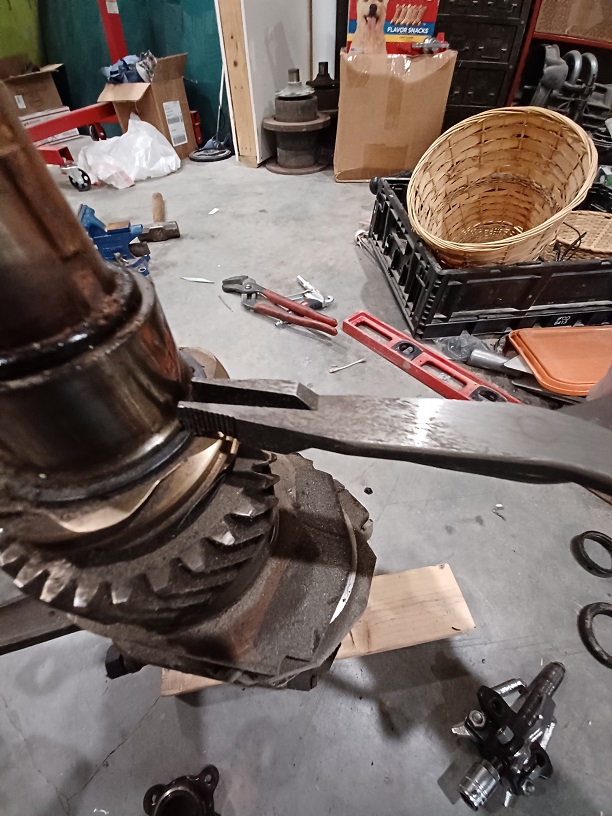
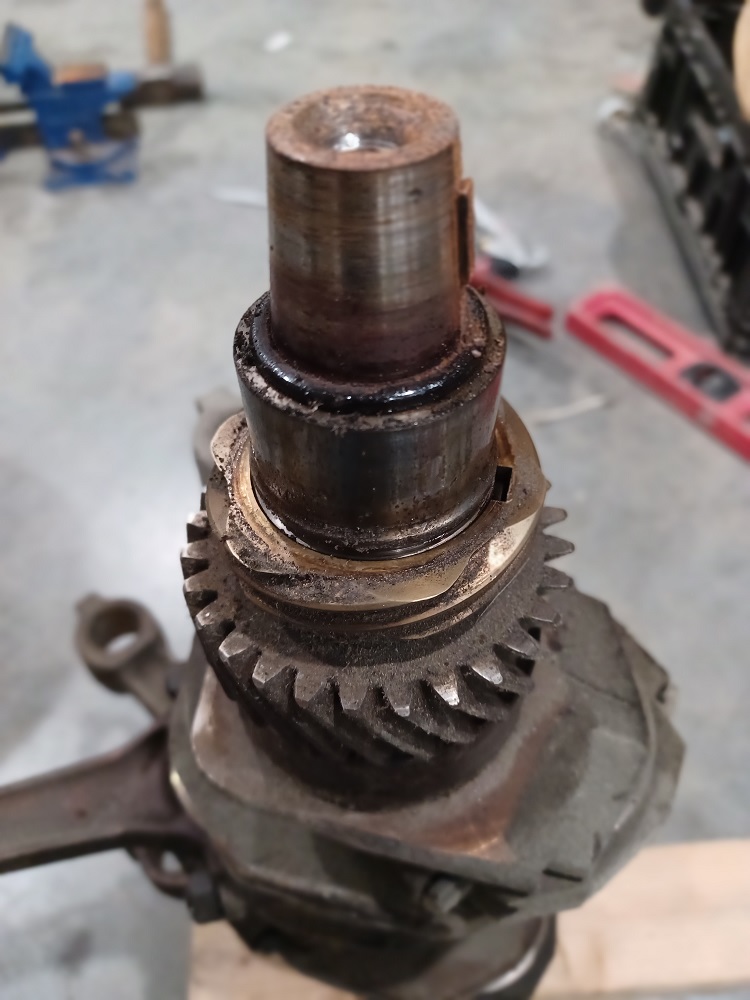
Next came the retaining ring for the gear set. I have a special pair of ring pliers for this job. Bought them several years ago and they reall make the job easy.
    |
| Puebloswatcop |
 Aug 25 2022, 09:18 AM Aug 25 2022, 09:18 AM
Post
#782
|
|
Senior Member    Group: Members Posts: 1,401 Joined: 27-December 14 From: Mineola, Texas Member No.: 18,258 Region Association: Southwest Region |
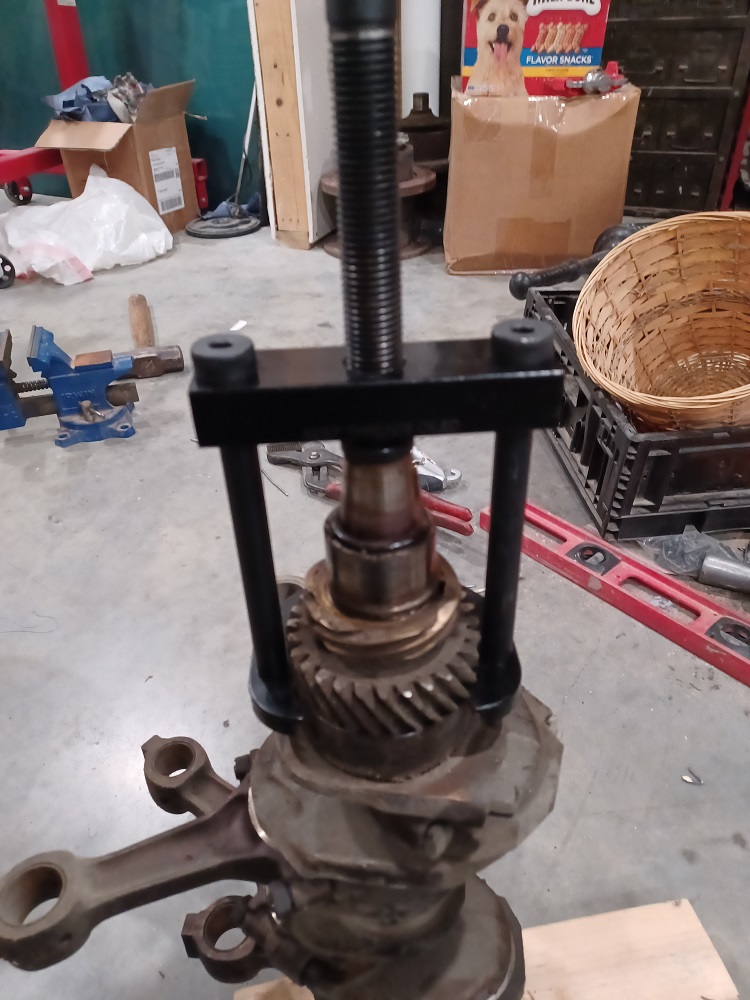
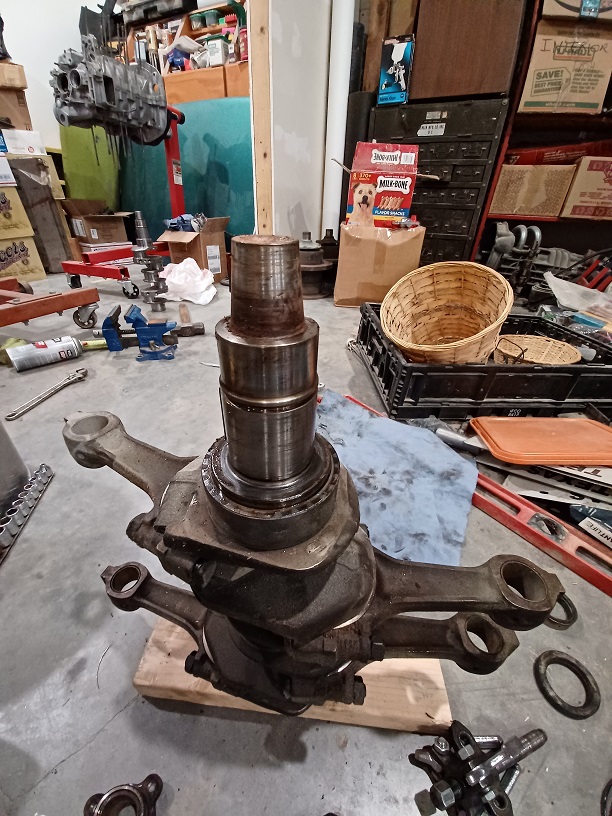
And then out came the new gear removal tool, I love this tool. Within seconds the gear set was gone.....
  |
| Puebloswatcop |
 Aug 25 2022, 03:41 PM Aug 25 2022, 03:41 PM
Post
#783
|
|
Senior Member    Group: Members Posts: 1,401 Joined: 27-December 14 From: Mineola, Texas Member No.: 18,258 Region Association: Southwest Region |
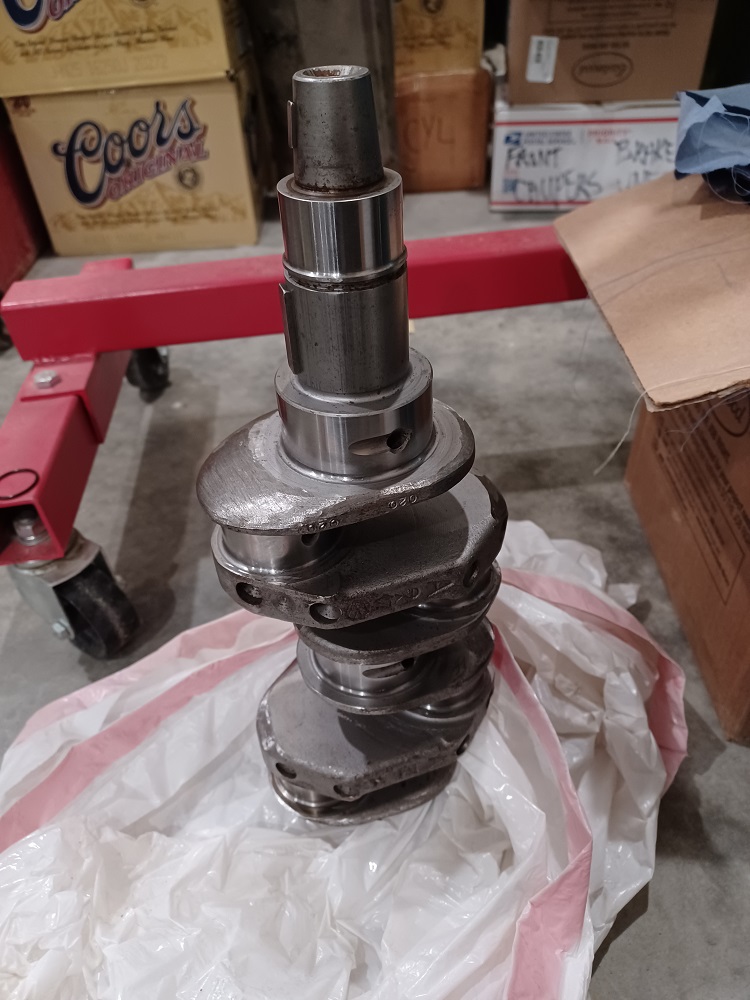
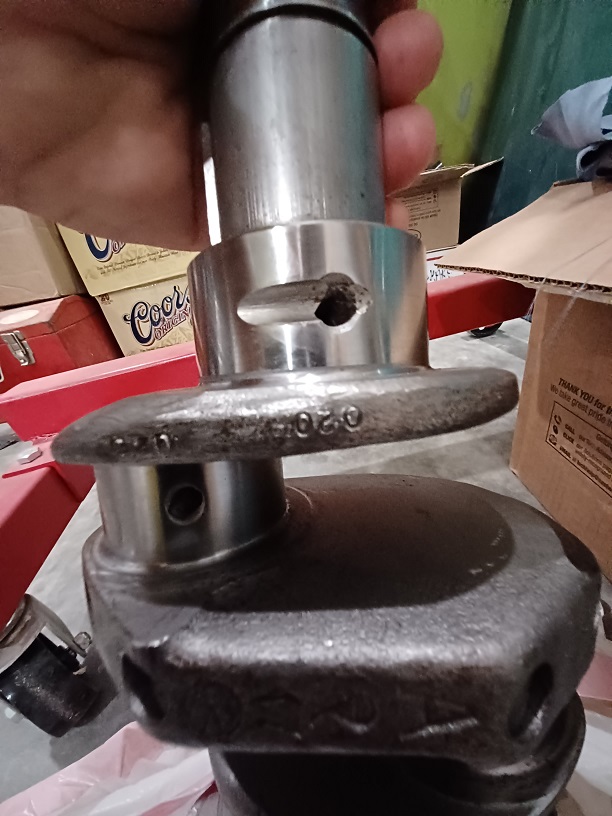
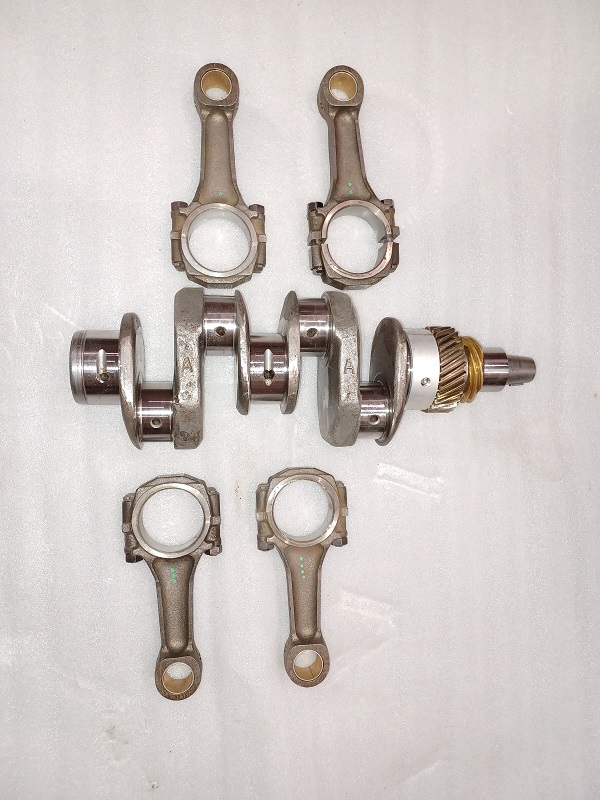
Since I was tearing all the crank shafts apart, I figured I would put one together. So I started gathering all of the parts necessary to do my crank assembly. Of course the crank is first. This crank was originally used in my machinists race car as a 2.0. You notice it has been shaved down to lighten the crank. He turned it down .020 on the mains and the rod journals and balanced the crank.
  |
| Puebloswatcop |
 Aug 25 2022, 03:44 PM Aug 25 2022, 03:44 PM
Post
#784
|
|
Senior Member    Group: Members Posts: 1,401 Joined: 27-December 14 From: Mineola, Texas Member No.: 18,258 Region Association: Southwest Region |
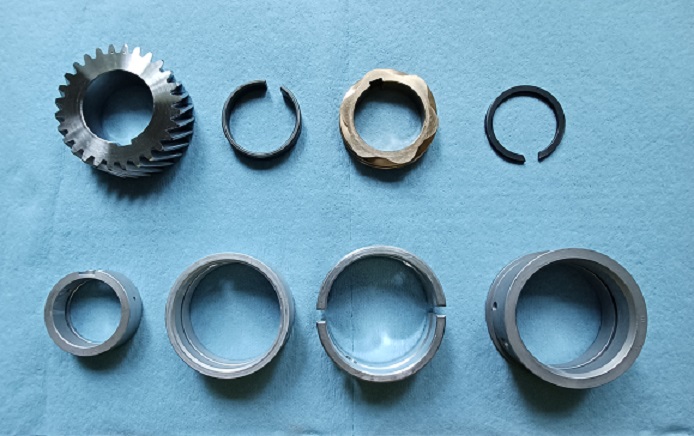
Got all the crank gear and other spacers and retainers cleaned up and a brass cam gear ready to be installed and laid out the main bearings.
 |
| Puebloswatcop |
 Aug 25 2022, 03:46 PM Aug 25 2022, 03:46 PM
Post
#785
|
|
Senior Member    Group: Members Posts: 1,401 Joined: 27-December 14 From: Mineola, Texas Member No.: 18,258 Region Association: Southwest Region |
Am going to use the original 2.0 Rods. My machinist re-built the rods and re-bushed the small ends. He also balanced the weight of each rod and when I checked them they were within 1 gram of one another.
Attached image(s) 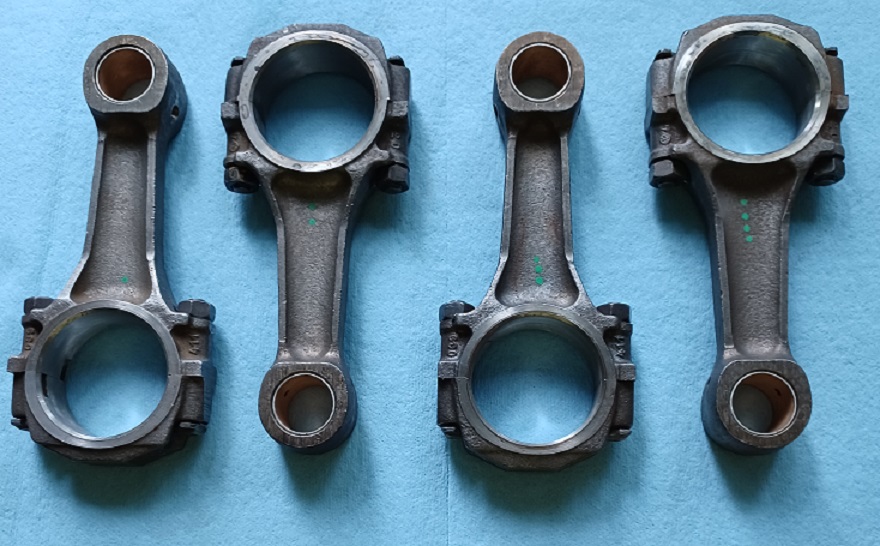
|
| Puebloswatcop |
 Aug 25 2022, 03:50 PM Aug 25 2022, 03:50 PM
Post
#786
|
|
Senior Member    Group: Members Posts: 1,401 Joined: 27-December 14 From: Mineola, Texas Member No.: 18,258 Region Association: Southwest Region |
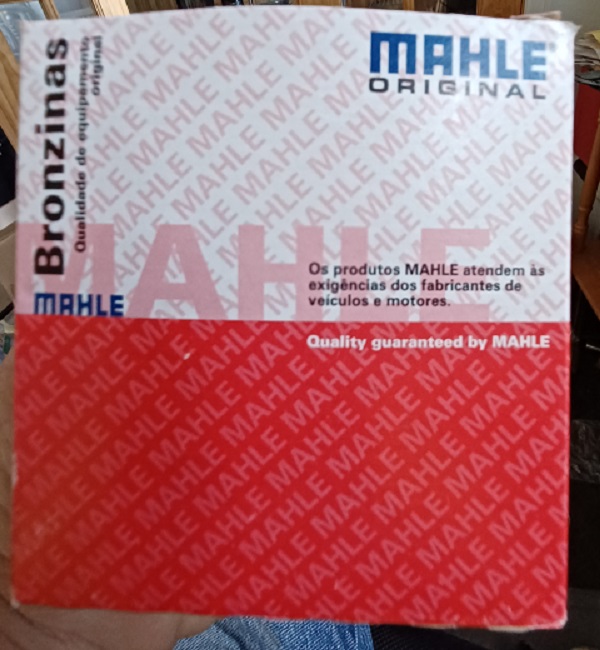
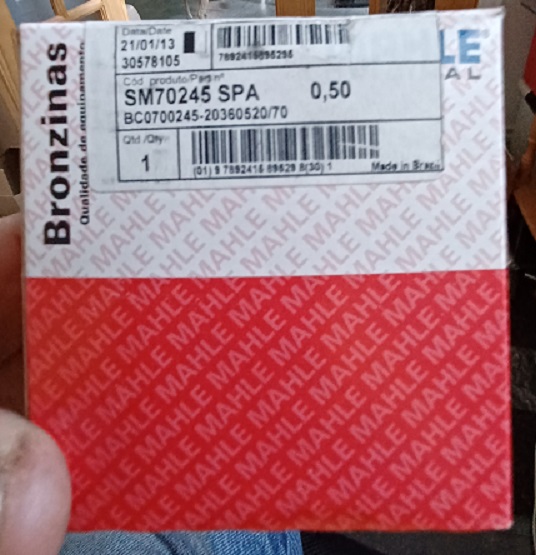
For the main bearings he provided the correct size Mahle bearings. These are standard case and .50 mm (.020) main journal bearings.
  |
| Puebloswatcop |
 Aug 25 2022, 03:56 PM Aug 25 2022, 03:56 PM
Post
#787
|
|
Senior Member    Group: Members Posts: 1,401 Joined: 27-December 14 From: Mineola, Texas Member No.: 18,258 Region Association: Southwest Region |
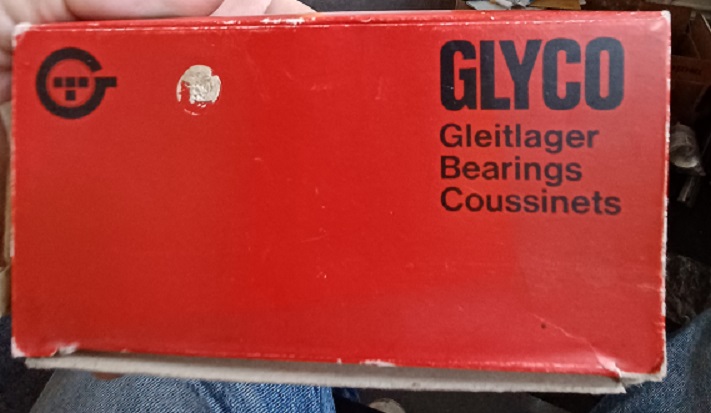
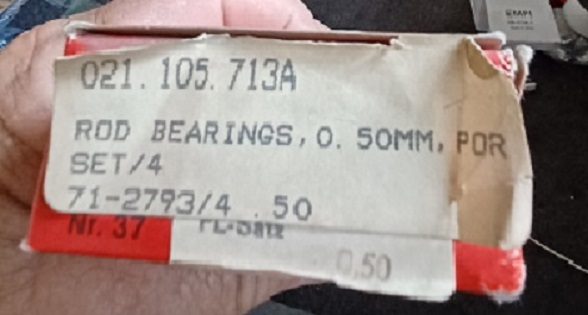
For the rod bearings he provided glyco in standard rod, .50 mm crank journals. After gathering all of the parts I realized I have no assembly lube. So I guess I will wait until tomorrow so I can go grab some at the FLAPS.... darn.
  |
| Puebloswatcop |
 Aug 26 2022, 05:48 PM Aug 26 2022, 05:48 PM
Post
#788
|
|
Senior Member    Group: Members Posts: 1,401 Joined: 27-December 14 From: Mineola, Texas Member No.: 18,258 Region Association: Southwest Region |
I went to the FLAPS and got a tube of Lucas Engine Assembly lube, so now I am ready to test fit the crankshaft. But first I have to assemble the crank. So I popped the gears in the oven at 450 degrees for 30 minutes. I even got the wife's permission before using her oven to cook my auto parts.....
Then I cleaned the crank with carb cleaner and compressed air, lubed up the first main bearing journal with assembly lube. Then same treatment for the bearing and slid it into place. In the pictures it doesnt look like there is much lube, but there is actually a good dose of it, I think the color of it throws the pic off. 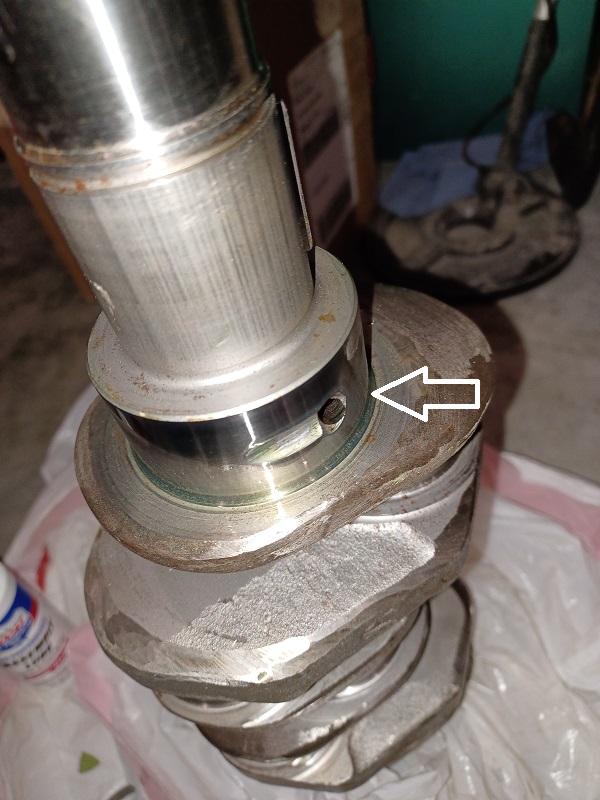 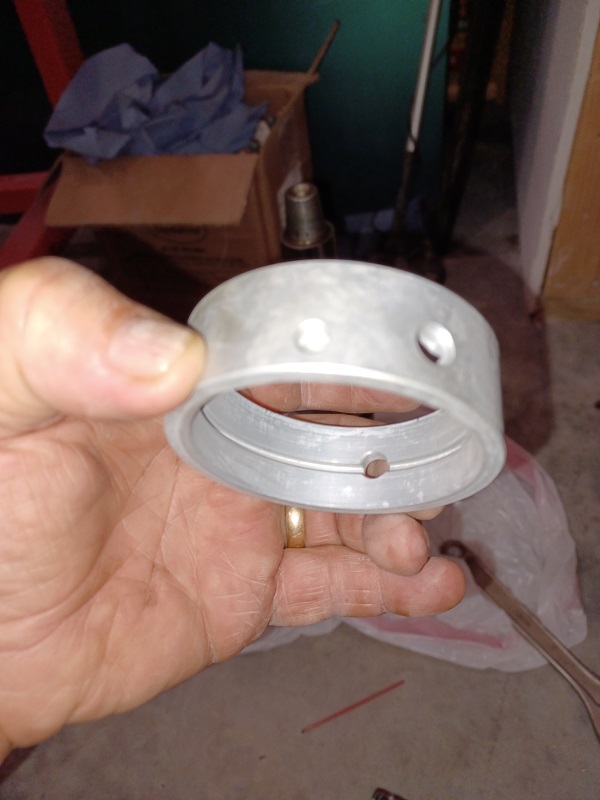 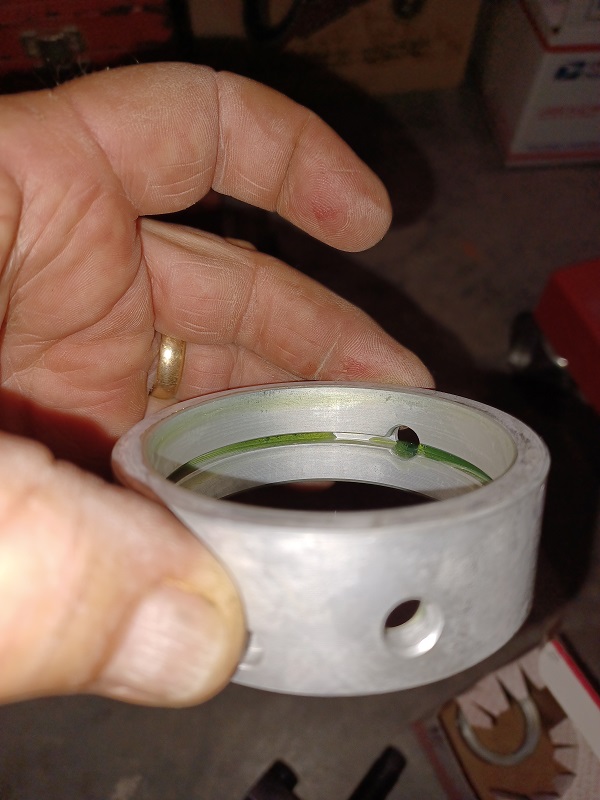 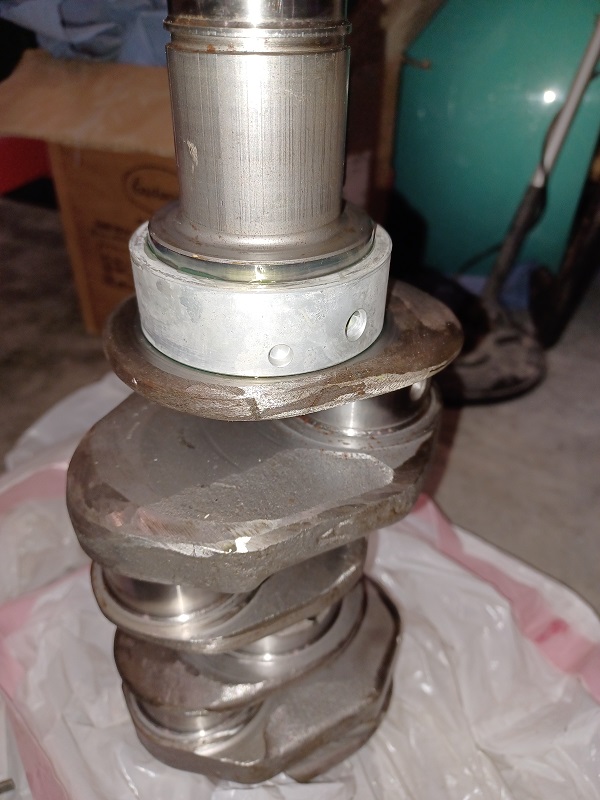 |
| Puebloswatcop |
 Aug 26 2022, 05:55 PM Aug 26 2022, 05:55 PM
Post
#789
|
|
Senior Member    Group: Members Posts: 1,401 Joined: 27-December 14 From: Mineola, Texas Member No.: 18,258 Region Association: Southwest Region |
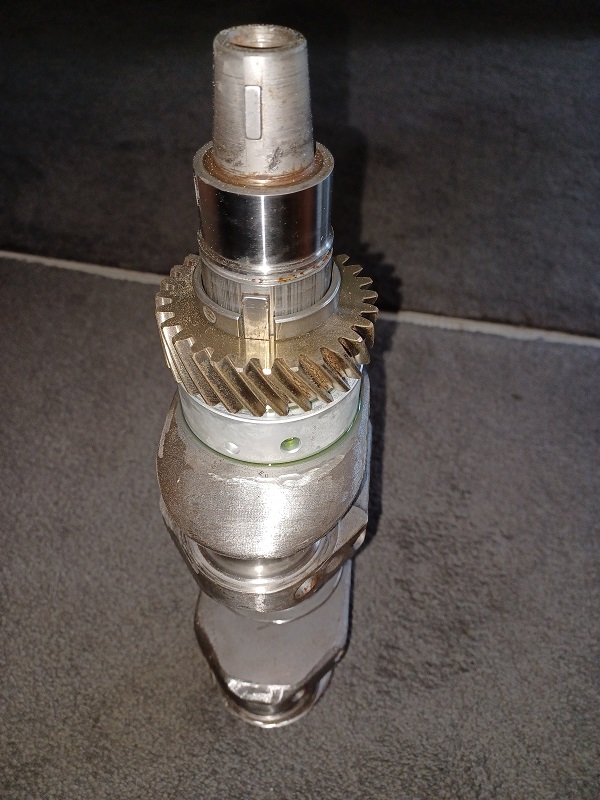
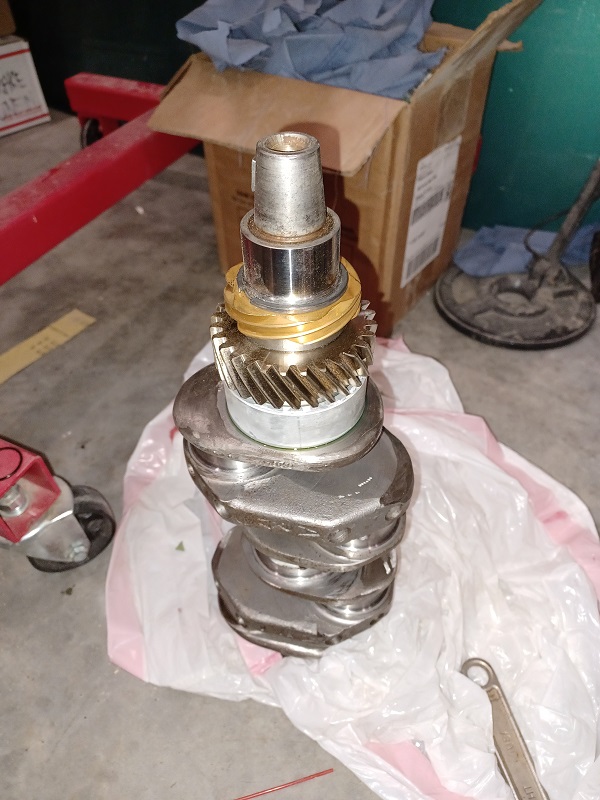
Then after insuring the gears were well done, I moved a piece of scrap carpet into the kitched and brought the crank inside to add the gears. The wife even agreed to help hold the crank upright while I put the gears on. (I think she was afraid I would damage her kitchen). Then after the gears were on it she kicked me out to the assembly room in the garage.
  |
| Puebloswatcop |
 Aug 26 2022, 06:02 PM Aug 26 2022, 06:02 PM
Post
#790
|
|
Senior Member    Group: Members Posts: 1,401 Joined: 27-December 14 From: Mineola, Texas Member No.: 18,258 Region Association: Southwest Region |
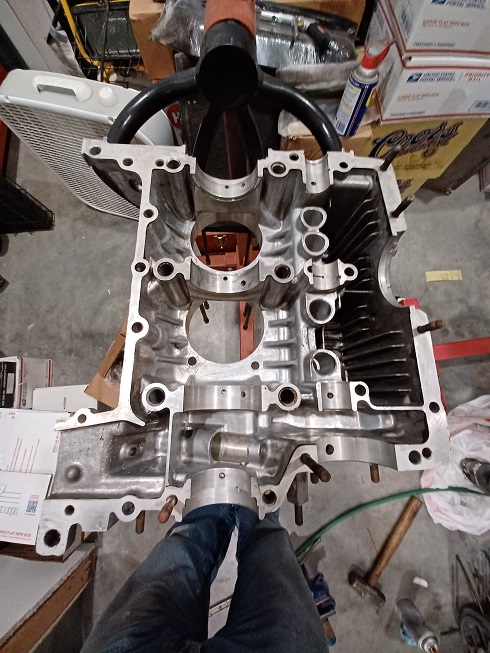
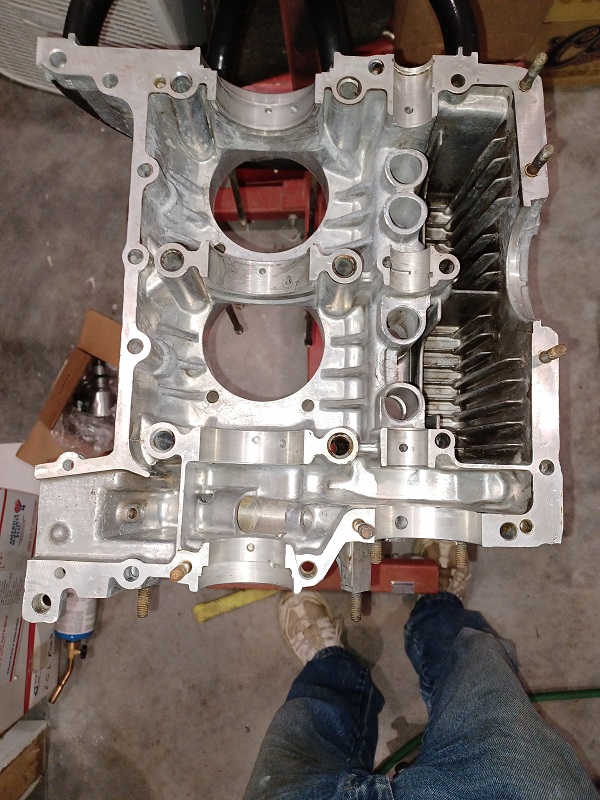
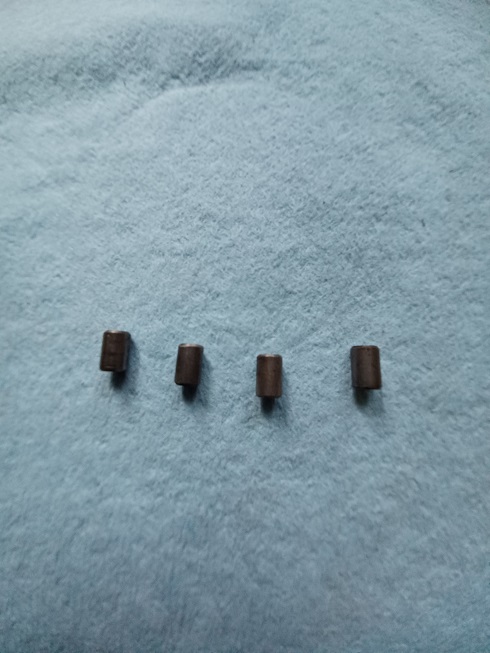
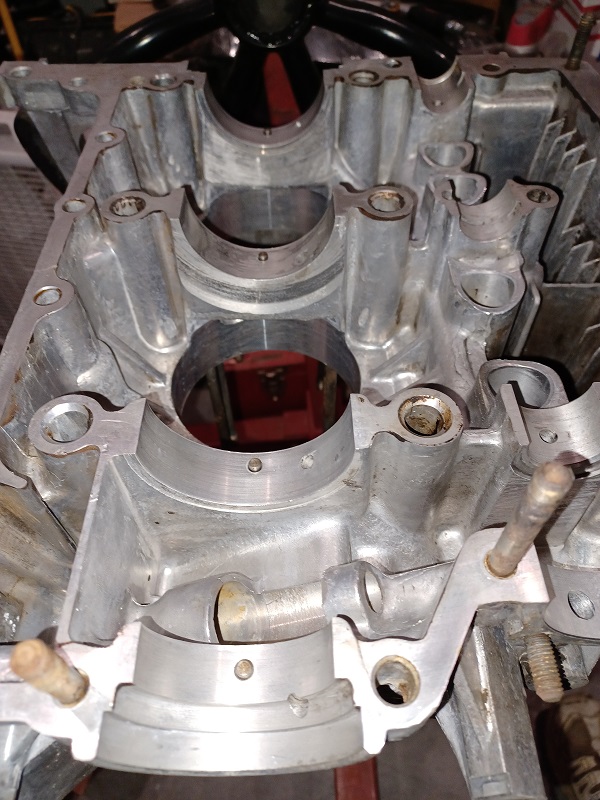
So now to prep the case. With the right half mounted on the engine stand, I cleaned the main bearing saddles again and put in the 4 locating pins.
    |
| Puebloswatcop |
 Aug 26 2022, 06:11 PM Aug 26 2022, 06:11 PM
Post
#791
|
|
Senior Member    Group: Members Posts: 1,401 Joined: 27-December 14 From: Mineola, Texas Member No.: 18,258 Region Association: Southwest Region |
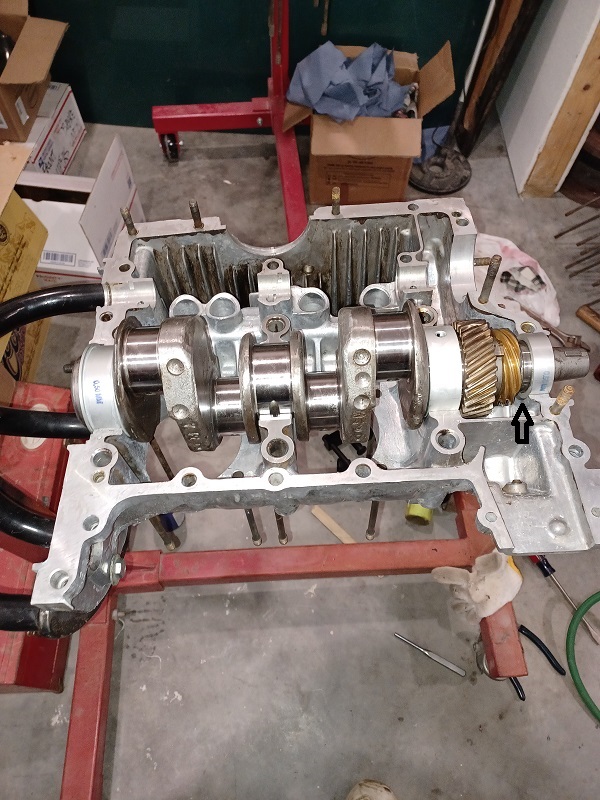
This being my first air-cooled engine build, I have to admit I am nervous and excited at the same time. So here goes the test fit of the crank to the block. It seemed to go in fairly easily. But what I didn't notice was the tiny space between the crank snout bearing (arrow).
 |
| Puebloswatcop |
 Aug 26 2022, 06:14 PM Aug 26 2022, 06:14 PM
Post
#792
|
|
Senior Member    Group: Members Posts: 1,401 Joined: 27-December 14 From: Mineola, Texas Member No.: 18,258 Region Association: Southwest Region |
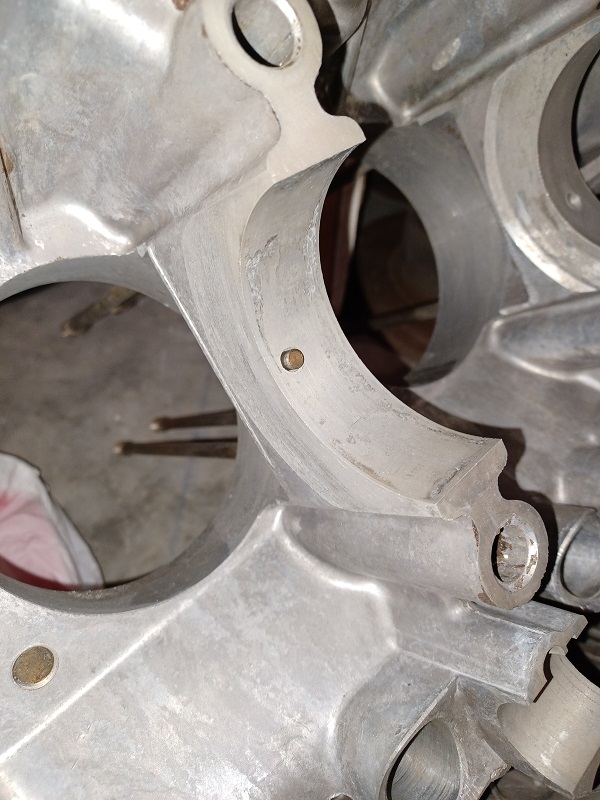
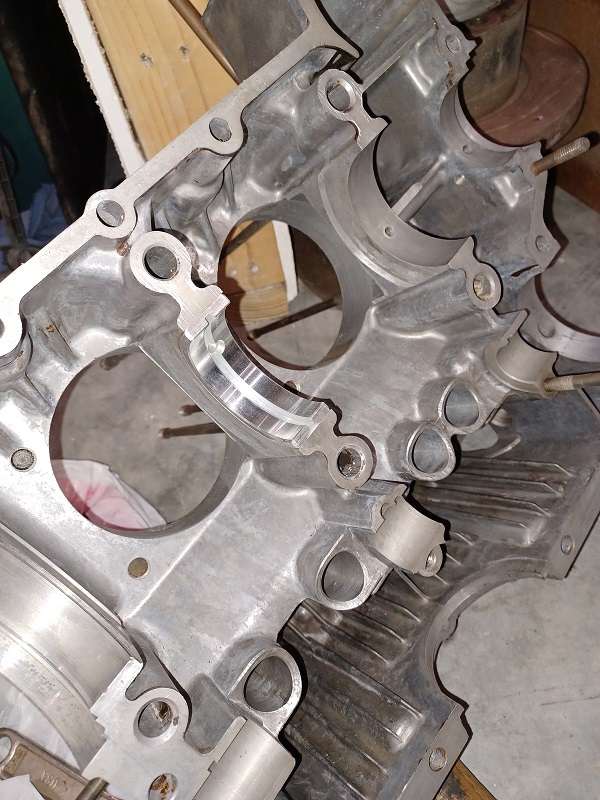
Then I cleaned the left half, and put the bearing half in. When I slid the left half of the case on, I couldn't figure out why it wouldn't go all the way on. (IMG:style_emoticons/default/WTF.gif) Thats when I realized I hadn't gotten the crank quite right, so pulled the case half off and a tiny rotation of the bearing and it went right into place...no harm, no foul.
  |
| Puebloswatcop |
 Aug 26 2022, 06:23 PM Aug 26 2022, 06:23 PM
Post
#793
|
|
Senior Member    Group: Members Posts: 1,401 Joined: 27-December 14 From: Mineola, Texas Member No.: 18,258 Region Association: Southwest Region |
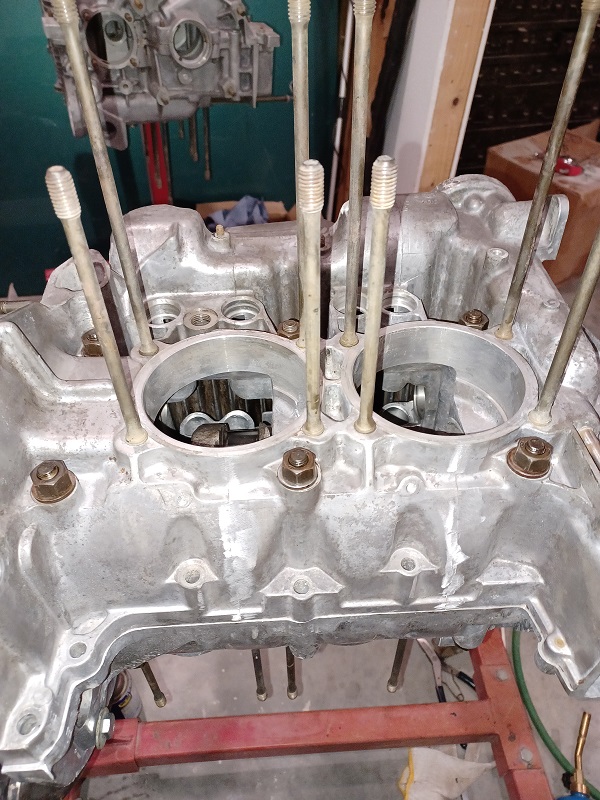
Once I was sure I had everything properly aligned and re-installed the case half (which miraculously would now go all the way on, I installed all of the case through bolts, and all of the nuts surrounding the main journals, torqued them down small amounts at a time, rotating the crank as I went, to insure there was no binding. Got all the fasteners torqued to spec and the crank spins like a top and as smooth as silk. I guess I will call that a success. Tomorrow I will take the whole thing apart and plastigage all the rods and install them now that I know the crank is good in the block......
 |
| Puebloswatcop |
 Aug 27 2022, 12:59 PM Aug 27 2022, 12:59 PM
Post
#794
|
|
Senior Member    Group: Members Posts: 1,401 Joined: 27-December 14 From: Mineola, Texas Member No.: 18,258 Region Association: Southwest Region |
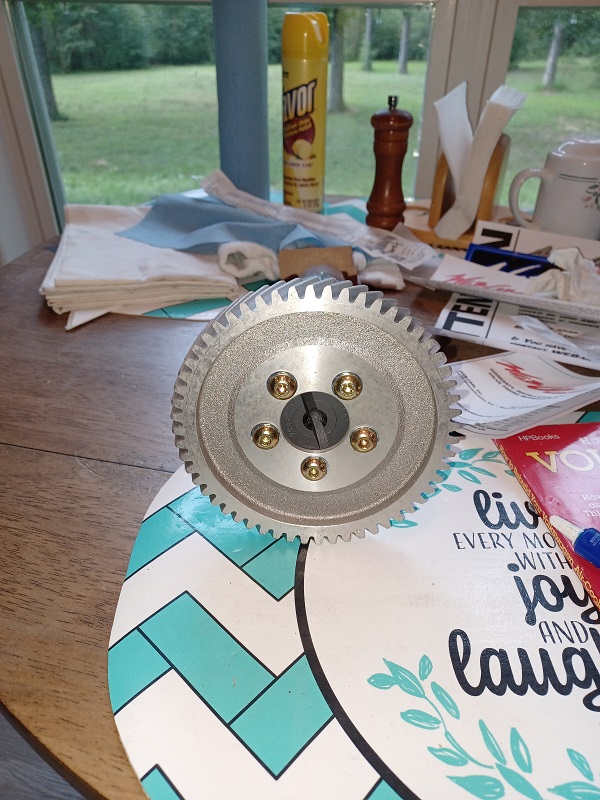
So, today I got up with the intention of plastiguaging all of my rod bearings to the crank, but alass it was another day of the bear eating me. The rod bearings I have are for a 1.7/1.8. So I had to order another set. But not wanting to waste a chance to get something done, I assembled my cam and cam gear....word of warning, that cam gear is razor sharp......I used threadlocker blue on the mounting bolts, but when I was done I saw red splotches all over the cam gear. looked down and I had sliced my finger all to hell.....never felt a thing....lol.
 |
| bkrantz |
 Aug 28 2022, 07:57 PM Aug 28 2022, 07:57 PM
Post
#795
|
|
914 Guru      Group: Members Posts: 8,150 Joined: 3-August 19 From: SW Colorado Member No.: 23,343 Region Association: Rocky Mountains 
|
Nice work--and attitude. As they say, take your time!
|
| Puebloswatcop |
 Sep 2 2022, 05:46 PM Sep 2 2022, 05:46 PM
Post
#796
|
|
Senior Member    Group: Members Posts: 1,401 Joined: 27-December 14 From: Mineola, Texas Member No.: 18,258 Region Association: Southwest Region |
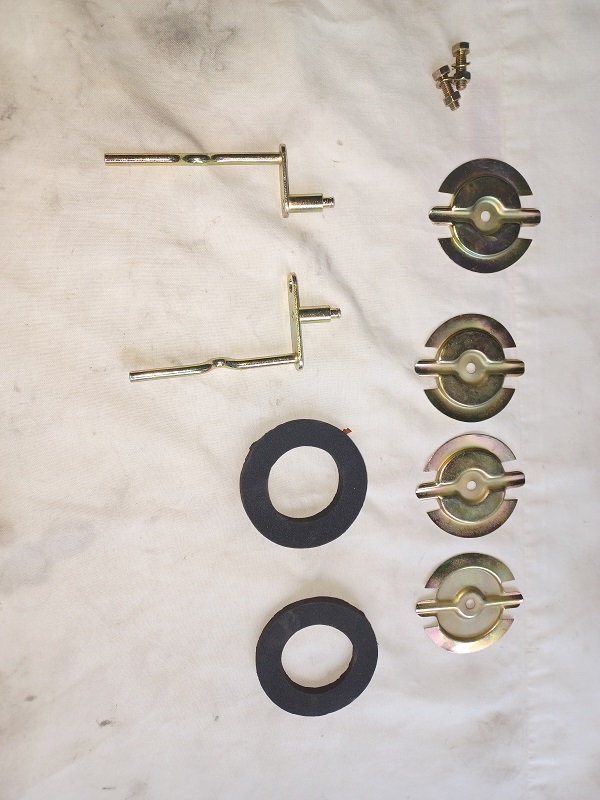
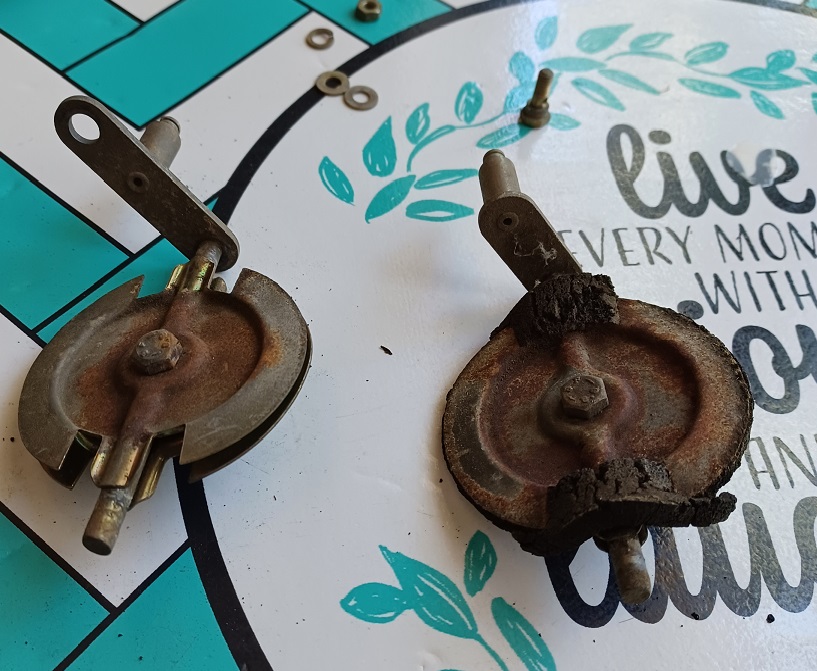
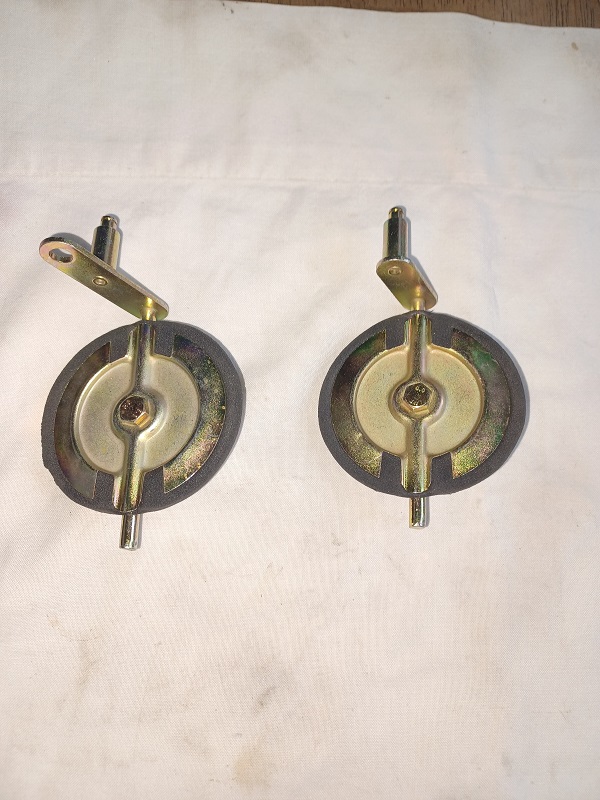
So all in all not a bad week, since I was awaiting parts, I didn't get much done on the 914, but yesterday and today were payoff days. My parts came back from Finishing and Plating Services, beautifully done as usual. Big difference from what these looked like when I removed them from the fresh air blower...
   |
| Puebloswatcop |
 Sep 2 2022, 05:51 PM Sep 2 2022, 05:51 PM
Post
#797
|
|
Senior Member    Group: Members Posts: 1,401 Joined: 27-December 14 From: Mineola, Texas Member No.: 18,258 Region Association: Southwest Region |
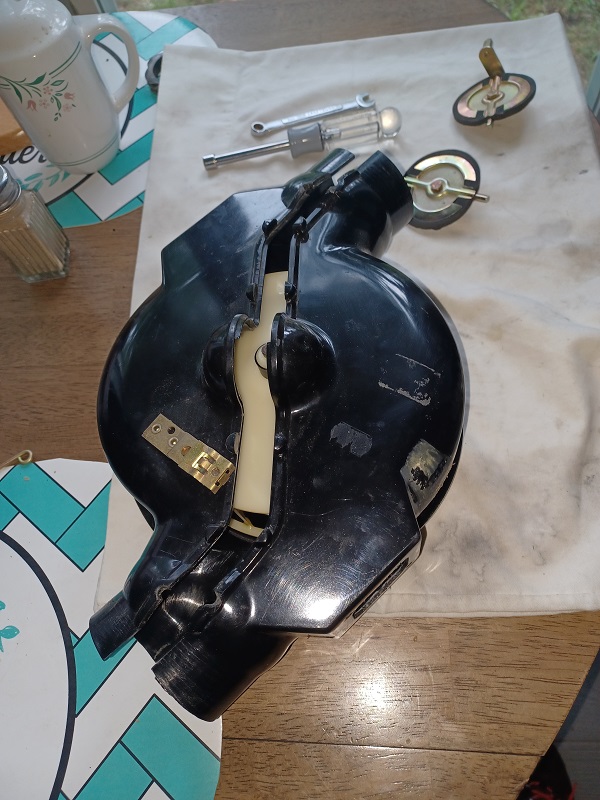
So I assembeled the blower....but forgot to put the electrical blug and wiring in...darn. Also lost one of the spring clips that holds the assembly closed...was trying to open it up and it came off of the pliers and has been lost in the abyss.....anyone have a junk blower that they can rescue a clip for me...lol.
 |
| Puebloswatcop |
 Sep 2 2022, 05:56 PM Sep 2 2022, 05:56 PM
Post
#798
|
|
Senior Member    Group: Members Posts: 1,401 Joined: 27-December 14 From: Mineola, Texas Member No.: 18,258 Region Association: Southwest Region |
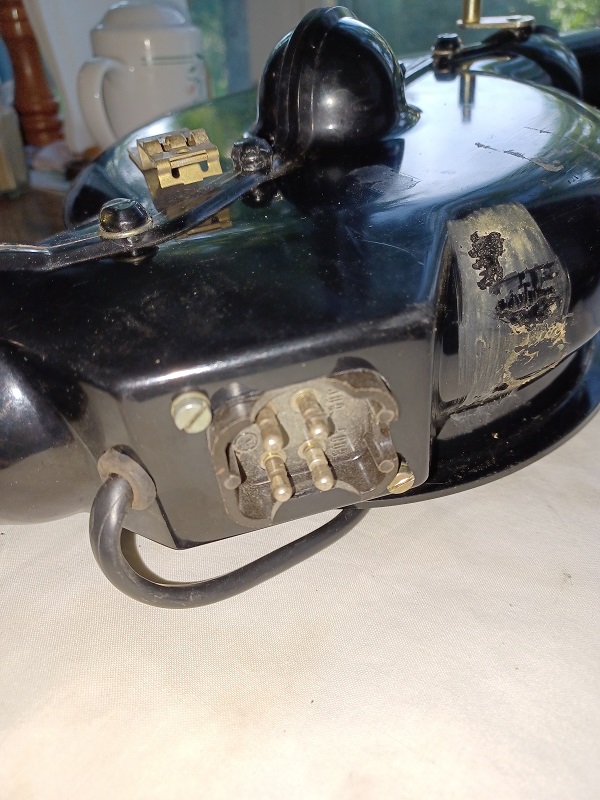
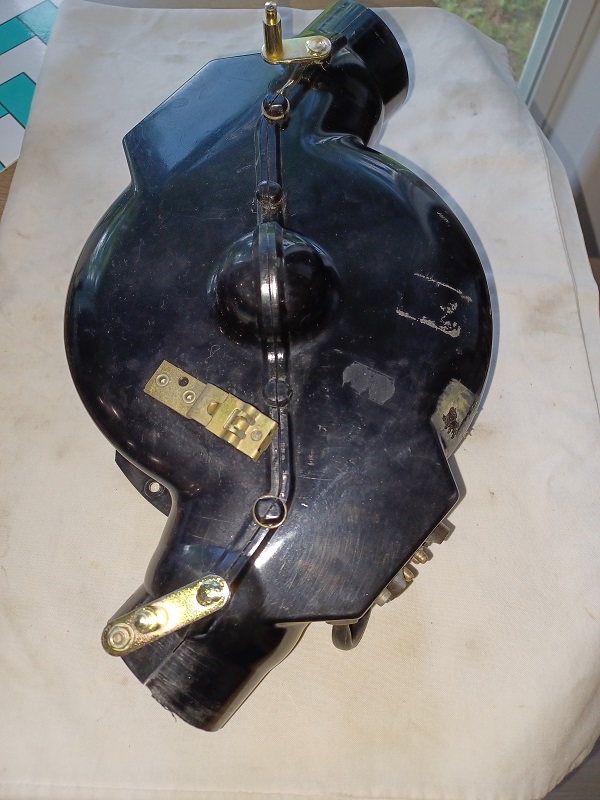
So, after removing those darn ring clips again, I installed the electrical plug assembly and put it back together. I didn't install the actuator rod, because I need to find a replacement clip, but the air flappers work great, Thanks to 914 Rubber for the replacement rubber for those.
  |
| Puebloswatcop |
 Sep 2 2022, 05:59 PM Sep 2 2022, 05:59 PM
Post
#799
|
|
Senior Member    Group: Members Posts: 1,401 Joined: 27-December 14 From: Mineola, Texas Member No.: 18,258 Region Association: Southwest Region |
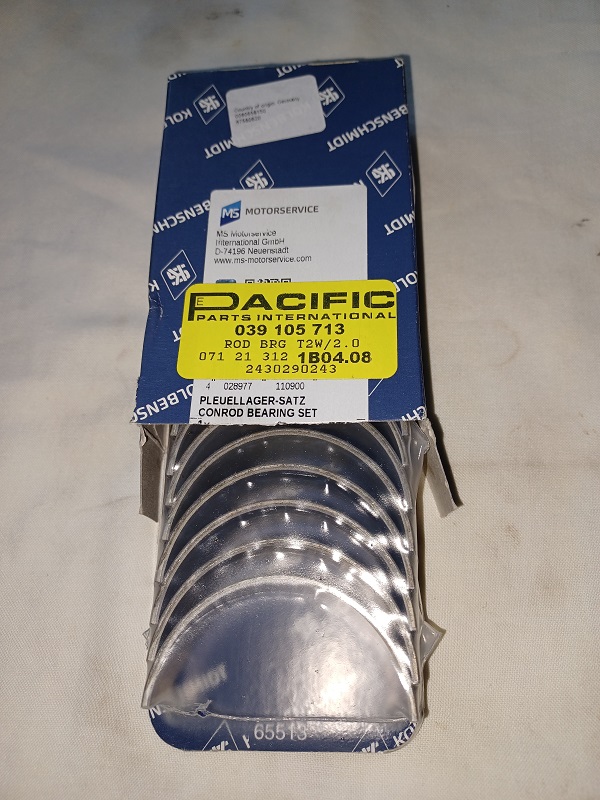
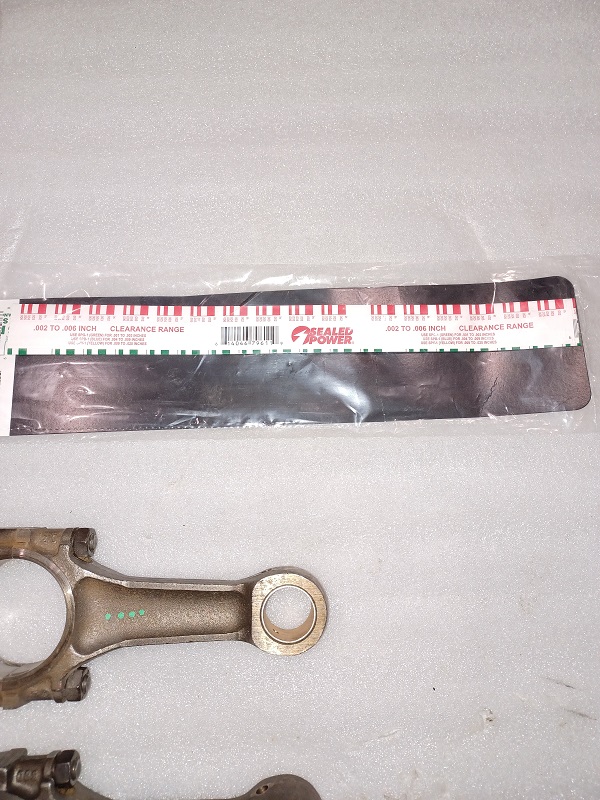
Shortly after I completed the airbox the dogs allerted me to the presence of the UPS guy. He brought my connecting rod bearings from European Motor Works. These look correct, so over the weekend maybe I can get the rod bearings plasti-guaged. (IMG:style_emoticons/default/piratenanner.gif)
 |
| Puebloswatcop |
 Sep 11 2022, 06:01 PM Sep 11 2022, 06:01 PM
Post
#800
|
|
Senior Member    Group: Members Posts: 1,401 Joined: 27-December 14 From: Mineola, Texas Member No.: 18,258 Region Association: Southwest Region |
Well, I guess I didn't specify which weekend I would get this done....Worked all last week to help a friend who lost an employee to another job. So nothing during the last week. But I finally got to guaging the connecting rods. Unfortunately my work bench has another project on it, so the crank and rod job was re-located to the floor....sucked.
  |
  |
2 User(s) are reading this topic (2 Guests and 0 Anonymous Users)
0 Members:

|
Lo-Fi Version | Time is now: 25th November 2024 - 05:31 PM |
Invision Power Board
v9.1.4 © 2024 IPS, Inc.


