|
|

|
Porsche, and the Porsche crest are registered trademarks of Dr. Ing. h.c. F. Porsche AG.
This site is not affiliated with Porsche in any way. Its only purpose is to provide an online forum for car enthusiasts. All other trademarks are property of their respective owners. |
|
|
  |
| Puebloswatcop |
 Sep 11 2022, 06:06 PM Sep 11 2022, 06:06 PM
Post
#801
|
|
Senior Member    Group: Members Posts: 1,401 Joined: 27-December 14 From: Mineola, Texas Member No.: 18,258 Region Association: Southwest Region |
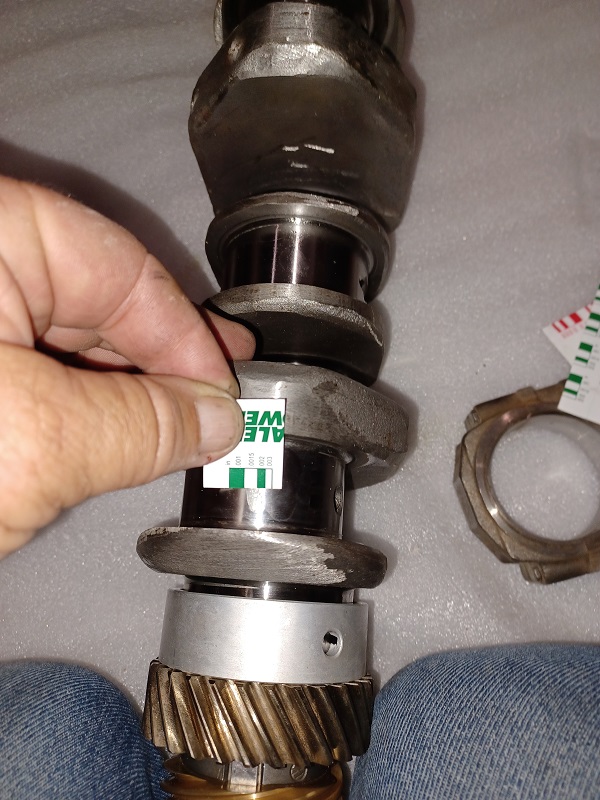
It seemed like the job took an eternity and my poor old aching legs fell asleep while I was doing it. So guage on, take a walk and then guage the next. took about 2 hours. But all bearings guaged out at .0015. I was happy with how consistant they were.
 |
| Puebloswatcop |
 Sep 11 2022, 06:11 PM Sep 11 2022, 06:11 PM
Post
#802
|
|
Senior Member    Group: Members Posts: 1,401 Joined: 27-December 14 From: Mineola, Texas Member No.: 18,258 Region Association: Southwest Region |
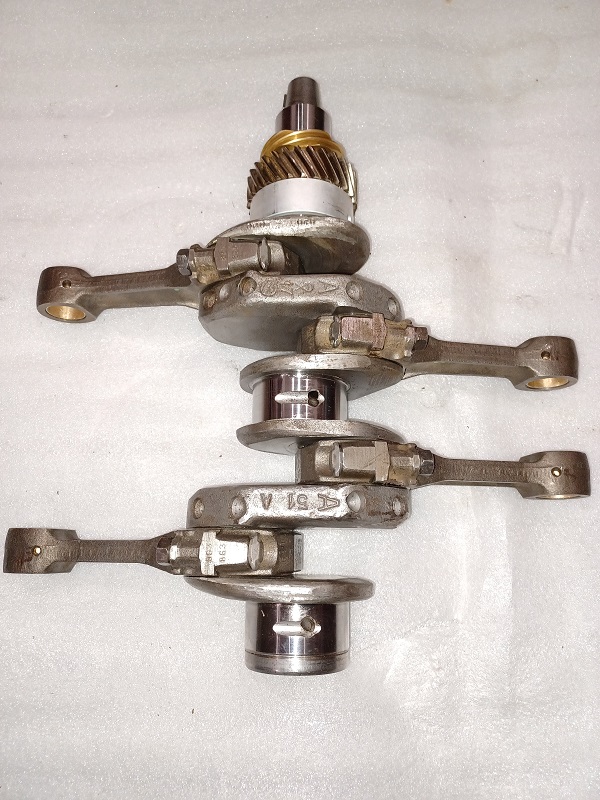
So after cleaning all of the bearings and journals it was time to finish assembling the crankshaft. I used Lucas Oil assembly lube on all the bearings since I won't be getting the engine done all at once. I am hoping this will prevent the lubricant from running out over the course of the build, like I have experienced with regular engine oil.
Attached image(s) 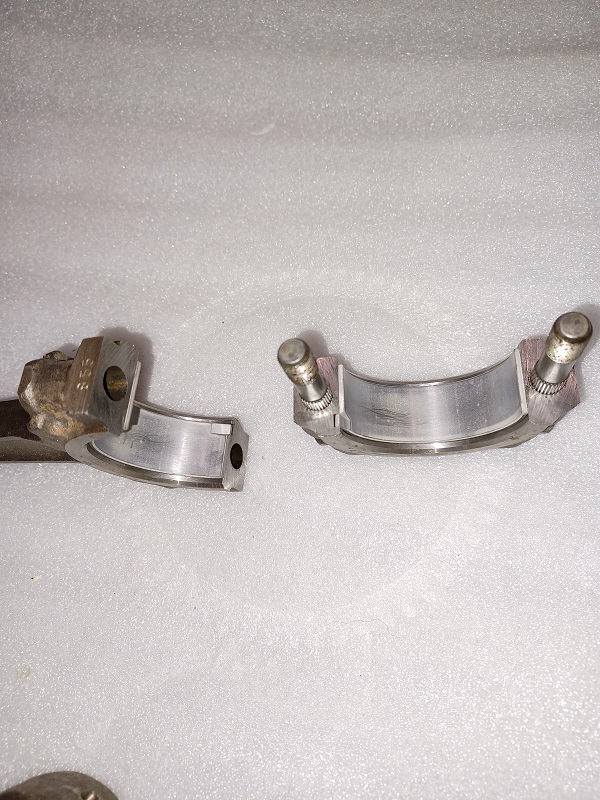 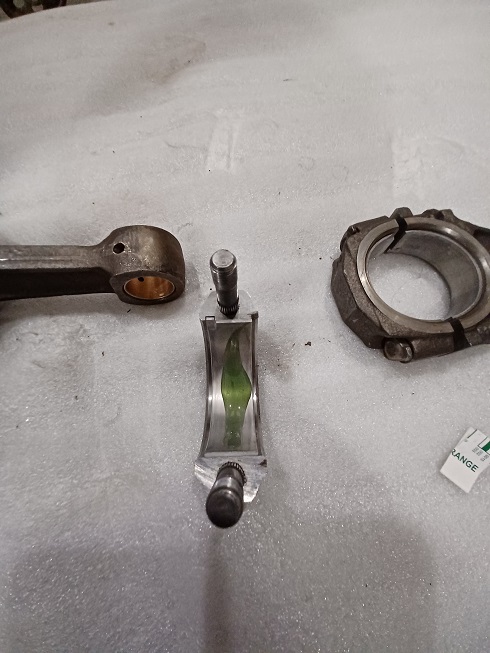
|
| Puebloswatcop |
 Sep 11 2022, 06:14 PM Sep 11 2022, 06:14 PM
Post
#803
|
|
Senior Member    Group: Members Posts: 1,401 Joined: 27-December 14 From: Mineola, Texas Member No.: 18,258 Region Association: Southwest Region |
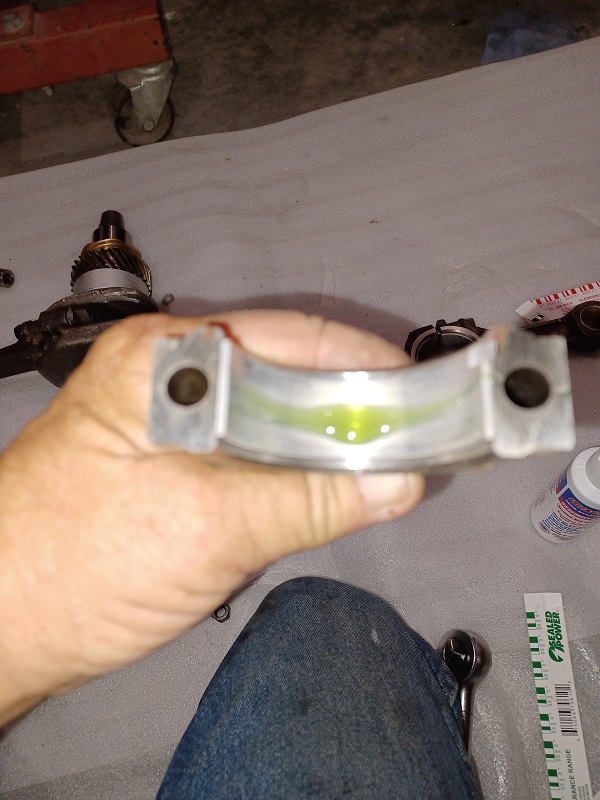
The lube seems to coat the surfaces and stay in place quite well. Here is the crank after assembly.
  |
| Puebloswatcop |
 Sep 11 2022, 06:16 PM Sep 11 2022, 06:16 PM
Post
#804
|
|
Senior Member    Group: Members Posts: 1,401 Joined: 27-December 14 From: Mineola, Texas Member No.: 18,258 Region Association: Southwest Region |
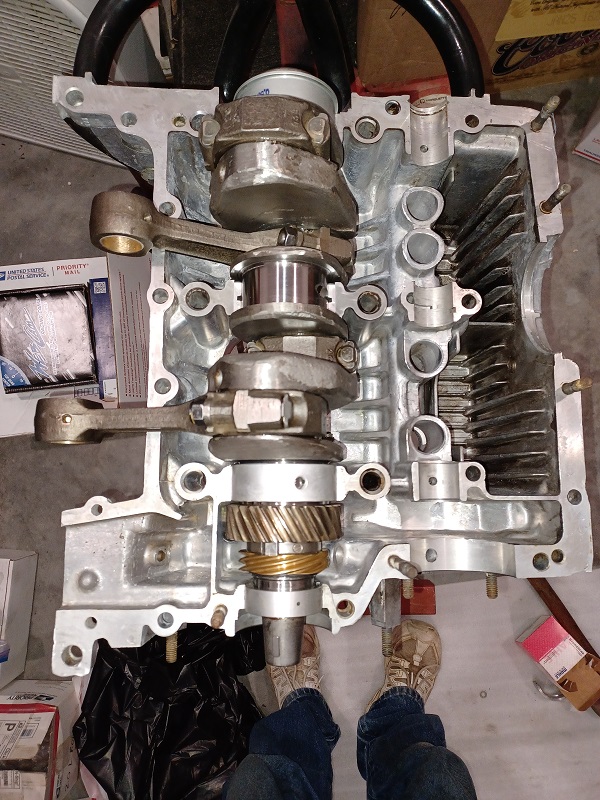
Then installed the crank in the engine half...
 |
| Puebloswatcop |
 Sep 11 2022, 06:18 PM Sep 11 2022, 06:18 PM
Post
#805
|
|
Senior Member    Group: Members Posts: 1,401 Joined: 27-December 14 From: Mineola, Texas Member No.: 18,258 Region Association: Southwest Region |
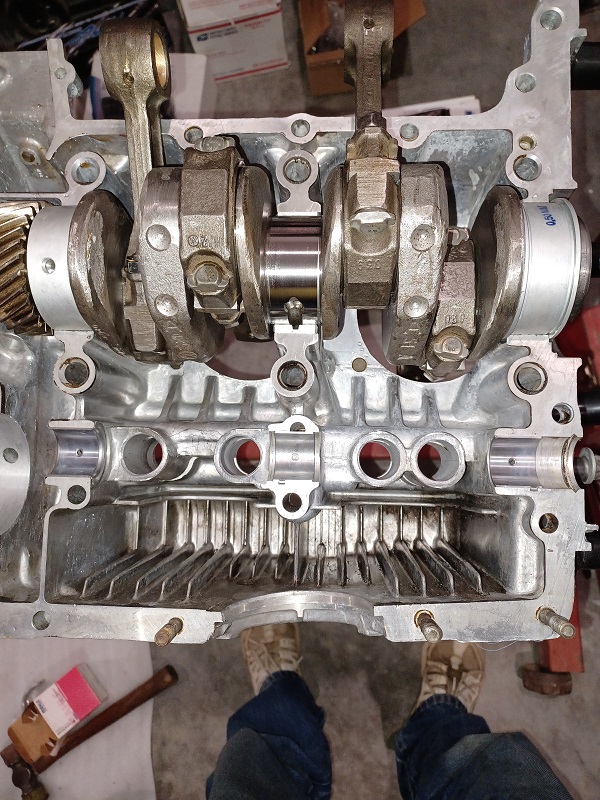
The cam bearings were next...
 |
| Puebloswatcop |
 Sep 11 2022, 06:21 PM Sep 11 2022, 06:21 PM
Post
#806
|
|
Senior Member    Group: Members Posts: 1,401 Joined: 27-December 14 From: Mineola, Texas Member No.: 18,258 Region Association: Southwest Region |
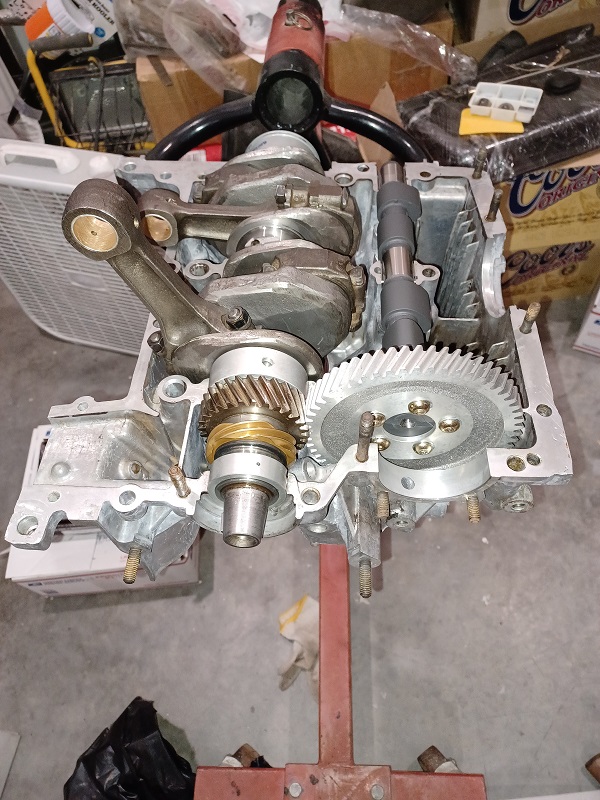
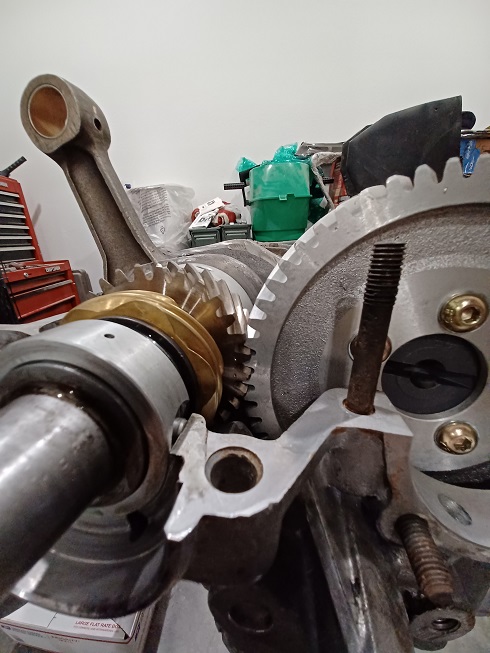
Then after lubing up the cam bearings I rolled the cam into place and checked the alignment. After that it was time for honey do's so I wrapped it up for the day. Hope to have the case sealed up in the next few days....I love shiney new parts.
  |
| Puebloswatcop |
 Sep 12 2022, 06:00 PM Sep 12 2022, 06:00 PM
Post
#807
|
|
Senior Member    Group: Members Posts: 1,401 Joined: 27-December 14 From: Mineola, Texas Member No.: 18,258 Region Association: Southwest Region |
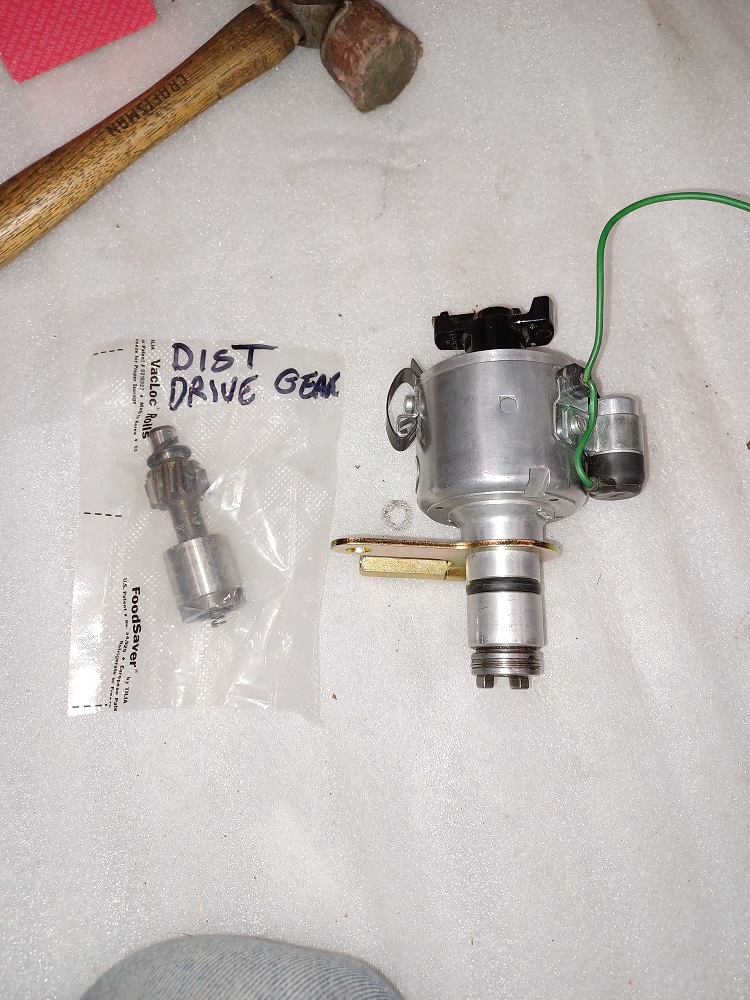
In keeping with trying to accomplish something each day, I was going to install the windage tray, but can't remember where I stashed the new seals, so will order new ones. Instead I put in the distributor and dist. drive. As you can see it was vacuum packed, I love my wifes seal a meal.....shhhhhh.
 |
| Puebloswatcop |
 Sep 12 2022, 06:05 PM Sep 12 2022, 06:05 PM
Post
#808
|
|
Senior Member    Group: Members Posts: 1,401 Joined: 27-December 14 From: Mineola, Texas Member No.: 18,258 Region Association: Southwest Region |
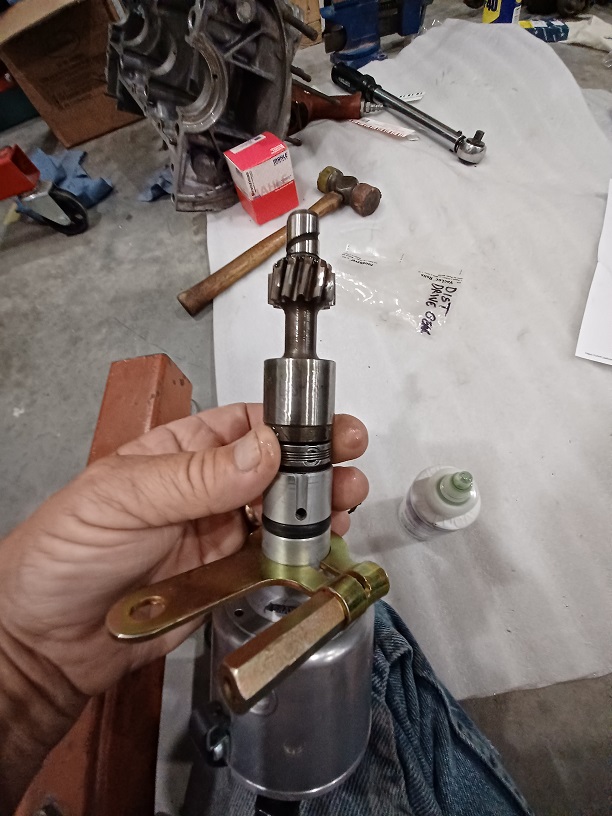
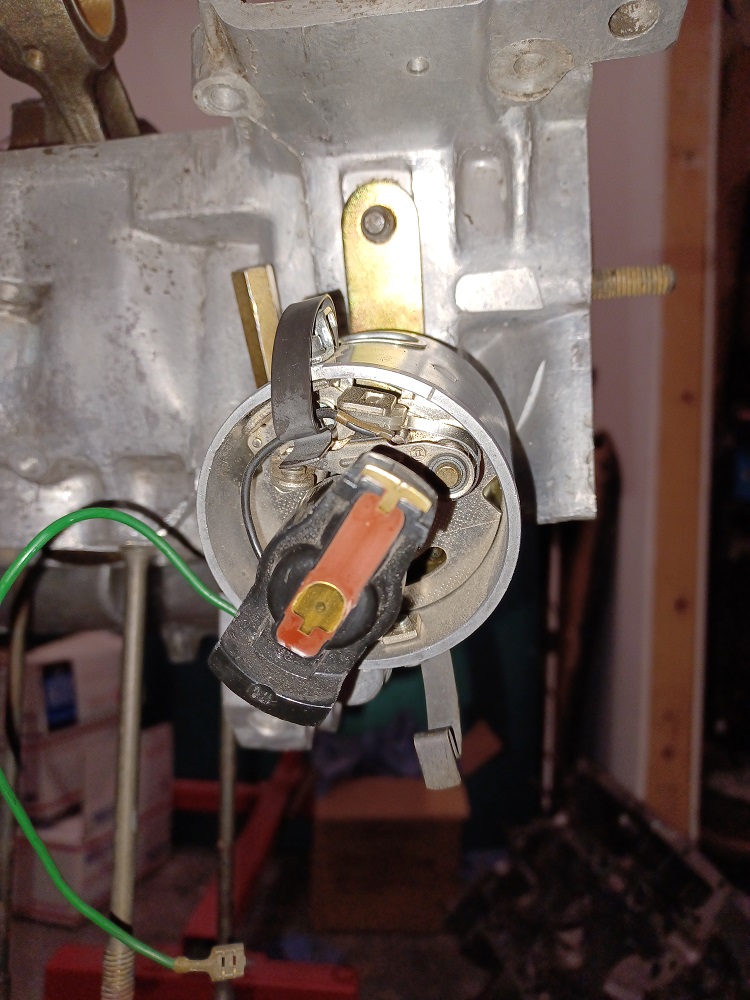
I indexed the #1 rod to top dead center so the ditributor timing would line up, then lubricated the drive gear, again with assembly lube, and put the distributor in, it went in quite easily and lined up on the first try.....(could it have been too easy)?
  |
| Puebloswatcop |
 Sep 12 2022, 06:07 PM Sep 12 2022, 06:07 PM
Post
#809
|
|
Senior Member    Group: Members Posts: 1,401 Joined: 27-December 14 From: Mineola, Texas Member No.: 18,258 Region Association: Southwest Region |
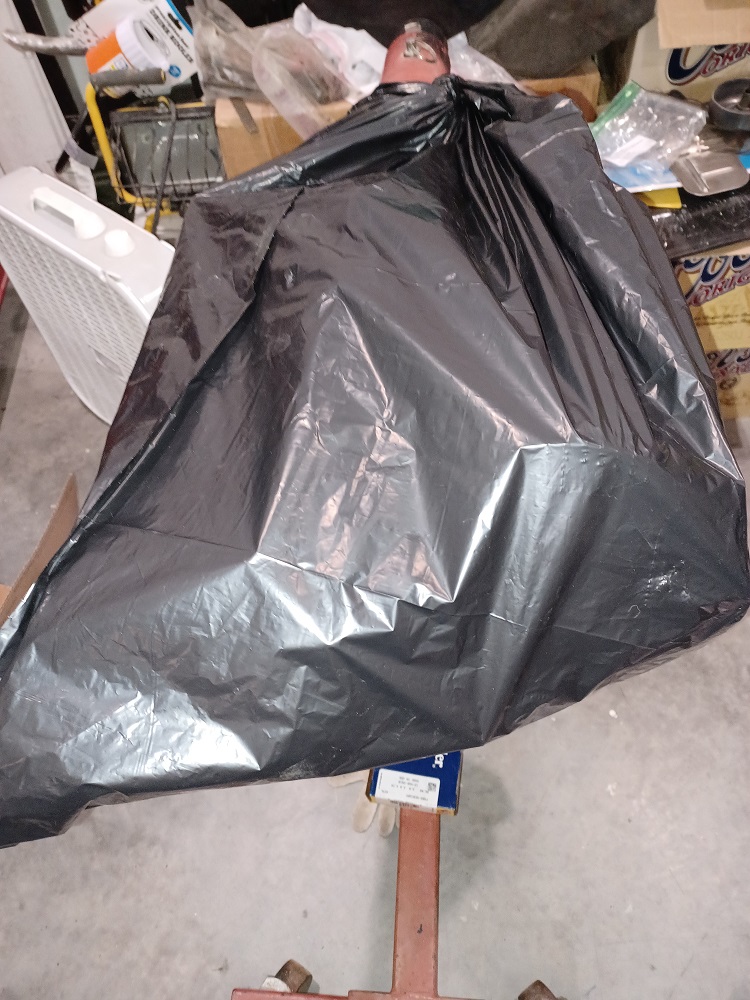
Unfortunately since I am working again, my work time is short, so back in the bag the engine goes for the night. New windage tray seals and cam plug are ordered. So guess I will call it a night.
 |
| Puebloswatcop |
 Sep 22 2022, 05:12 PM Sep 22 2022, 05:12 PM
Post
#810
|
|
Senior Member    Group: Members Posts: 1,401 Joined: 27-December 14 From: Mineola, Texas Member No.: 18,258 Region Association: Southwest Region |
Well, finally had some time to get back to the 914 today. Taking on this new job has really cut back on car time. Today I was able to go pick up the engine tin and parts that went to powder coating a few weeks ago. My engine oil baffle seals and cam plug came in as well.
For some reason the cat has taken a liking to the newly powder coated parts and feels the need to protect them. 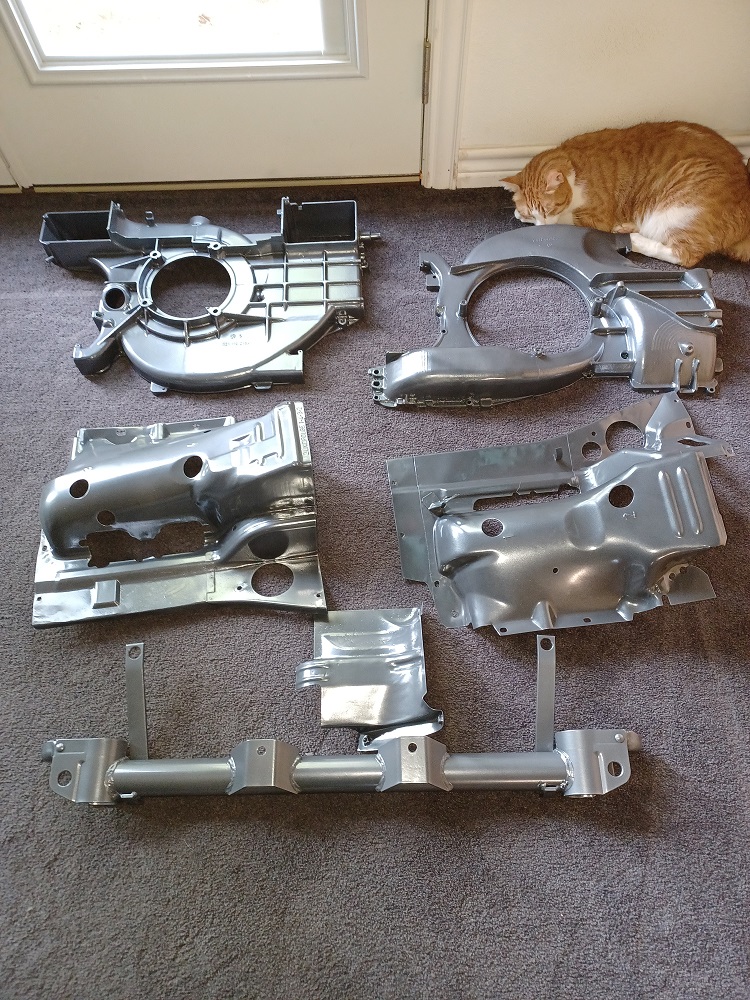 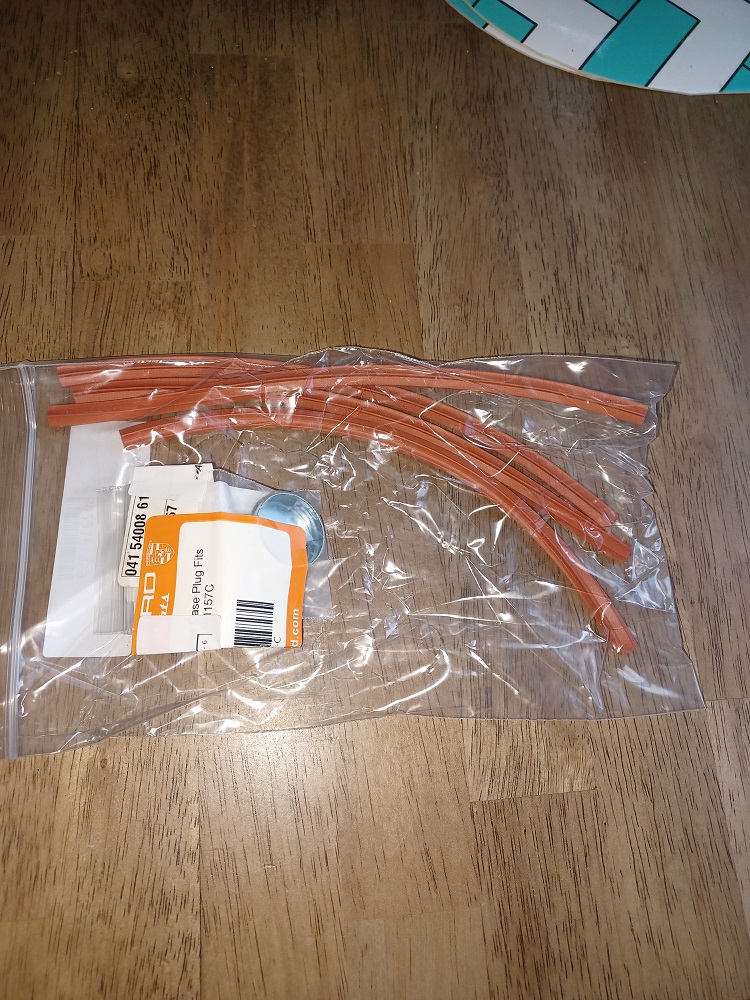 |
| Puebloswatcop |
 Sep 26 2022, 04:29 PM Sep 26 2022, 04:29 PM
Post
#811
|
|
Senior Member    Group: Members Posts: 1,401 Joined: 27-December 14 From: Mineola, Texas Member No.: 18,258 Region Association: Southwest Region |
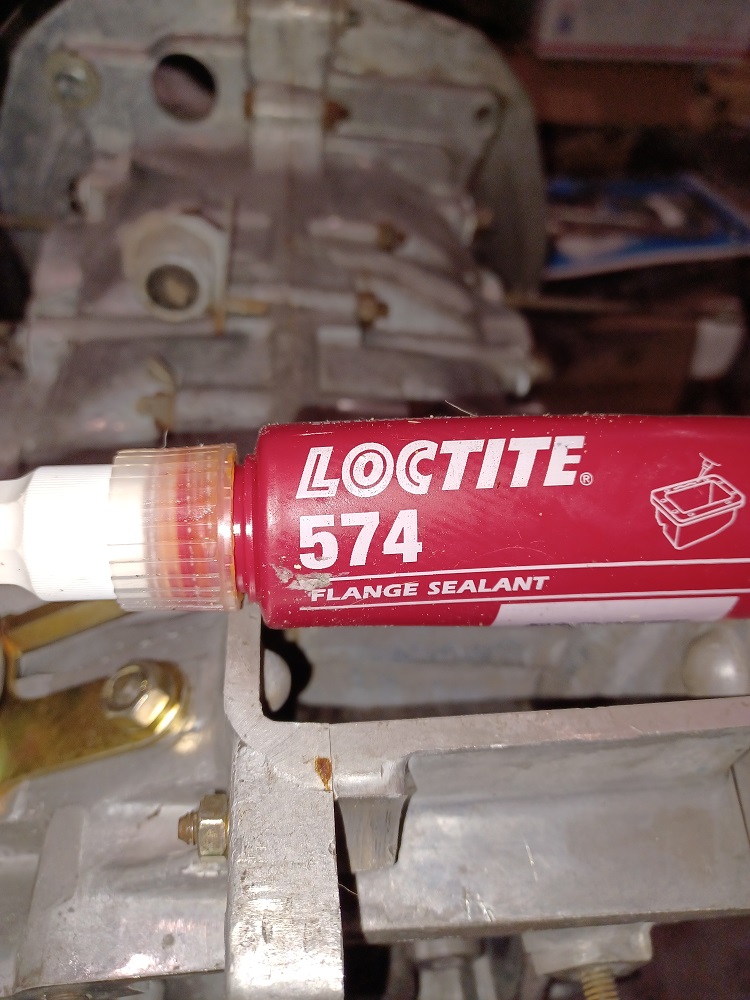
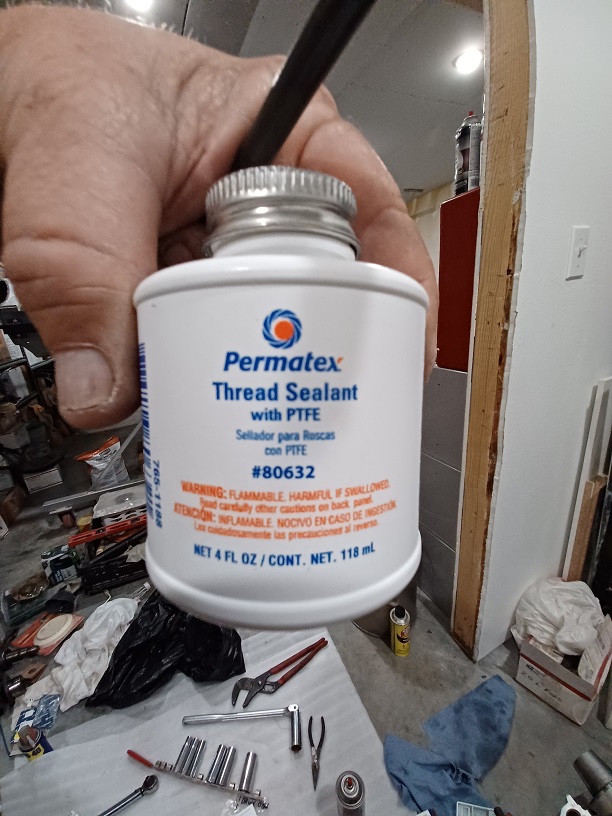
Finally had a couple of hours to work on the car today. Since I got the last of the engine parts I needed to assemble the short block I decided that it would be a fun project for the day. To start with I decided, after seeking input from y'all, to go with the Loctite 574 to seal the case. It was a toss up between that and the aviation gasket sealer, but I have another engine build coming so on that one I will use the Aviation sealer and compare the results. I also took the advise of Jake Raby on using the permatex thread sealer on the through bolts.
  |
| Puebloswatcop |
 Sep 26 2022, 04:35 PM Sep 26 2022, 04:35 PM
Post
#812
|
|
Senior Member    Group: Members Posts: 1,401 Joined: 27-December 14 From: Mineola, Texas Member No.: 18,258 Region Association: Southwest Region |
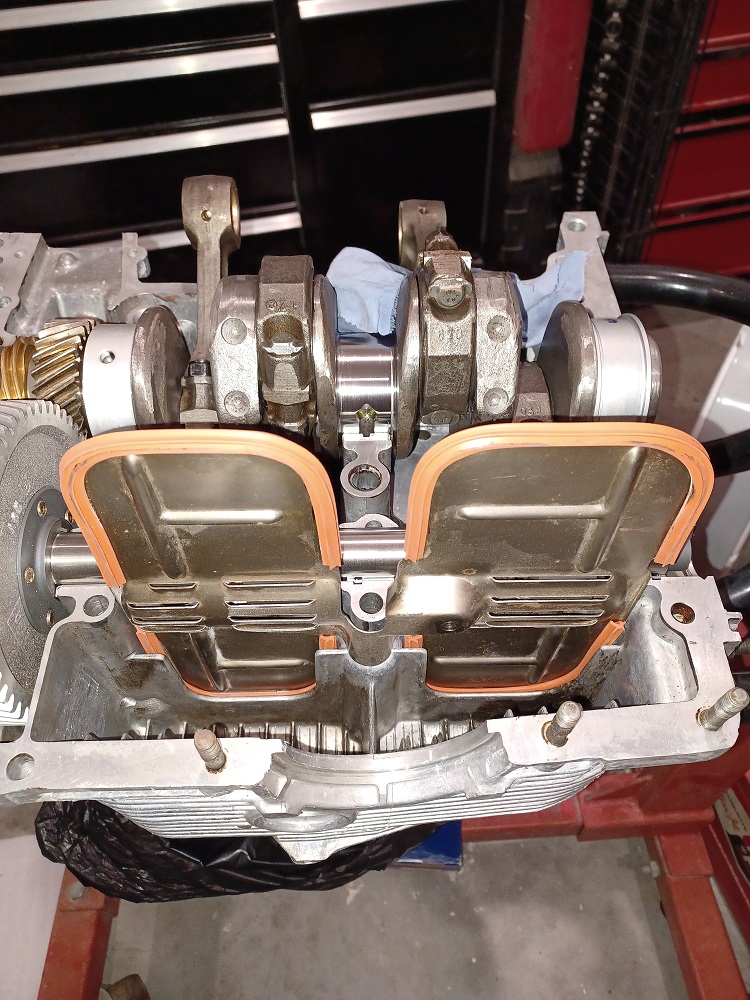
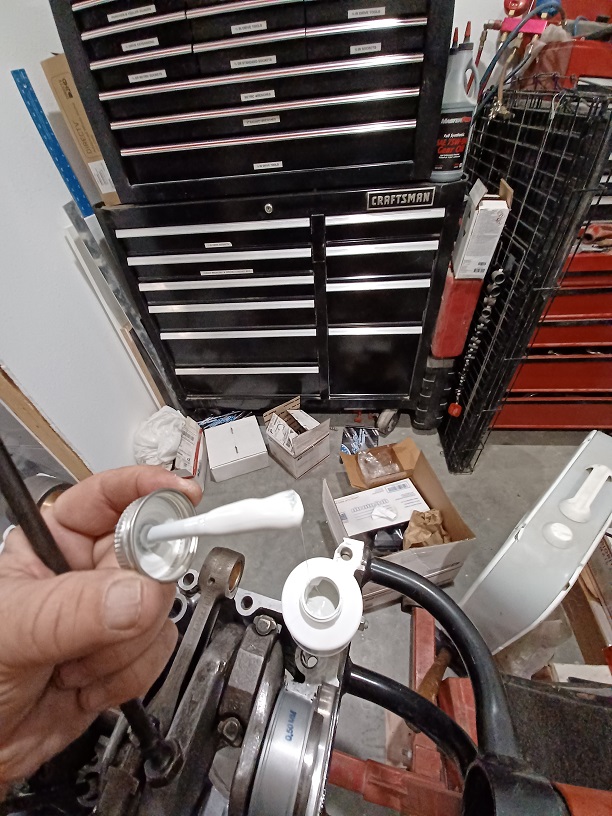
Using the new seals I got, I installed the oil baffle tray into the case half. It is amazing how snug that fit is when you use new seals. Then it was time to break open the thread sealer and install the case through bolts.
  |
| Puebloswatcop |
 Sep 26 2022, 04:37 PM Sep 26 2022, 04:37 PM
Post
#813
|
|
Senior Member    Group: Members Posts: 1,401 Joined: 27-December 14 From: Mineola, Texas Member No.: 18,258 Region Association: Southwest Region |
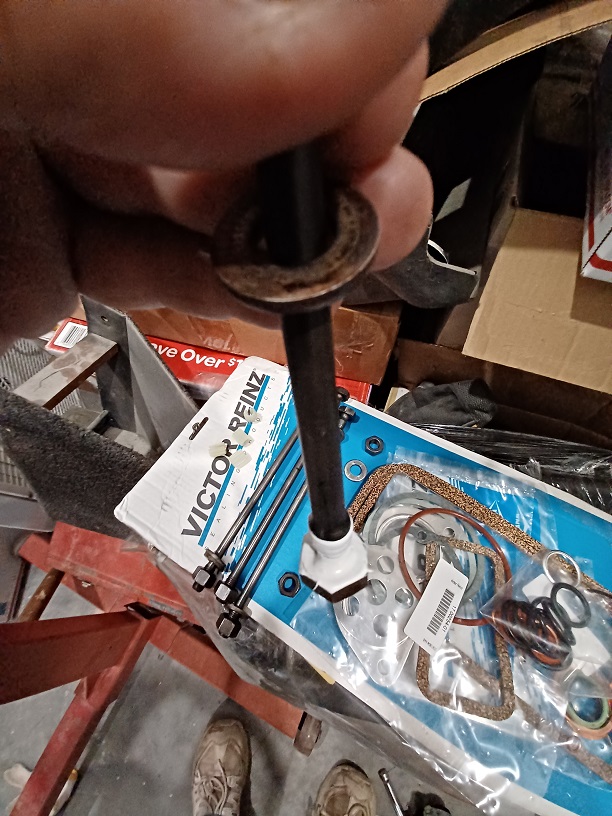
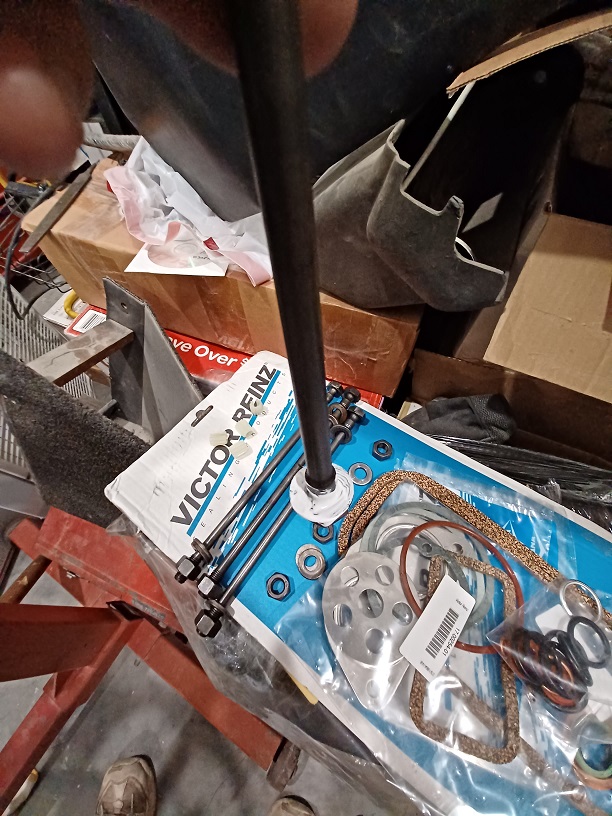
Then I applied thread sealer to the underside of the bolt head, slid on the first washer and applied a layer of sealer to that as well.
  |
| Puebloswatcop |
 Sep 26 2022, 04:41 PM Sep 26 2022, 04:41 PM
Post
#814
|
|
Senior Member    Group: Members Posts: 1,401 Joined: 27-December 14 From: Mineola, Texas Member No.: 18,258 Region Association: Southwest Region |
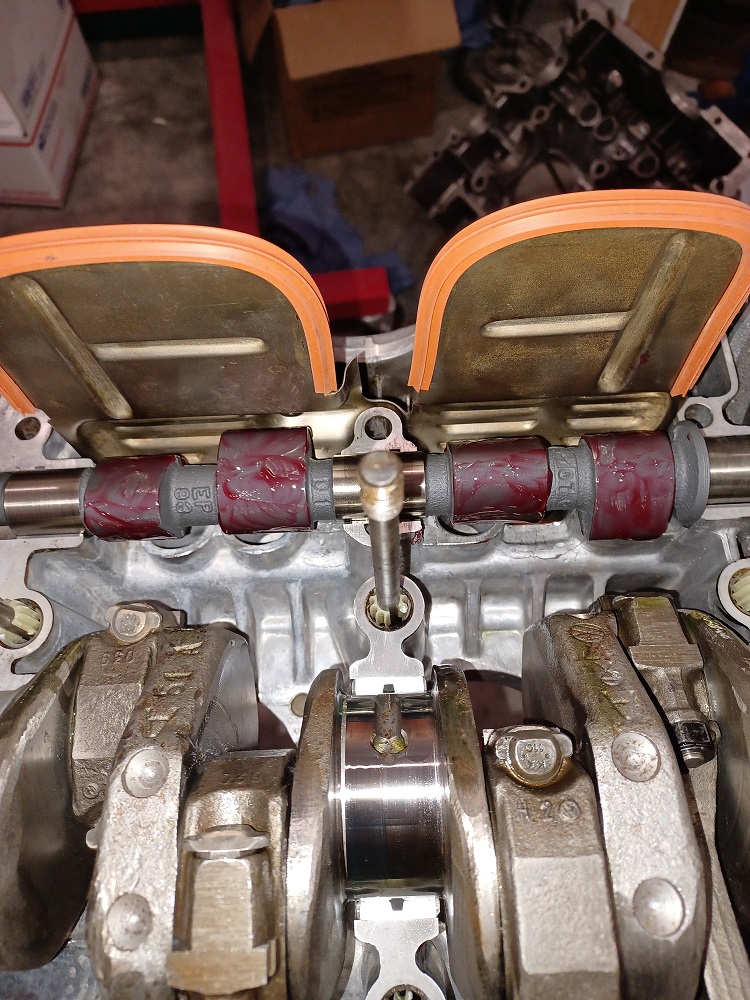
Then I installed th case through bolts and added the anti-rattle clips to hold them in place. I also lubed up the cam lobes with the lube provided by WebCam.
 |
| Puebloswatcop |
 Sep 26 2022, 04:45 PM Sep 26 2022, 04:45 PM
Post
#815
|
|
Senior Member    Group: Members Posts: 1,401 Joined: 27-December 14 From: Mineola, Texas Member No.: 18,258 Region Association: Southwest Region |
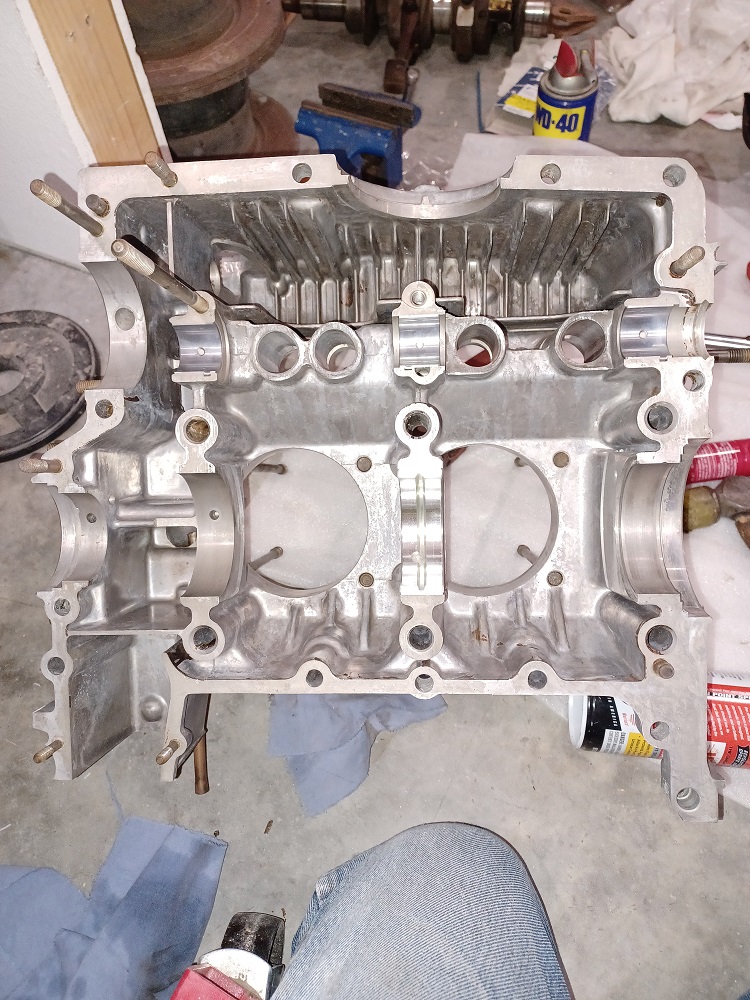
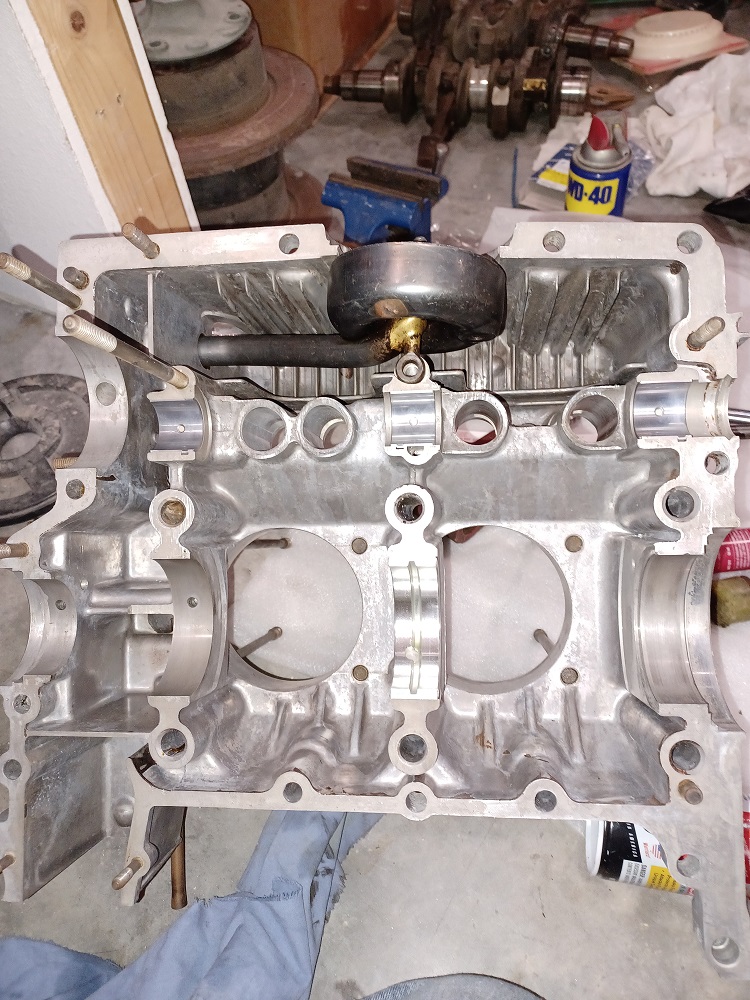
And now to prep the other case half. First I installed the center main bearing and all of the cam bearings. Then the oil pick up. Then lubed all of the bearings with assembly lube....alass, time to mate the two halves to make a short block.
  |
| Puebloswatcop |
 Sep 26 2022, 04:50 PM Sep 26 2022, 04:50 PM
Post
#816
|
|
Senior Member    Group: Members Posts: 1,401 Joined: 27-December 14 From: Mineola, Texas Member No.: 18,258 Region Association: Southwest Region |
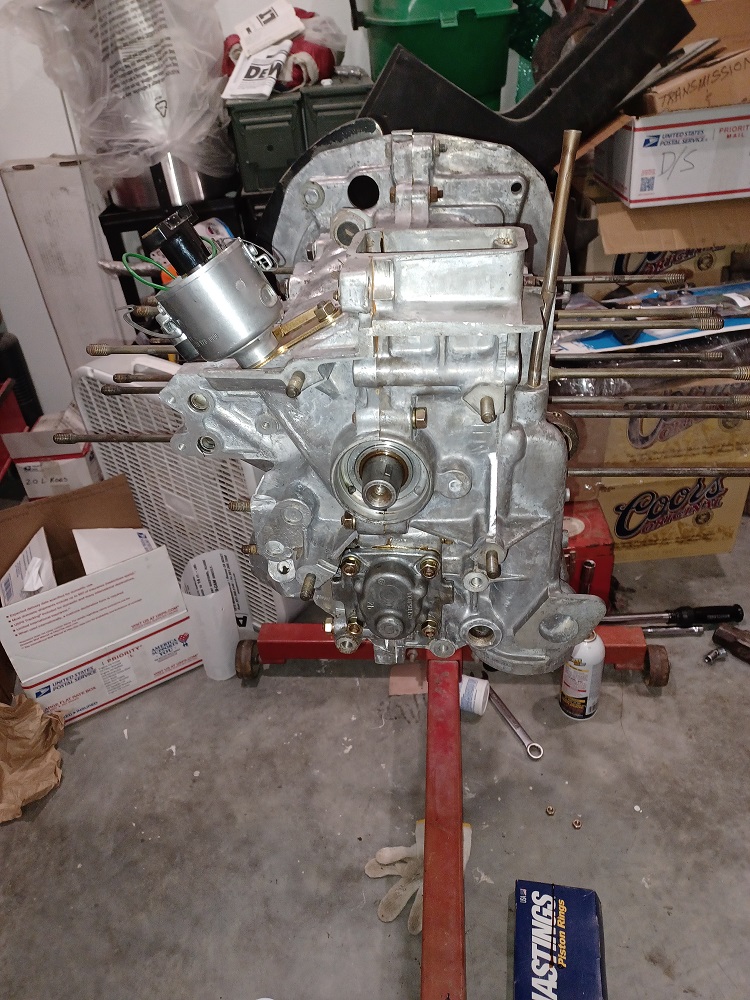
It was not an effortless task, but finally the two halves are together and the oil pump installed as well. After adding thread sealer to the other side of the case through bolts , they were all torqued down. And the crank and cam turned freely....wheew.
 |
| Puebloswatcop |
 Sep 26 2022, 04:55 PM Sep 26 2022, 04:55 PM
Post
#817
|
|
Senior Member    Group: Members Posts: 1,401 Joined: 27-December 14 From: Mineola, Texas Member No.: 18,258 Region Association: Southwest Region |
However, stupid me in all of my excitement forgot to insure that all the harware was present and accounted for.....As I began to put all of the perimiter nuts and bolts in, I discovered I could not find the upper case perimiter bolts, epic fail.
However, with a quick temporary solution, I ran out and took the 4 bolts out of my recently purchased 1.7 motor, so I could at least get everything sealed up and torqued to spec. all the way around the case....Will change them to new hardware when I discover where I put them "away" so I wouldn't lose them... (IMG:style_emoticons/default/WTF.gif) 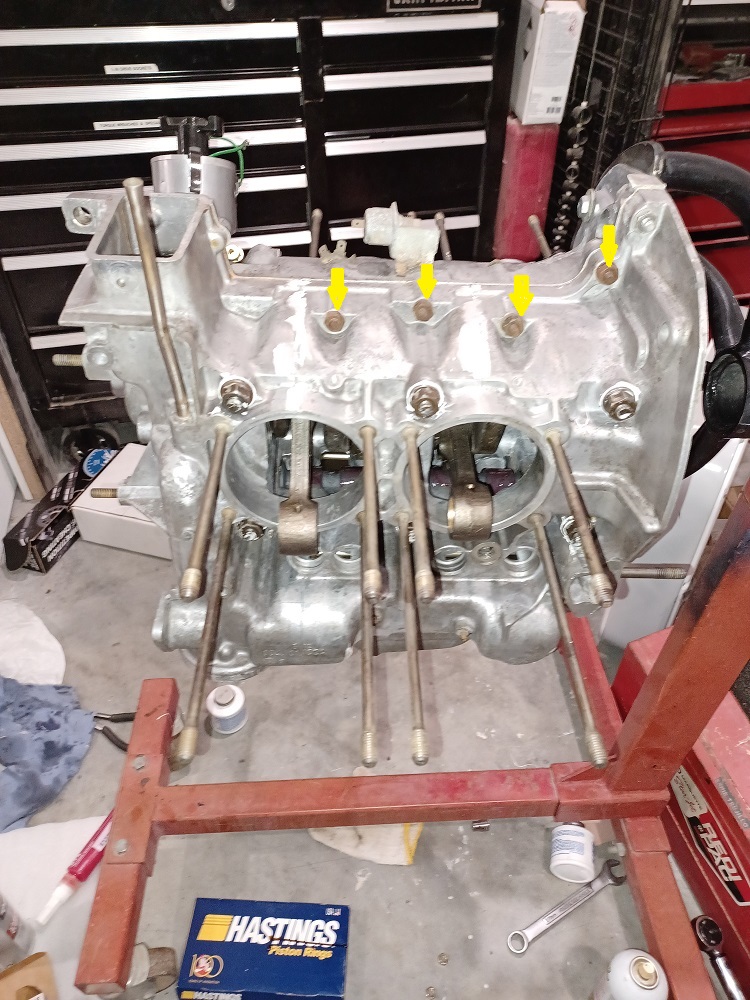 |
| Puebloswatcop |
 Sep 26 2022, 04:59 PM Sep 26 2022, 04:59 PM
Post
#818
|
|
Senior Member    Group: Members Posts: 1,401 Joined: 27-December 14 From: Mineola, Texas Member No.: 18,258 Region Association: Southwest Region |
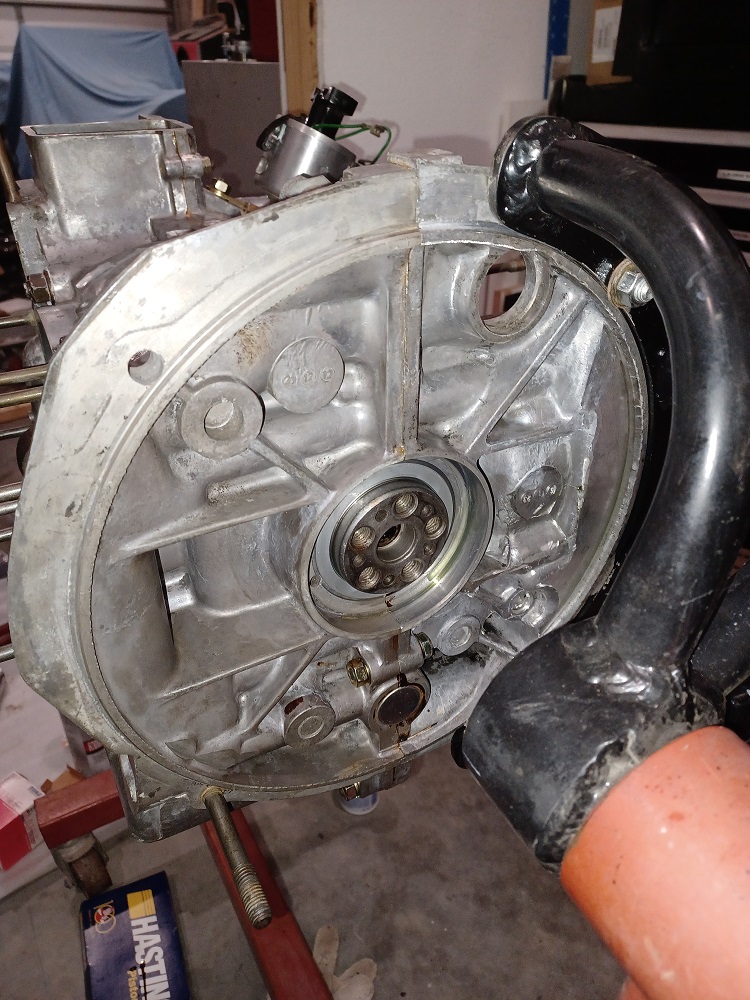
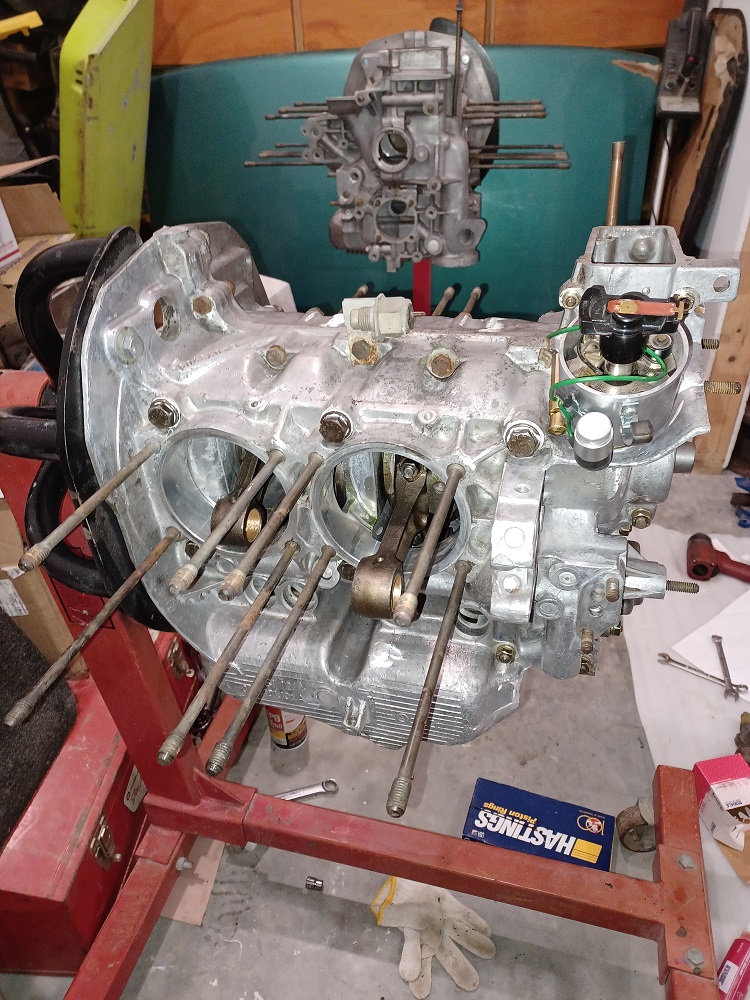
But at lease it is back together. It was a pretty exciting step for me, since this is my first air cooled engine build. I have been waiting for nearly 10 years to finally put this engine together....stoked to say the least.
  |
| ClayPerrine |
 Sep 27 2022, 05:54 AM Sep 27 2022, 05:54 AM
Post
#819
|
|
Life's been good to me so far.....                Group: Admin Posts: 15,903 Joined: 11-September 03 From: Hurst, TX. Member No.: 1,143 Region Association: NineFourteenerVille 
|
Uh.. you have a problem.
The windage tray bolts to the oil pump pickup. You forgot to bolt them together. |
| Puebloswatcop |
 Sep 27 2022, 07:01 PM Sep 27 2022, 07:01 PM
Post
#820
|
|
Senior Member    Group: Members Posts: 1,401 Joined: 27-December 14 From: Mineola, Texas Member No.: 18,258 Region Association: Southwest Region |
Uh.. you have a problem. The windage tray bolts to the oil pump pickup. You forgot to bolt them together. Clay, I am a bit confused, Is that the bolt that goes through the oil pick up into the windage tray? If so I did get it in, if not, can you show me which photo to refer back to so I can figure out what I missed? Does this mean I have to tear it appart again? Thanks for any help you can provide. Like I said, this is my first build, I surely don't want to blow it to kingdom come.... Clay, please tell me this is the bolt you are referring to, so I don't have to be sad and disappointed. 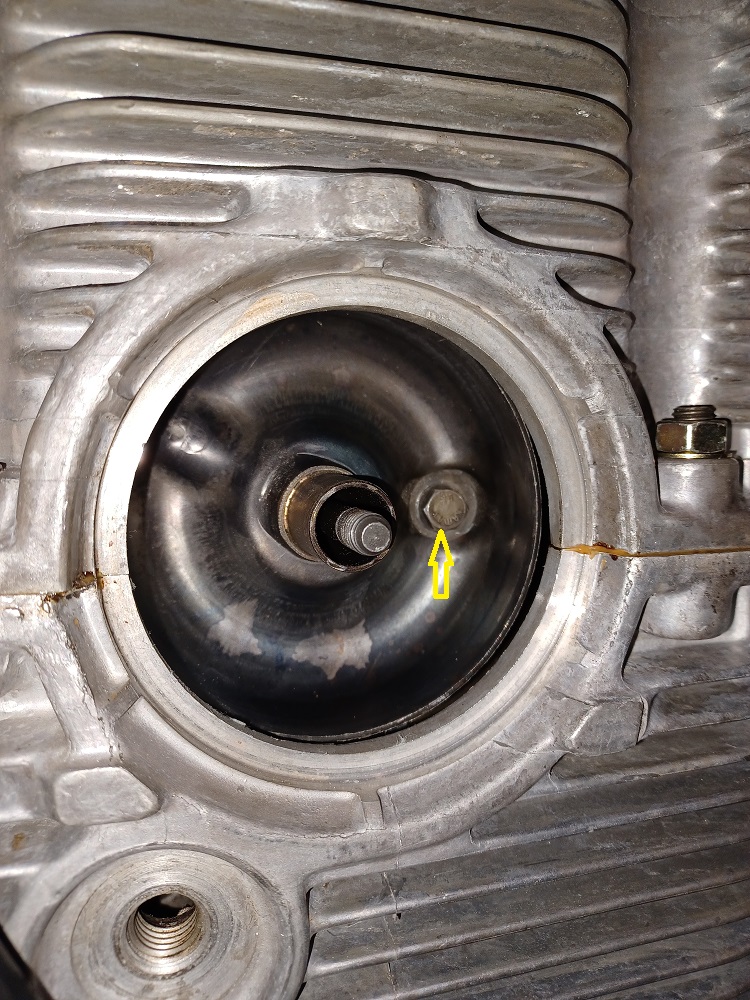 |
  |
4 User(s) are reading this topic (4 Guests and 0 Anonymous Users)
0 Members:

|
Lo-Fi Version | Time is now: 25th November 2024 - 04:47 PM |
Invision Power Board
v9.1.4 © 2024 IPS, Inc.


