|
|

|
Porsche, and the Porsche crest are registered trademarks of Dr. Ing. h.c. F. Porsche AG.
This site is not affiliated with Porsche in any way. Its only purpose is to provide an online forum for car enthusiasts. All other trademarks are property of their respective owners. |
|
|
  |
| Root_Werks |
 Nov 8 2023, 12:44 PM Nov 8 2023, 12:44 PM
Post
#141
|
|
Village Idiot      Group: Members Posts: 8,484 Joined: 25-May 04 From: About 5NM from Canada Member No.: 2,105 Region Association: Pacific Northwest 
|
I think you're on the right track, likely a ground issue. Check your terminal ends and even all the brown wires for cracks. I had to replace a few spade ends, all grounds no less.
|
| 76-914 |
 Nov 10 2023, 08:29 AM Nov 10 2023, 08:29 AM
Post
#142
|
|
Repeat Offender & Resident Subaru Antagonist           Group: Members Posts: 13,634 Joined: 23-January 09 From: Temecula, CA Member No.: 9,964 Region Association: Southern California 
|
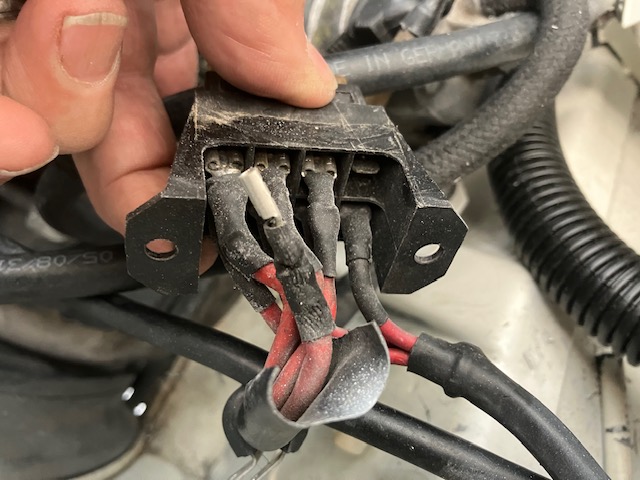
Turns out that I'm the culprit and thanks to Bob Bischoff @BIGKAT_83 for pointing me in the right direction. I had relocated this fuse box which serves those 4 large red wires coming off the battery. In the process I pulled one of the spades off. Now for the stupid part. I originally suspected this line and checked the fuses; all good. Then checked for voltage at the fuse clips on the top side(duh) but failed to check for outgoing (lower side) voltage. (IMG:style_emoticons/default/headbang.gif) You can't fix stupid but when stumped you can run the symptoms by an EE.
 |
| 76-914 |
 Feb 2 2024, 09:15 PM Feb 2 2024, 09:15 PM
Post
#143
|
|
Repeat Offender & Resident Subaru Antagonist           Group: Members Posts: 13,634 Joined: 23-January 09 From: Temecula, CA Member No.: 9,964 Region Association: Southern California 
|
Six weeks since my last post here. I need to update soon as I'm just about finished with the upholstery. The last piece to do is the center piece of the backrest but before I do I wanted to figure out how to mount one of these *%#@# aftermarket courtesy lamps. The problem is the OEM brackets are set too deep to allow the Mexican lamp to snap into place. Exactly 11.3mm to be precise. If you've ever broken one of these lamps trying to force it into place you know what I mean. (IMG:style_emoticons/default/headbang.gif) The solution is simple and can be done with the back pad pulled out of the car. I used a small scrap piece of 26ga steel. I suppose you can use 24ga or 22ga depending upon your grip.
Working backwards this is what the finished project will look like. 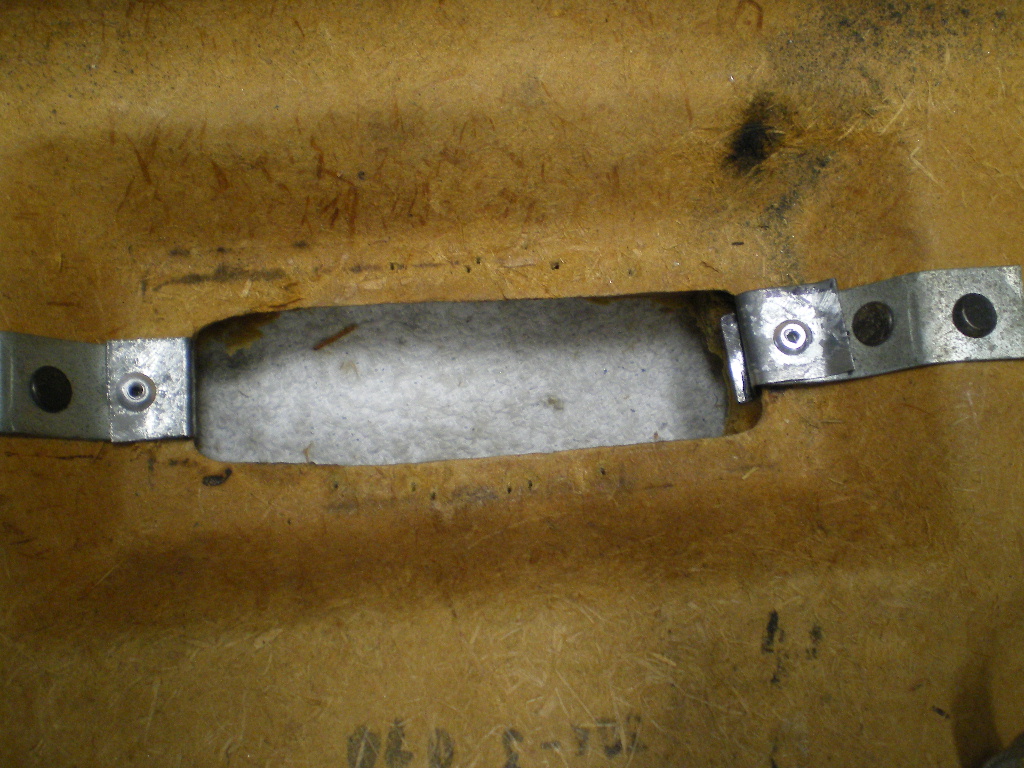 And this is one of the 2 tabs you'll make. 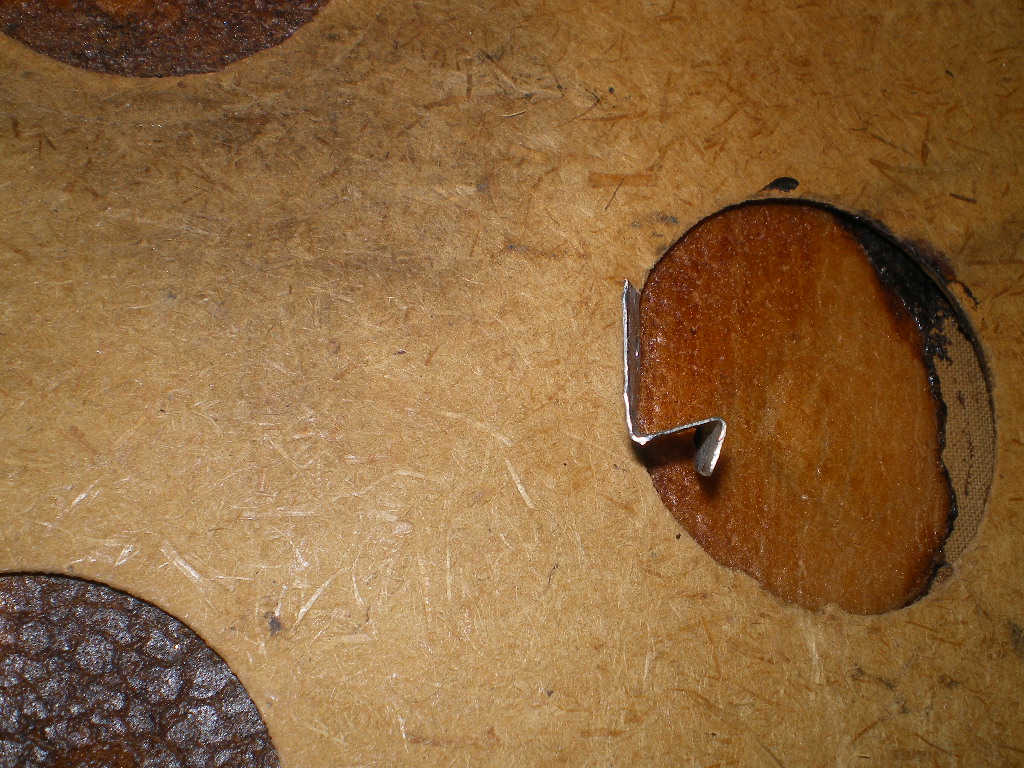 The OEM tabs are held in place by 2 steel rivets and have small dimples close to the edge. See pic below. Drill an 1/8" or #30 hole center of each dimple. Place a piece of scrap steel under each so you don't end up drilling a hole through your upholstery 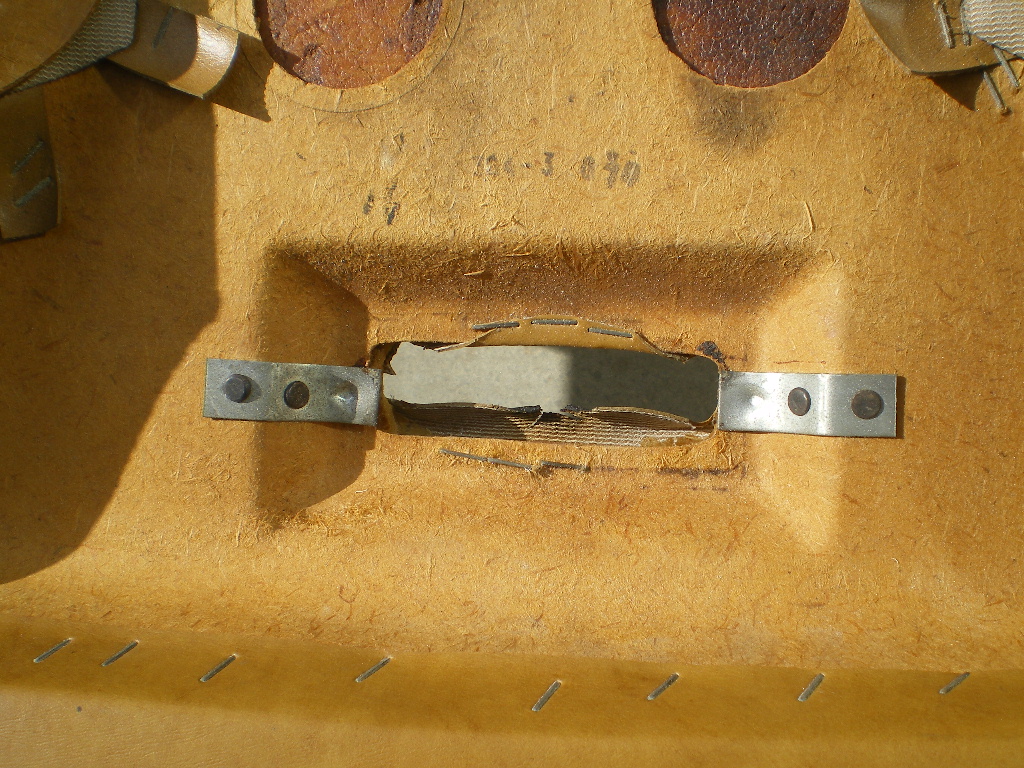 Cut a piece of the steel about as wide as the tabs and 2"-3" long. You can trim it to length after you bend it. The depth of it new piece will need to be 11mm nominal. The correct depth may vary depending upon you upholstery but 26ga is quick 'n easy to bend and can be cut with tin snips. Make just one and rivet it place on the drivers side. Then fit the lamp in place and push in the other side. I needed to trim ~1/8" from the edge of the OEM tab with a Dremel because the lamp was a hair too long to clear. If the piece you riveted in place is too short or long cut another one the correct length. Rinse and repeat. Once you get a good fit on both sides when pressed in, cut another the with same dimensions. The lip on the bottom of the tabs only needs to be about 1/8" - 3/16". The corner of tabs need to be 99.5mm apart before the lamp is in place. I used a piece of 2mm wire to gage the correct distance between the tabs. 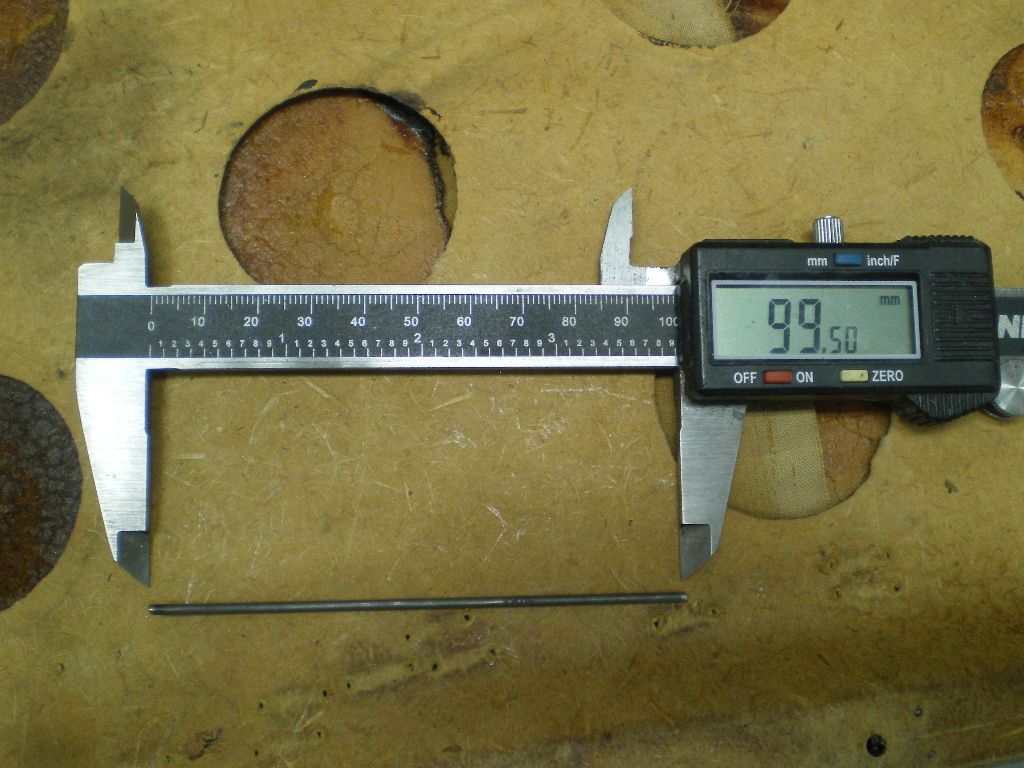 And here it is installed. It should easily snap into place yet be snug. Be sure that you can release the lamp before you reinstall the back pad. Aluminum rivets are easily drilled out if you need to redo or make adjustments. Just remember to place a piece of metal below the rivet so you don't drill through your upholstery. 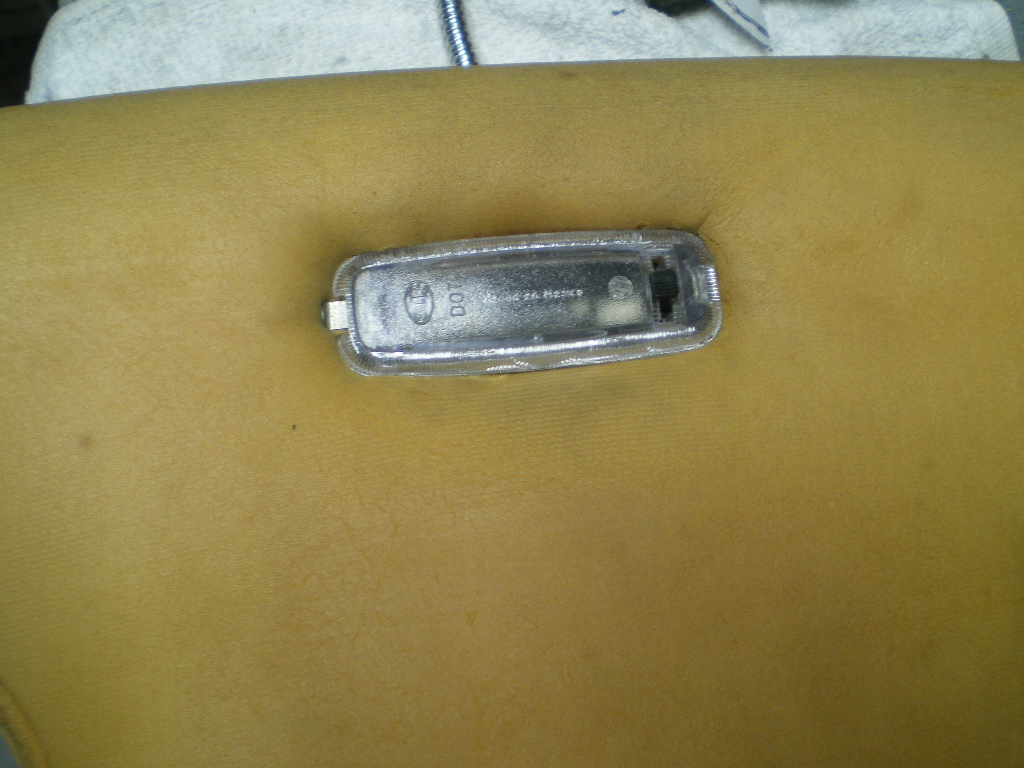 Attached image(s) 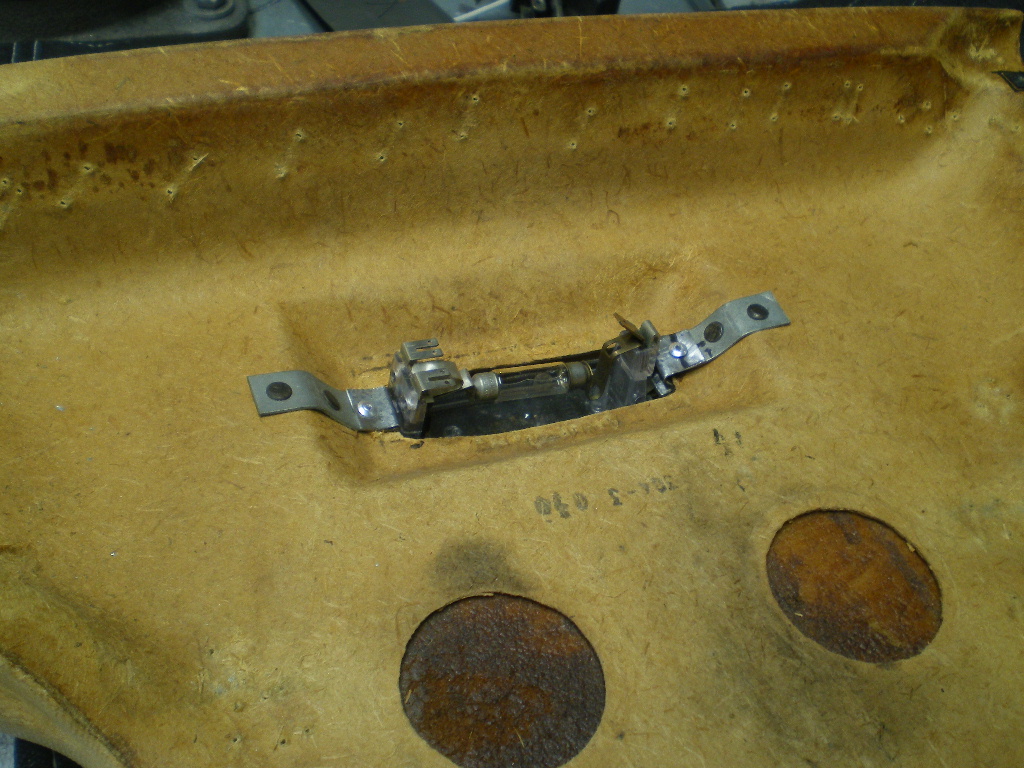
|
| 76-914 |
 Feb 17 2024, 06:21 PM Feb 17 2024, 06:21 PM
Post
#144
|
|
Repeat Offender & Resident Subaru Antagonist           Group: Members Posts: 13,634 Joined: 23-January 09 From: Temecula, CA Member No.: 9,964 Region Association: Southern California 
|
With the courtesy lamp mount finished it was time to get on with the upholstery. This is where I switched gears. A suitable beige wasn't available so it was on to black. Looking at it now I think black interior goes well with the black and white theme of the car itself.
Before I could think about recovering the backpad there was some repair work that needed to be done. There was one mounting tab completely torn loose and the one adjacent to it was barely hanging on. 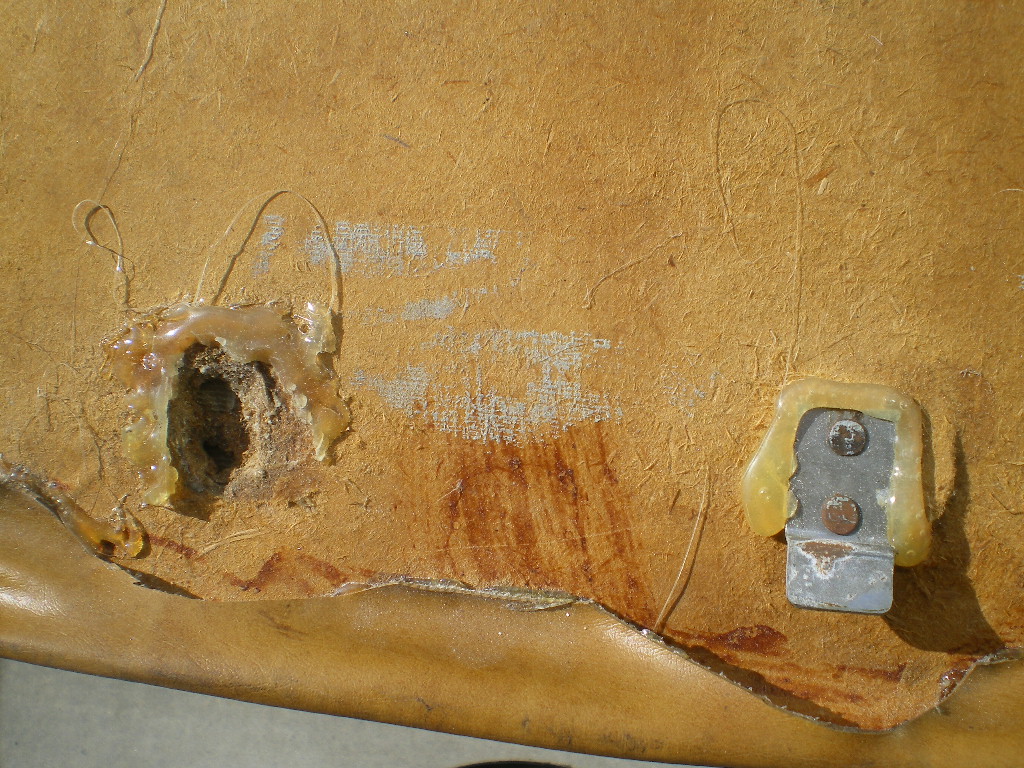 Some areas were warped and needed a bit of reinforcement. Especially the lower anchor points which were non-existent. The measurements I took are for future reference. I have one of 914rubber's blank backpads I need to install on the '73 later this year. 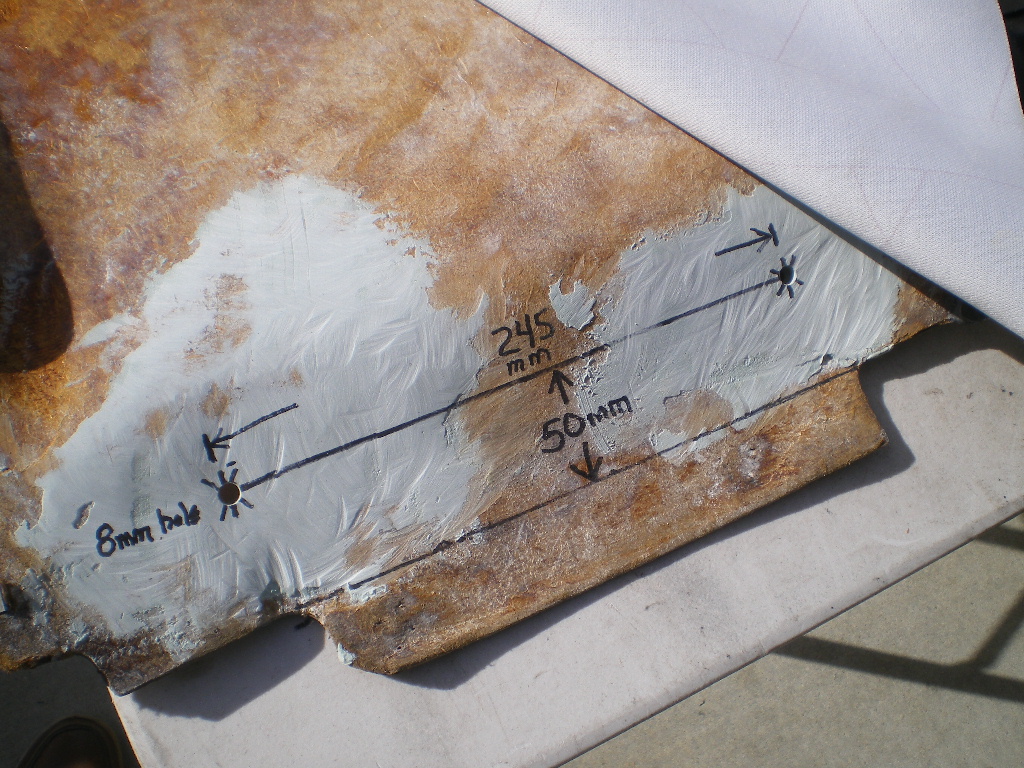 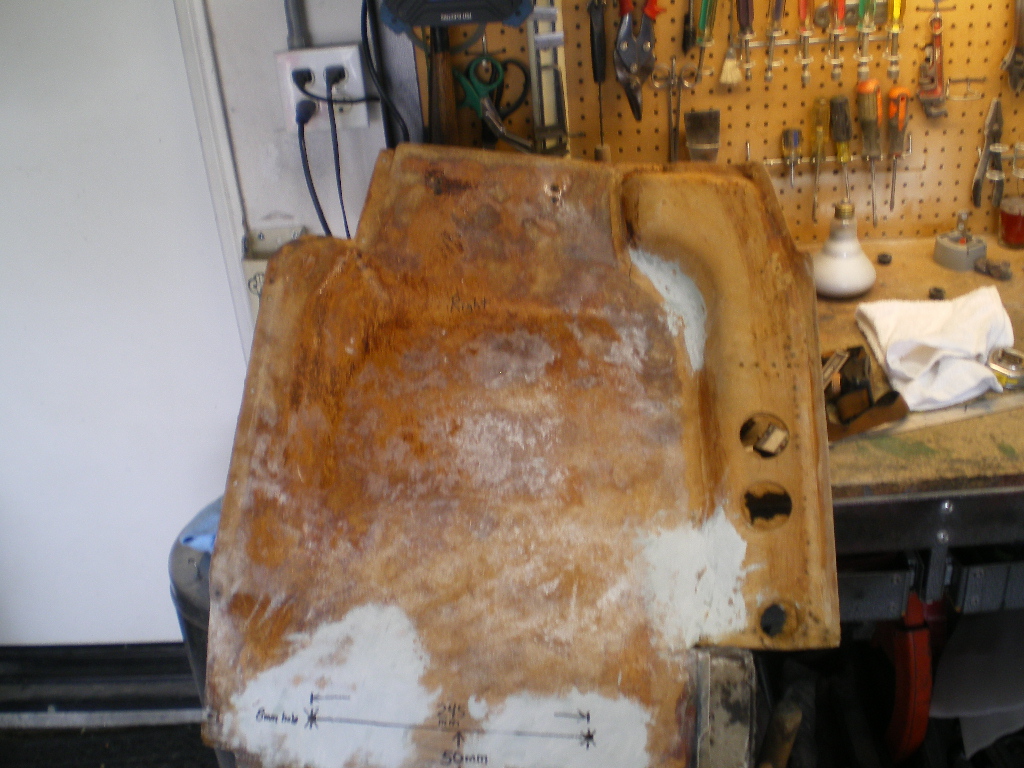 And the upper attach points on the right side needed solid backing so an aluminum plate was fitted. 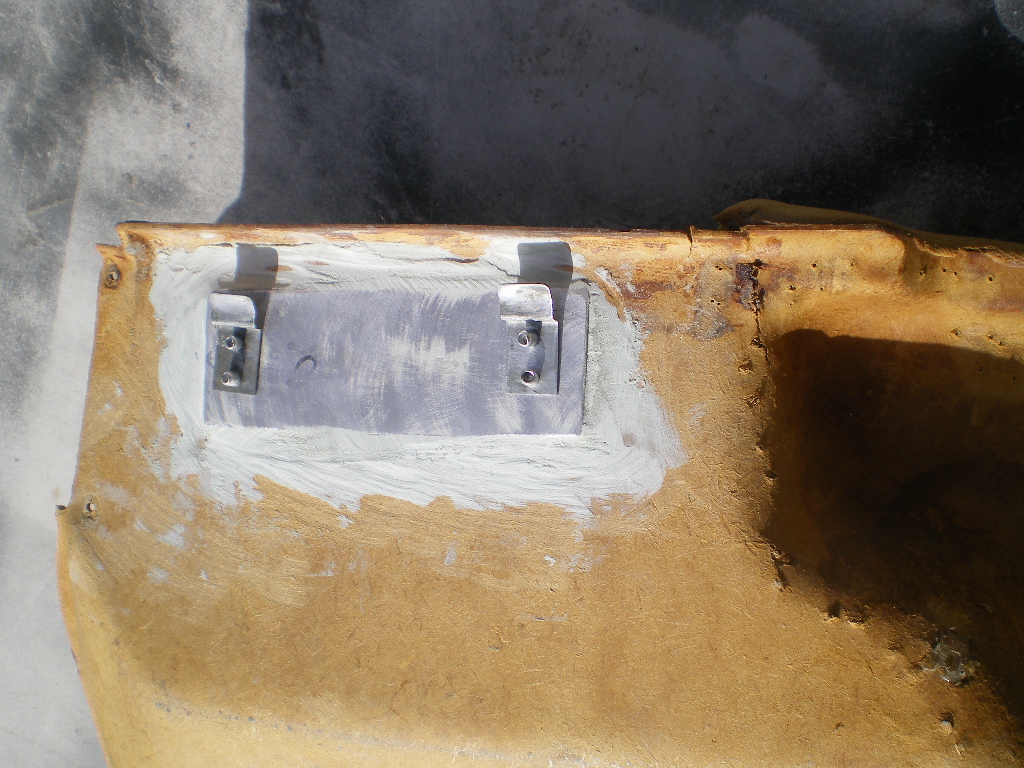 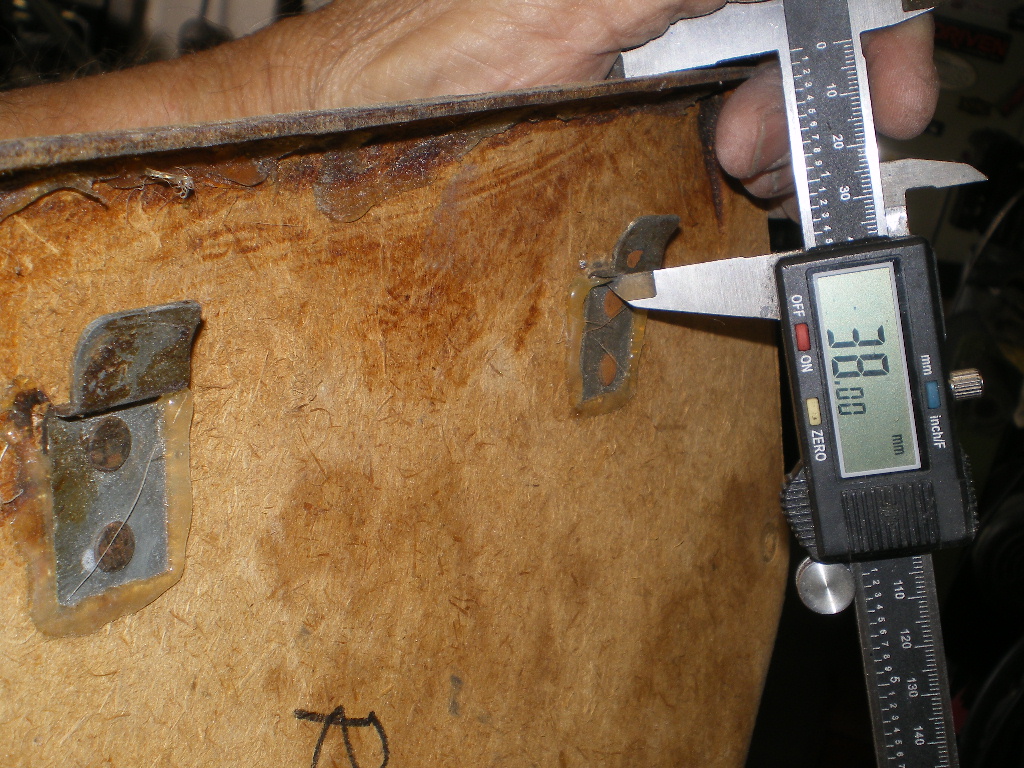 I won't get into the details too much since that has already been covered (no pun intended) here before. So this is pretty much what you end up with. 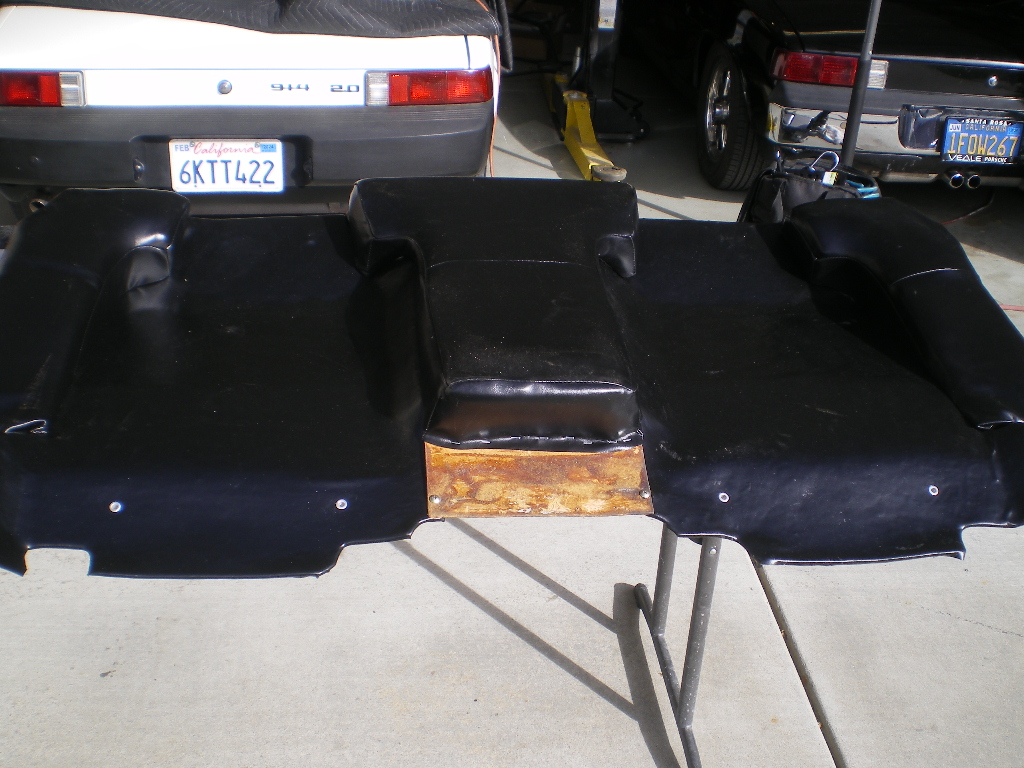 If you want the cut outs to be nice, round and neat I'd recommend getting a set of these hole punch tools. HF has them for <$10.00 and you will use them again when you're replacing the door cards with 914rubber's product. 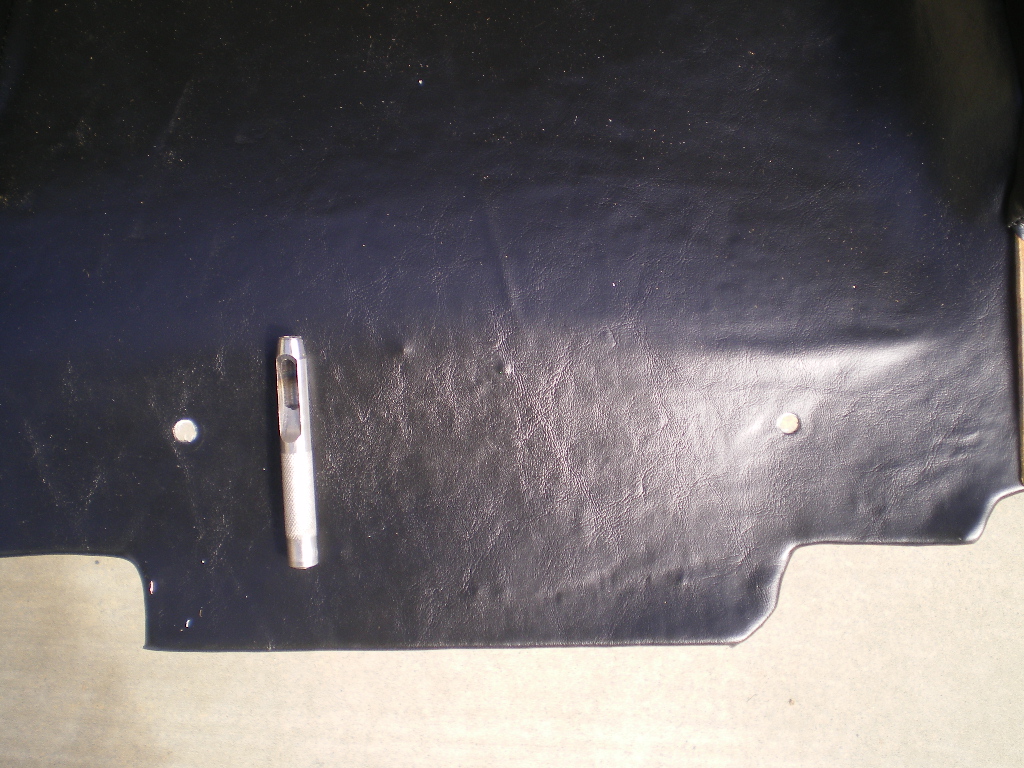 Attached image(s) 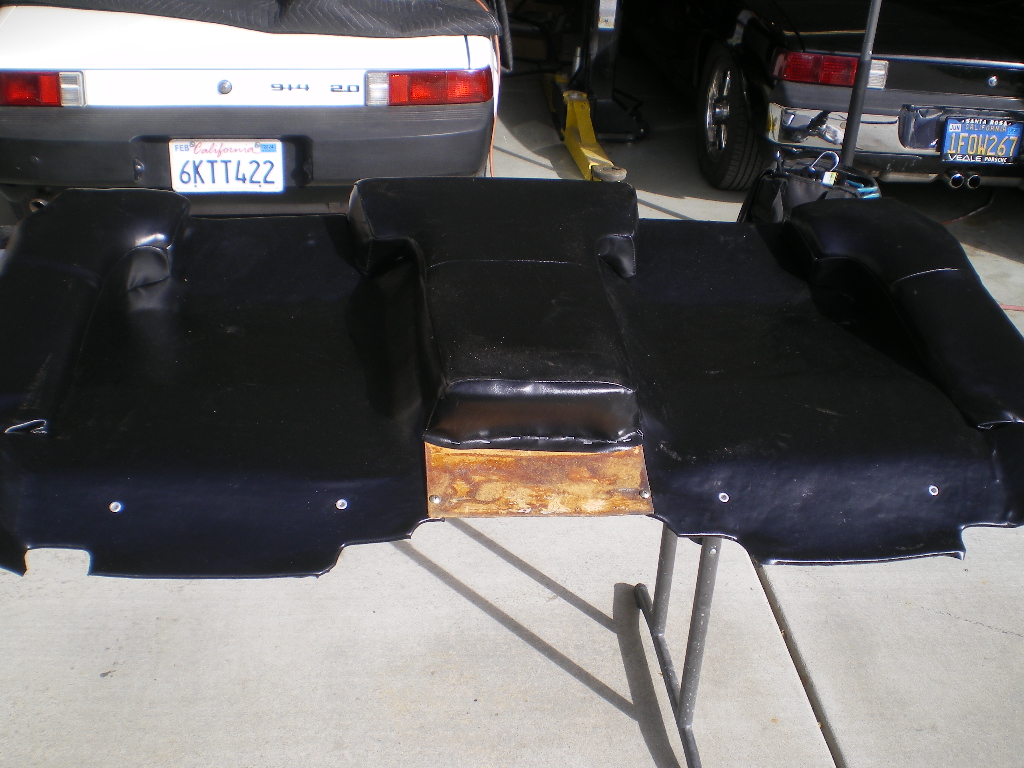
|
| 76-914 |
 Feb 17 2024, 06:58 PM Feb 17 2024, 06:58 PM
Post
#145
|
|
Repeat Offender & Resident Subaru Antagonist           Group: Members Posts: 13,634 Joined: 23-January 09 From: Temecula, CA Member No.: 9,964 Region Association: Southern California 
|
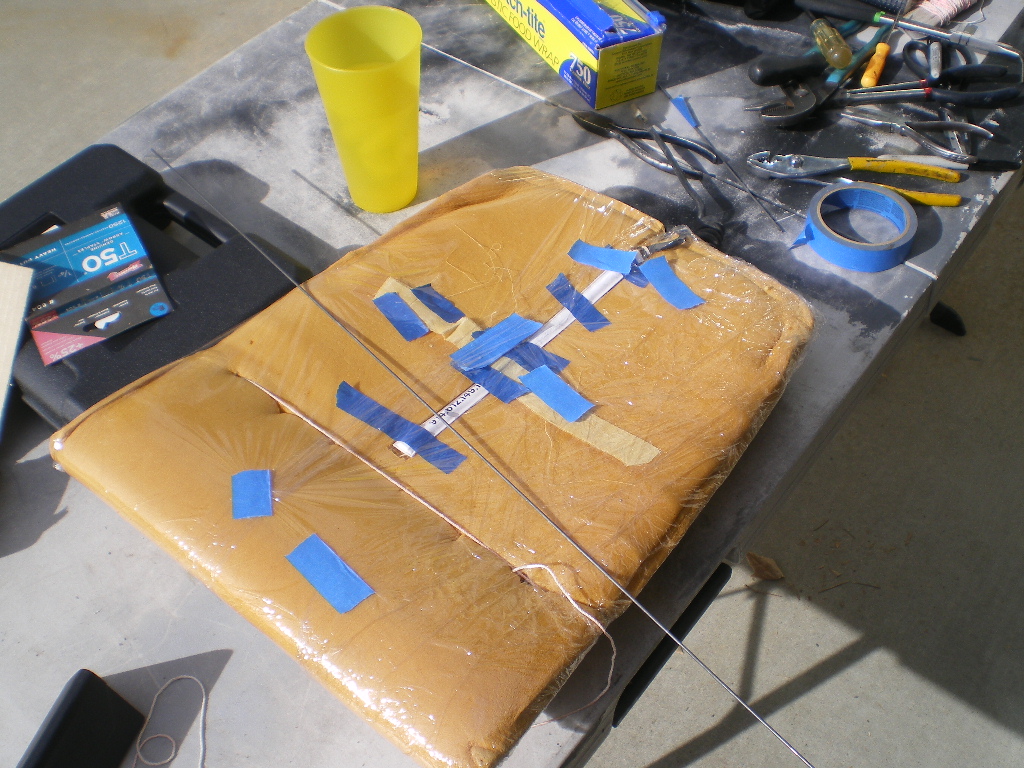
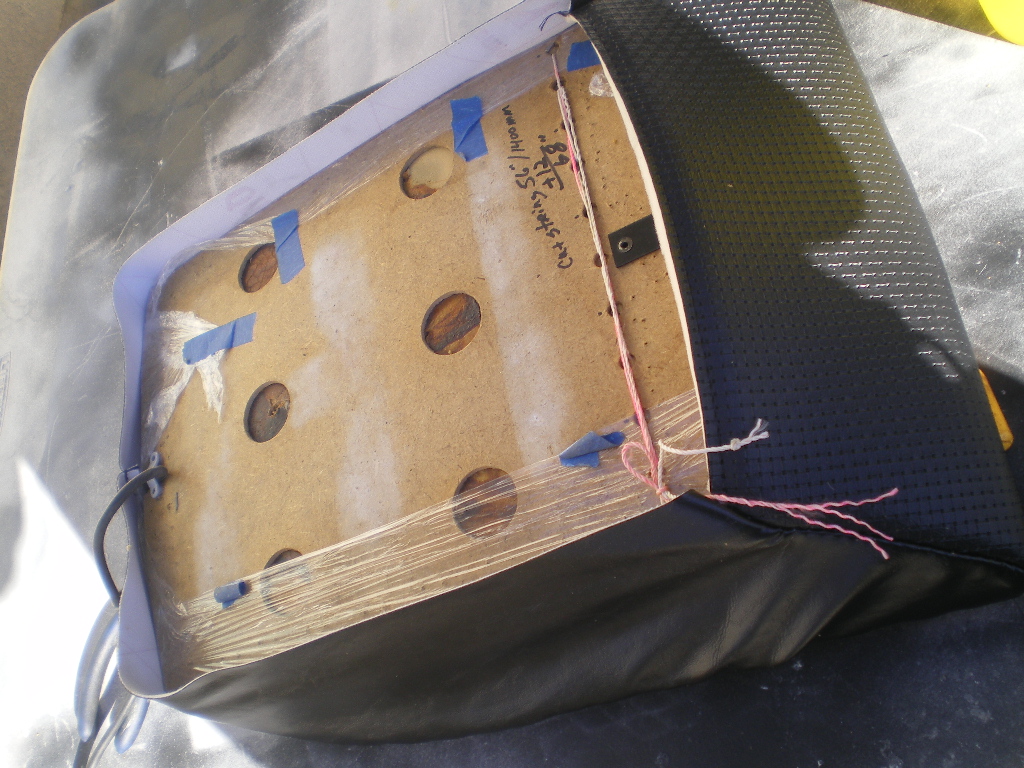
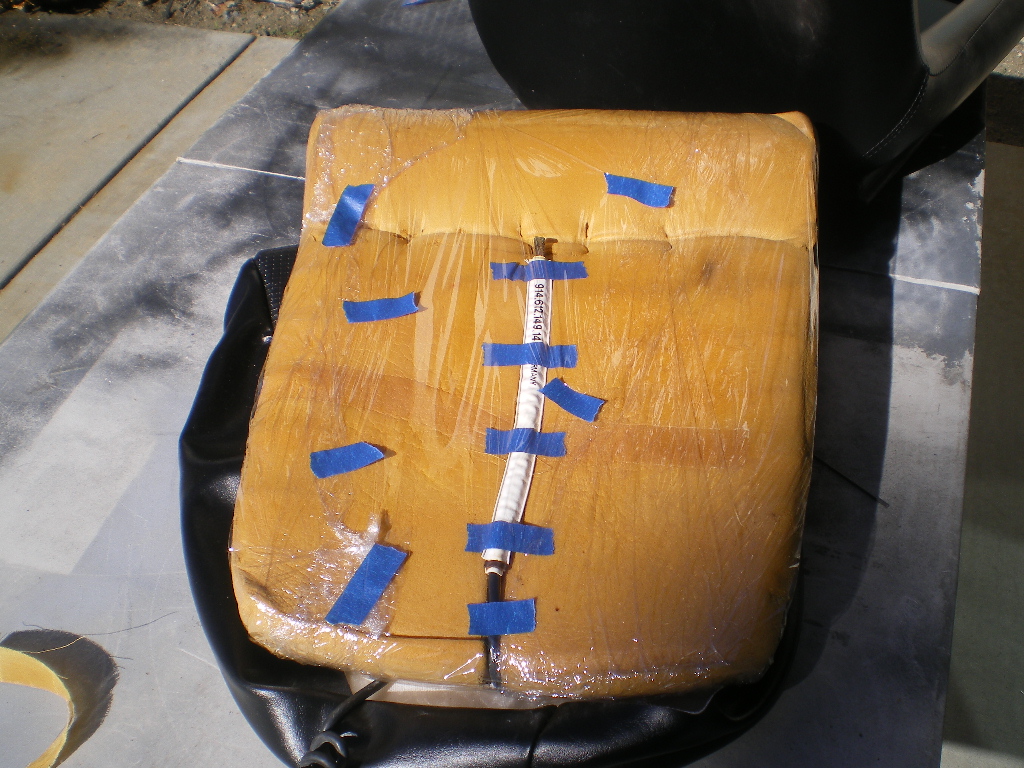
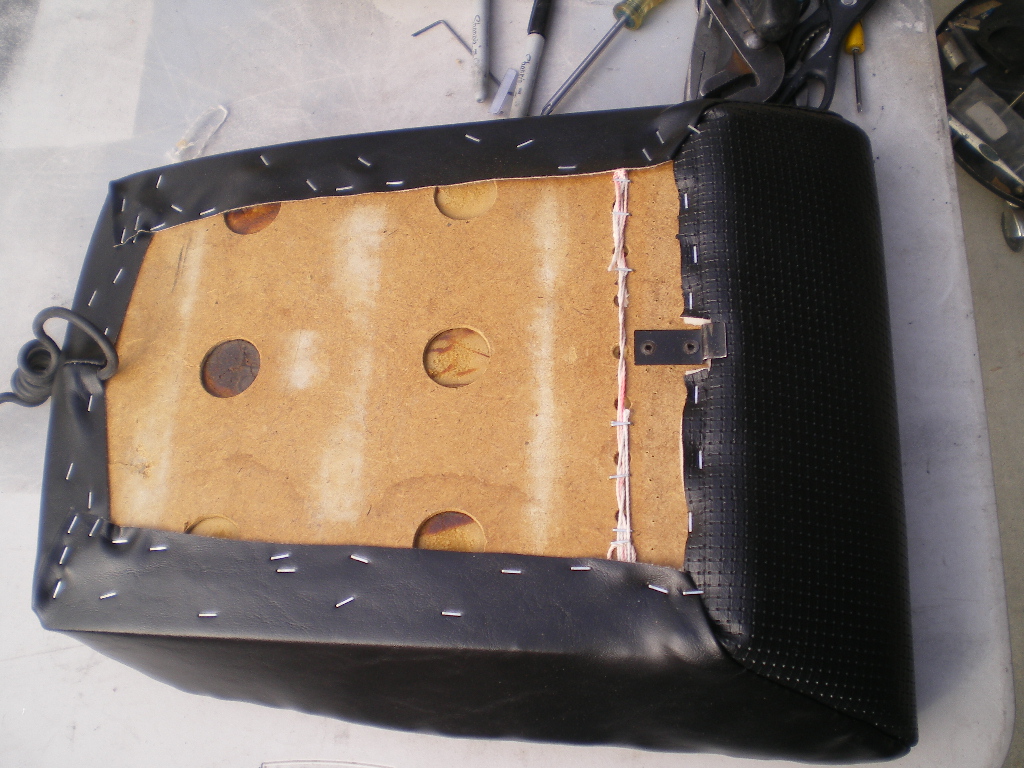
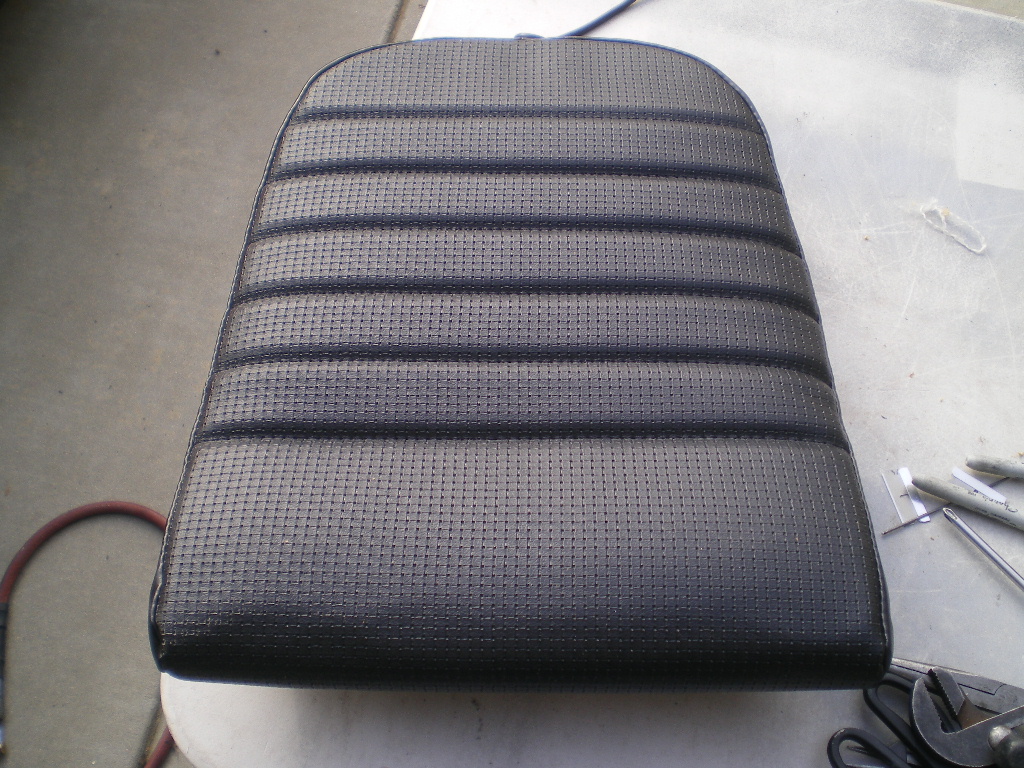
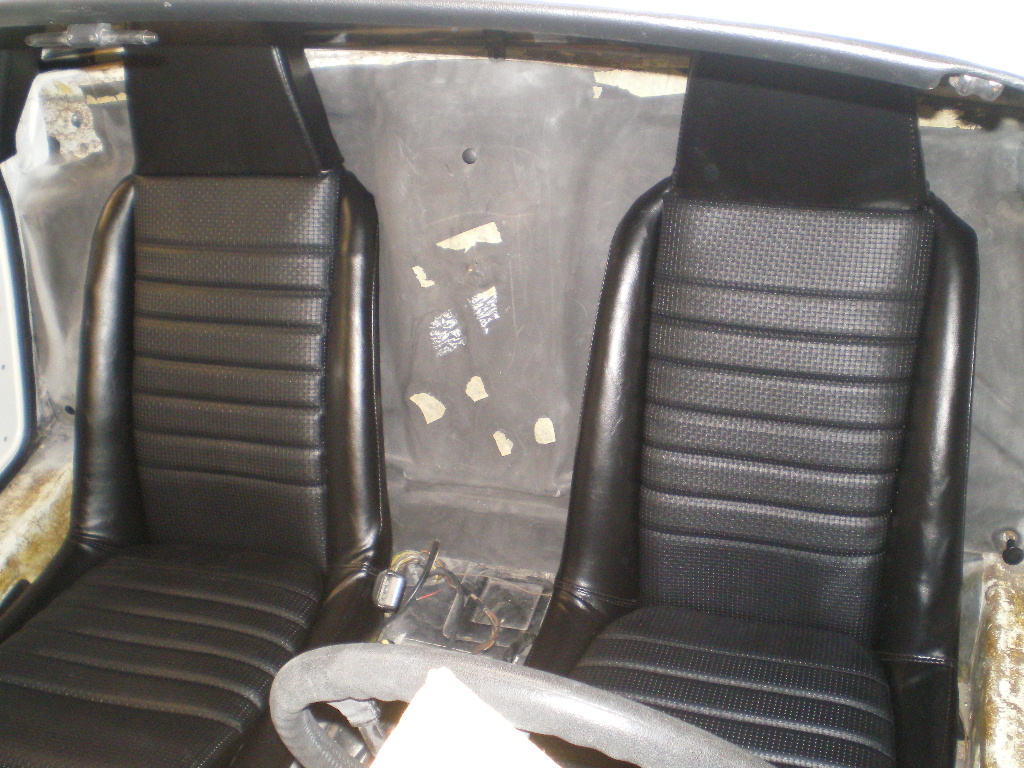
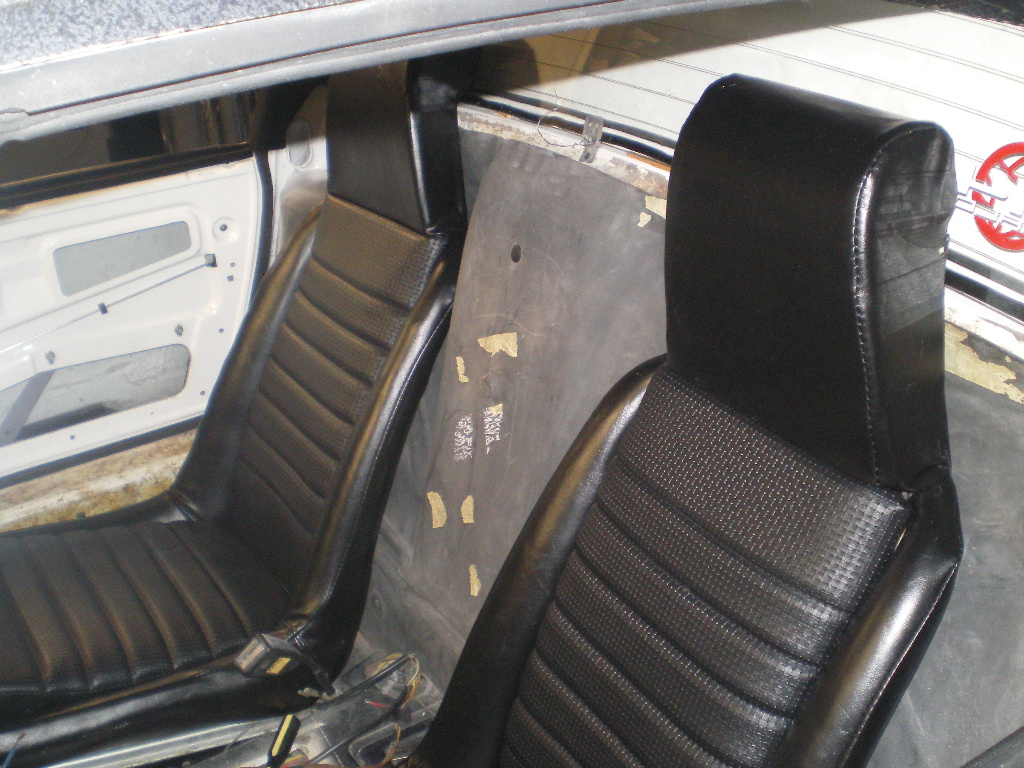
The seats weren't quite as much fun as the backpad. (IMG:style_emoticons/default/shades.gif) I was thankful that Ian had gone before me and produced a video for the rest of us idiots that presume we can do anything. The second seat I recovered had been recovered before and the listing/stay wires weren't present. Ian used coat hanger wire and I suspect that is one of the reasons he fought the wrinkles on the bolsters. I'm no pro but I think if the wire bends easily then you will not have a uniform pulling force across the fabric. It needs to be pulled down tightly. I found a suitable substitute for the missing stay wires at Hank's Hardware (local to me). It is called music wire. The 2mm version is identical should you need some.
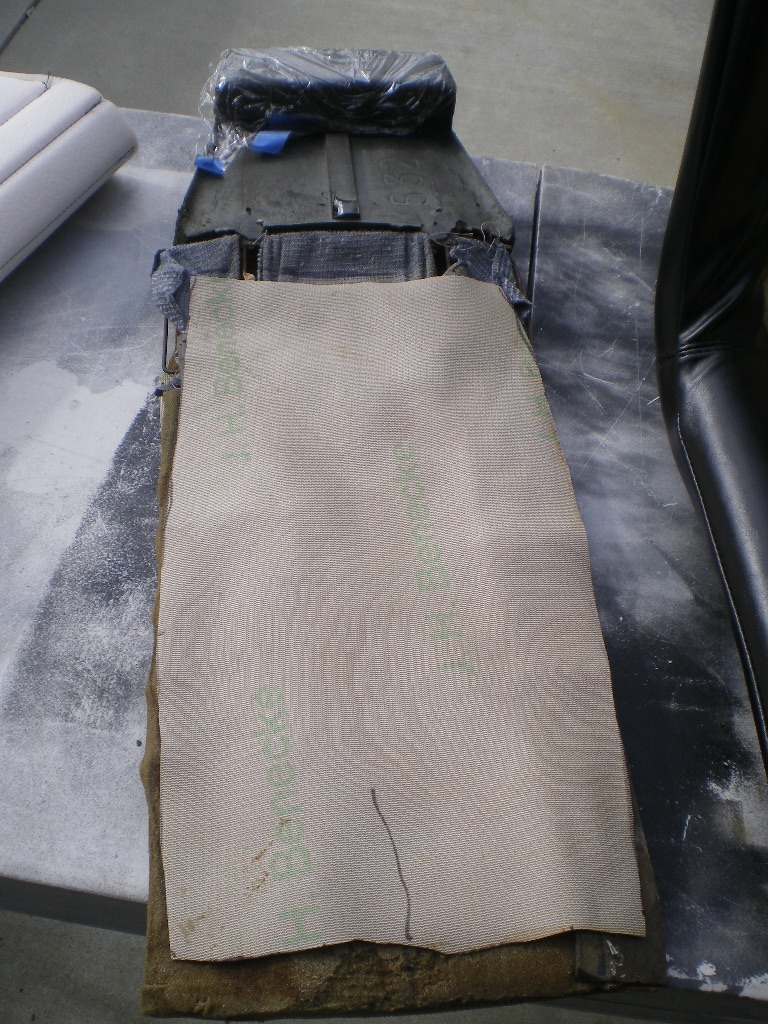
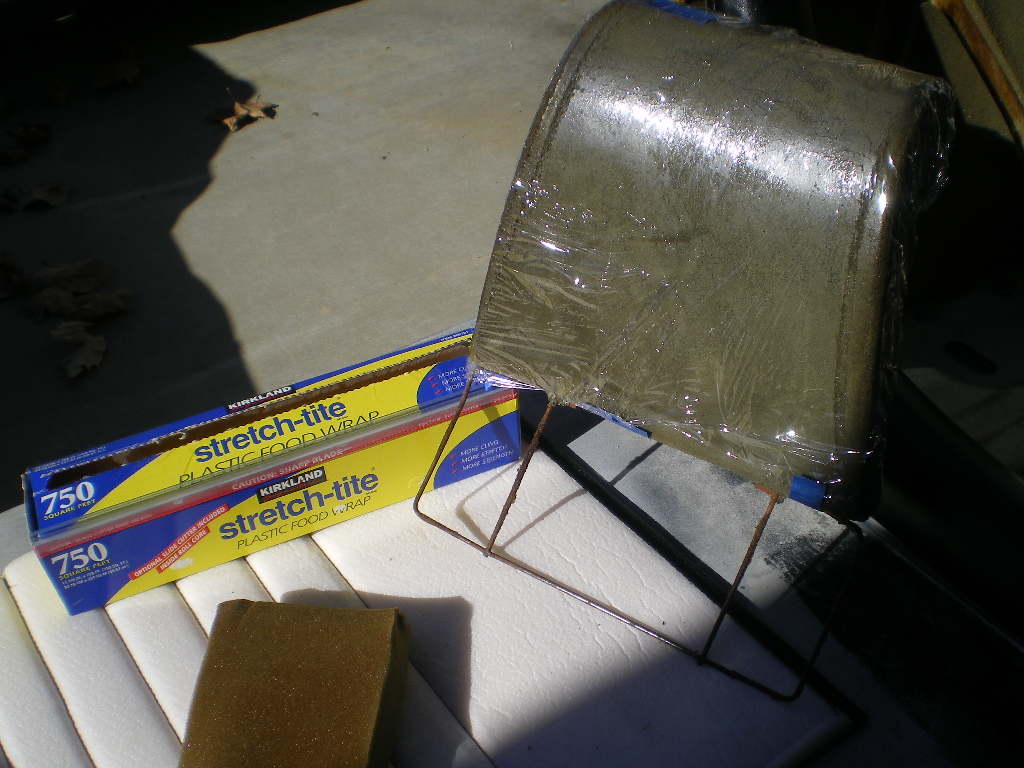
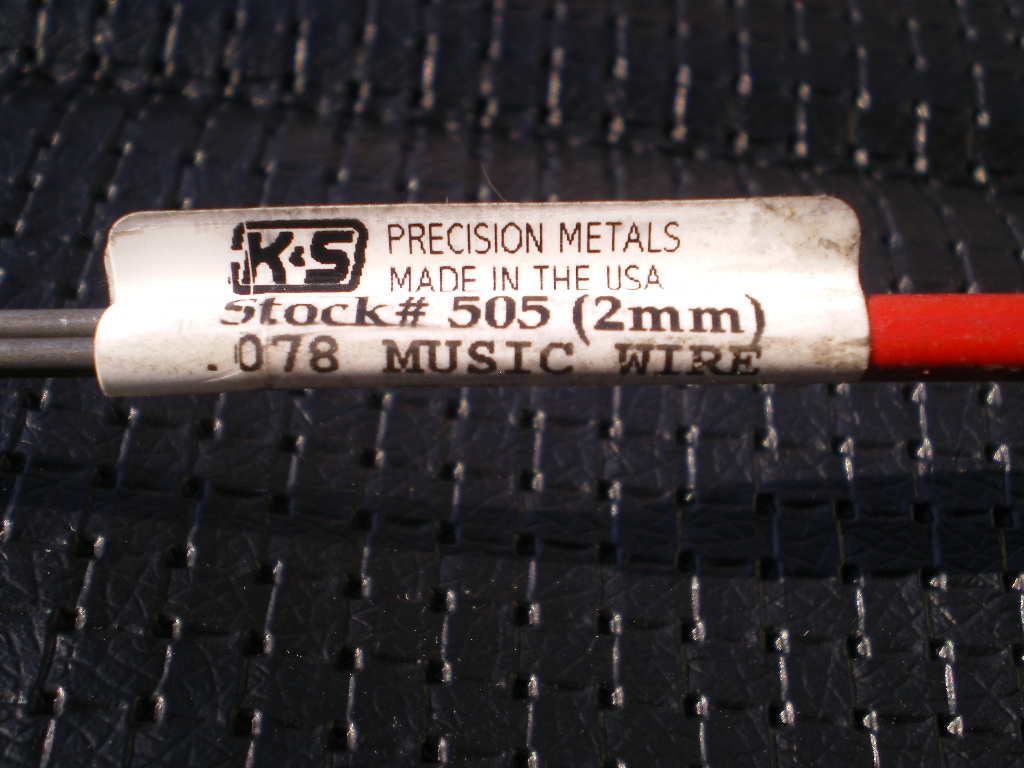 Since Ian has already covered this in great detail I won't go over it again except to add this one very important item I discovered along the way. Do you remember Ian struggling with stretching the material over the foam pieces?. It is indeed a Bitch unless you cover those pieces with Saran Wrap first. It's cheap and slicker than Greased Owl Shit. Here are a bunch of pic's from my attempt to reupholster the interior and cheat some poor upholsterer out of his hard earned wages. 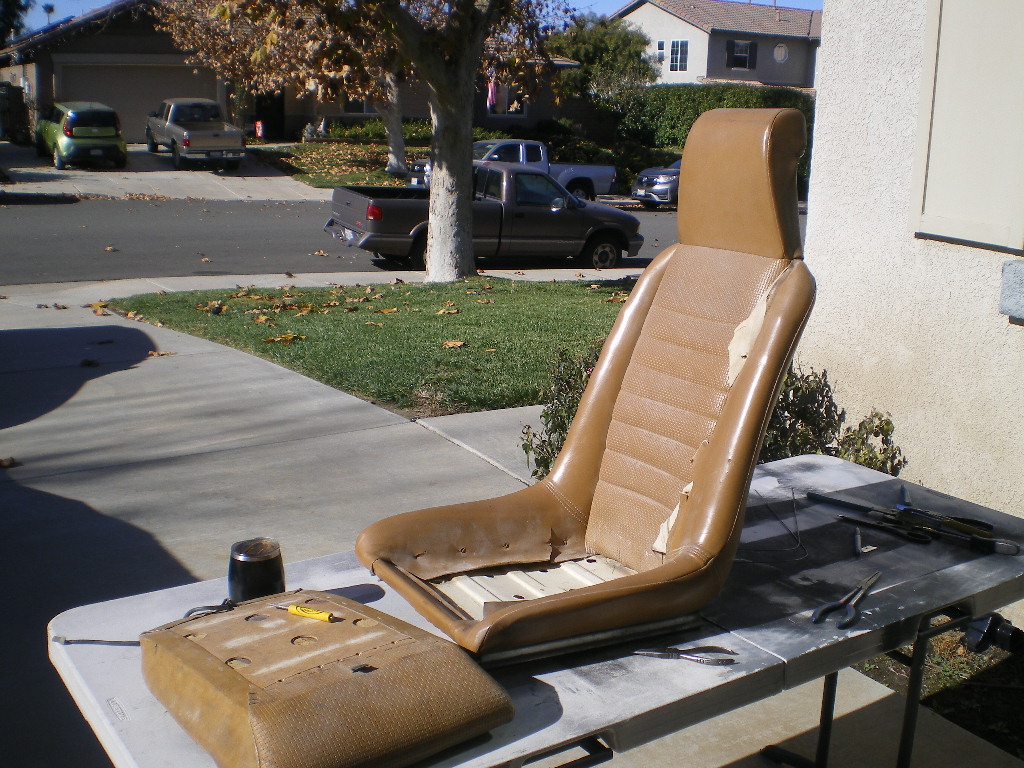 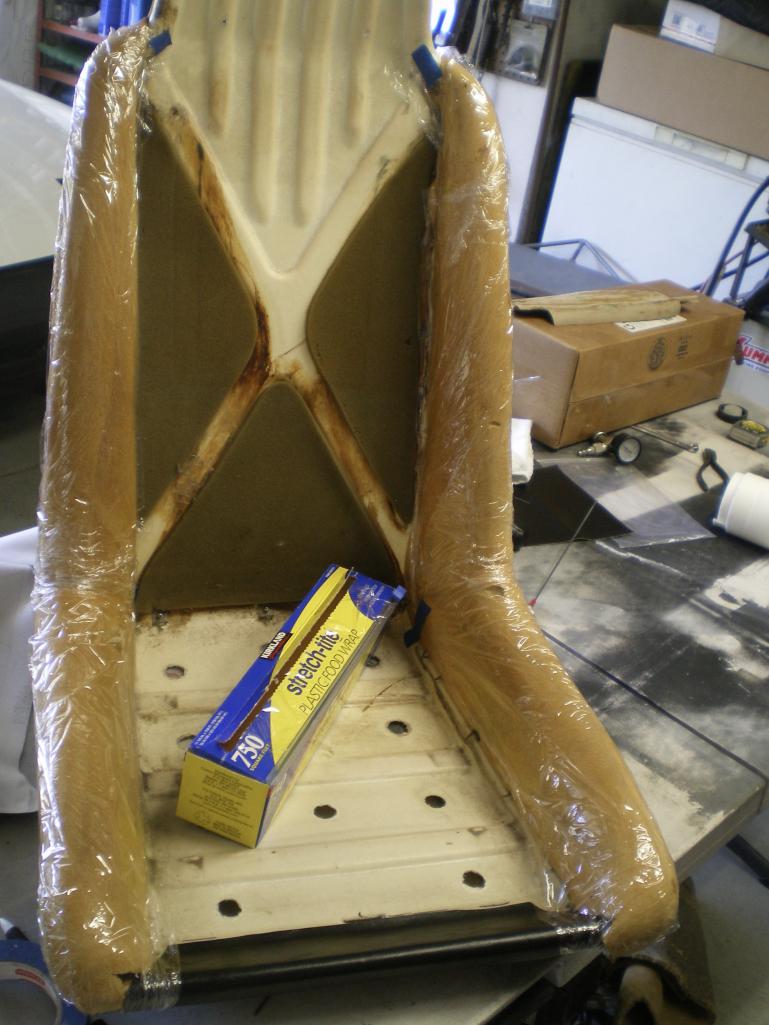 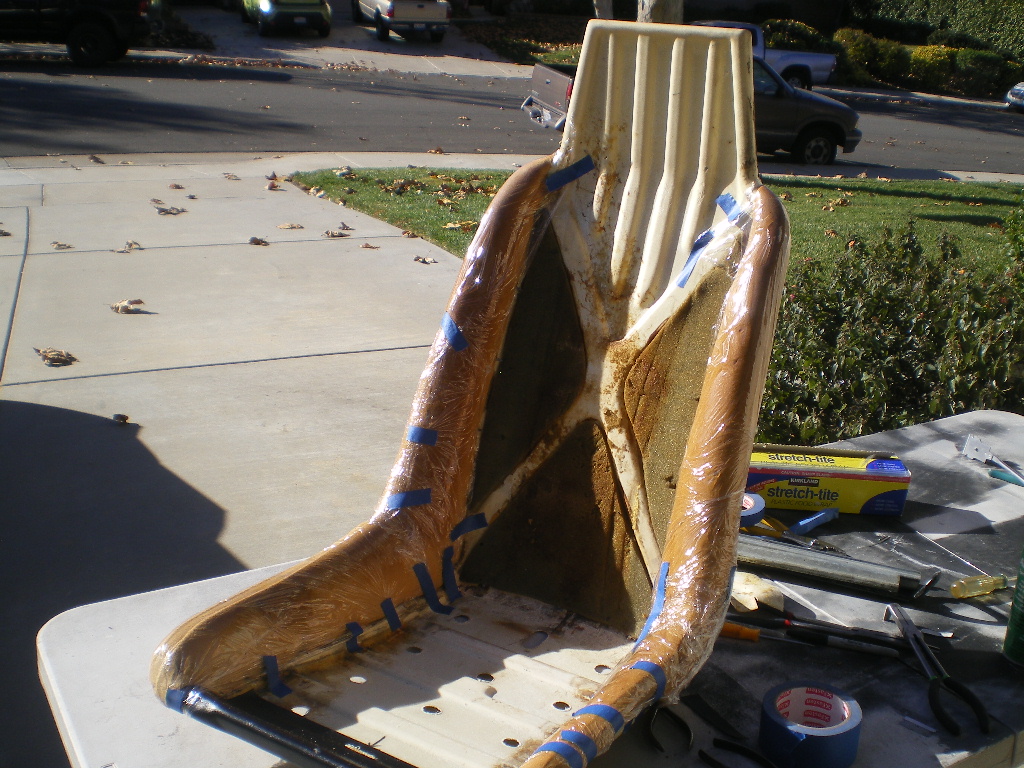 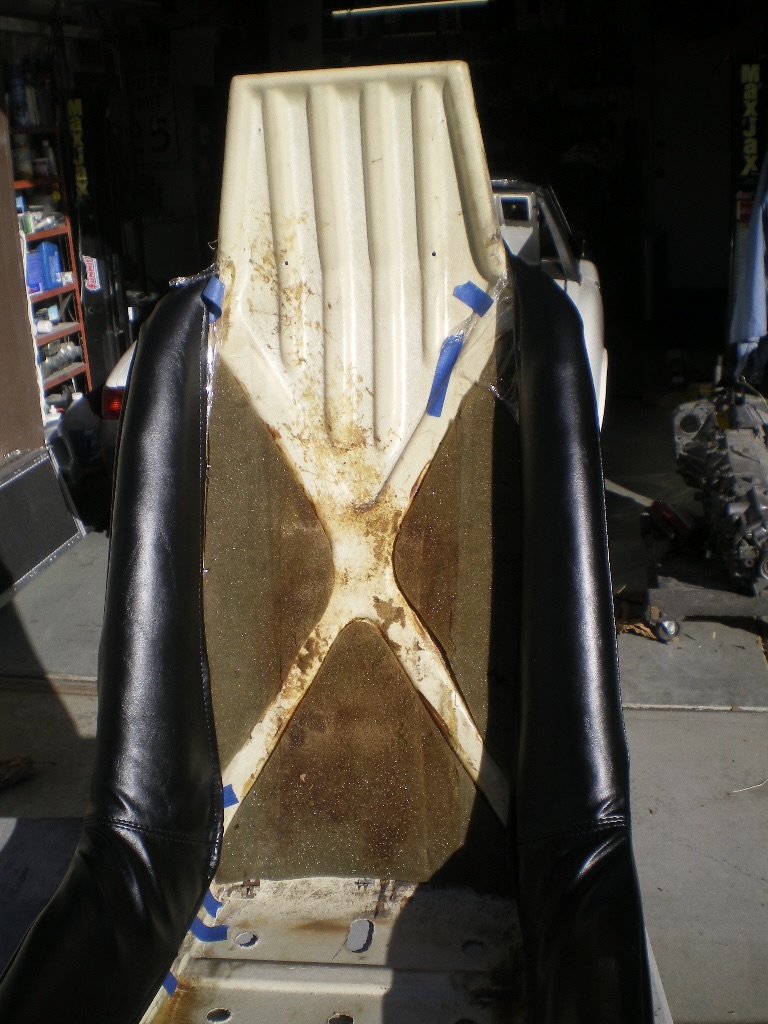 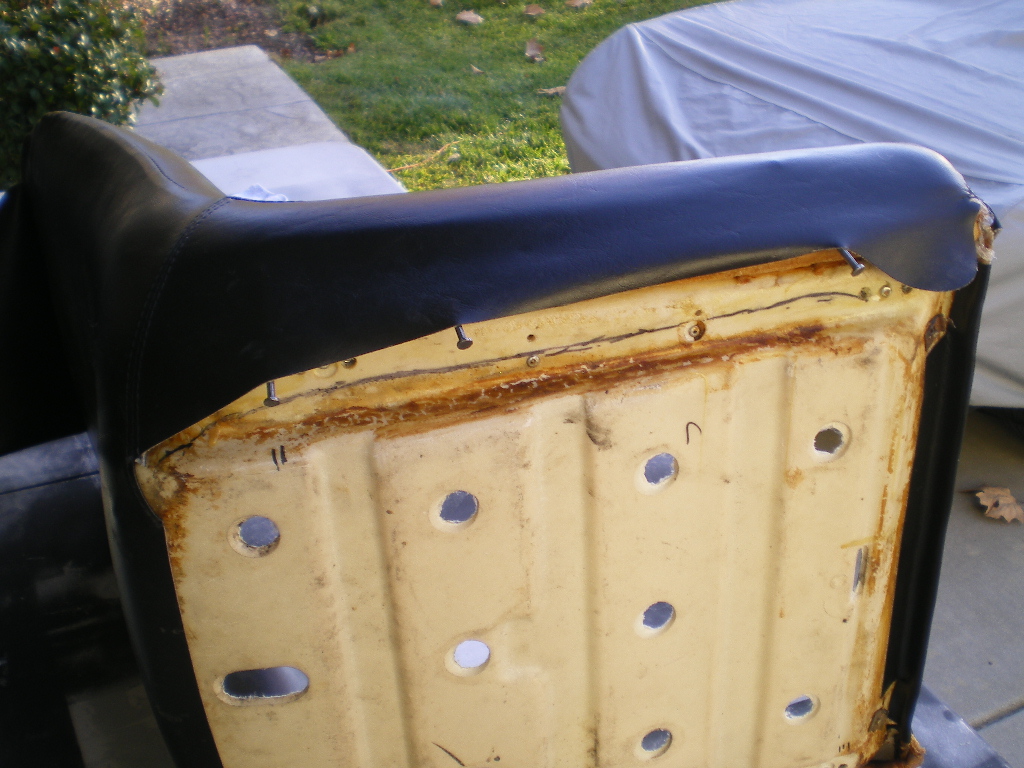 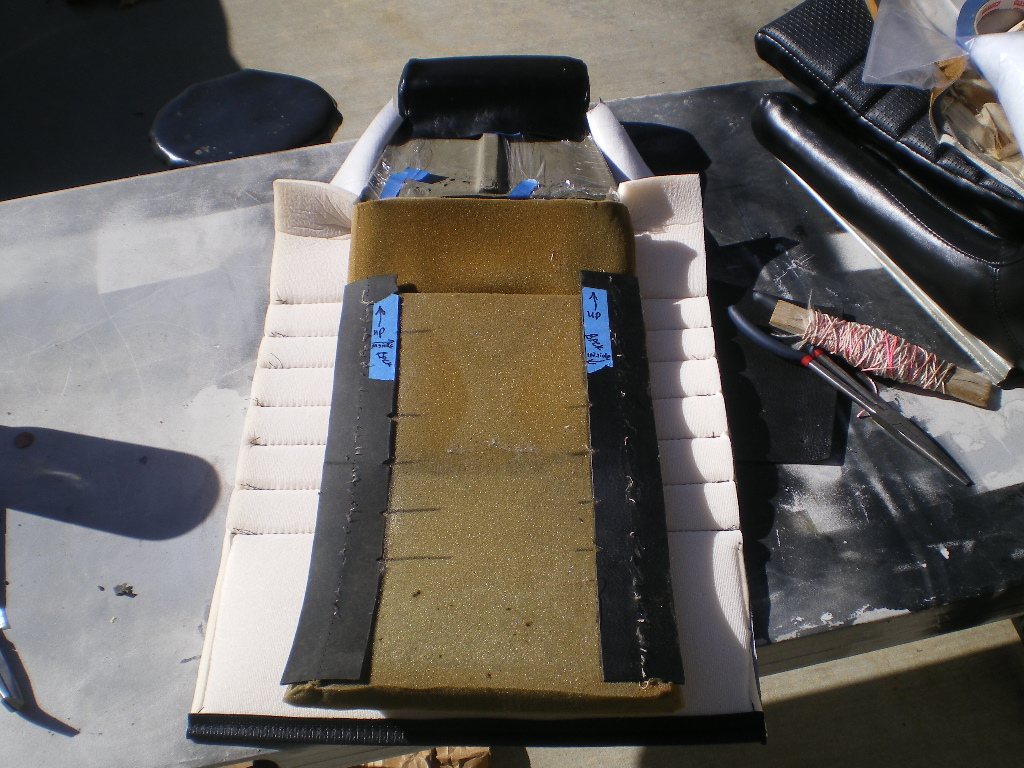 |
| 76-914 |
 Feb 17 2024, 07:07 PM Feb 17 2024, 07:07 PM
Post
#146
|
|
Repeat Offender & Resident Subaru Antagonist           Group: Members Posts: 13,634 Joined: 23-January 09 From: Temecula, CA Member No.: 9,964 Region Association: Southern California 
|
a few more
         |
| BillC |
 Feb 17 2024, 07:25 PM Feb 17 2024, 07:25 PM
Post
#147
|
|
Senior Member    Group: Members Posts: 555 Joined: 24-April 15 From: Silver Spring, MD Member No.: 18,667 Region Association: MidAtlantic Region 
|
Excellent job on those seats!
|
| 76-914 |
 Feb 17 2024, 07:30 PM Feb 17 2024, 07:30 PM
Post
#148
|
|
Repeat Offender & Resident Subaru Antagonist           Group: Members Posts: 13,634 Joined: 23-January 09 From: Temecula, CA Member No.: 9,964 Region Association: Southern California 
|
Then it was on to the carpet. First the trim pieces were glued in place. There are 2 trim pieces on the rear of the door opening and 2 more behind the seat belt mechanism that aren't shown.
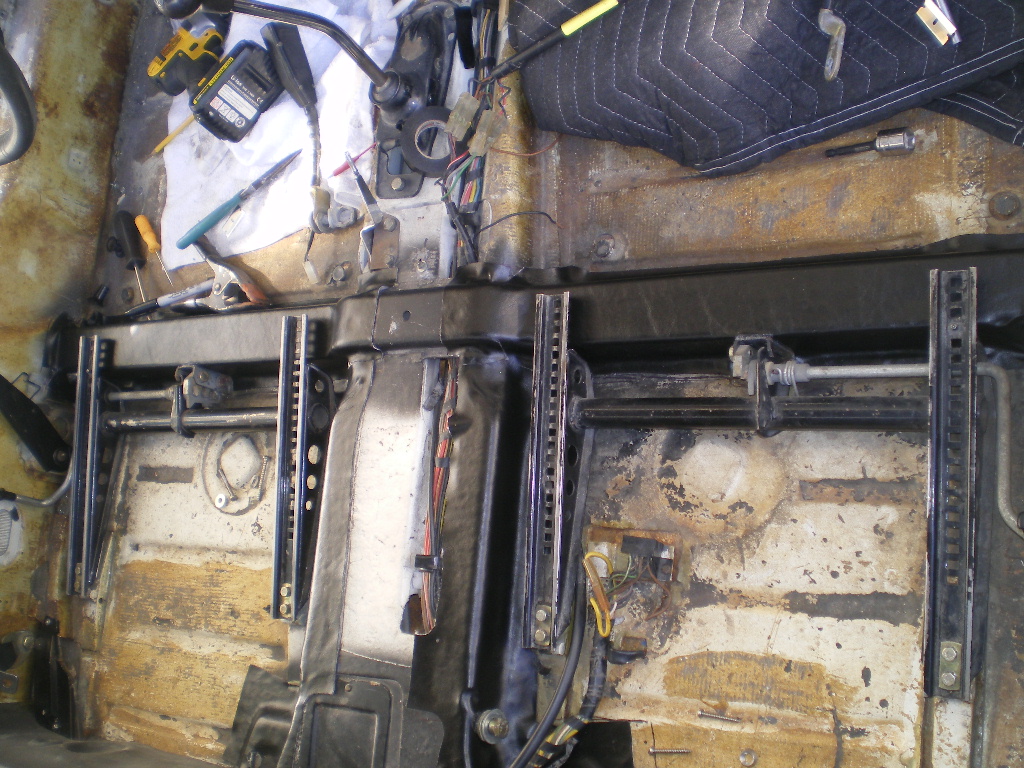 Then the carpet can be laid. My first attempt at this years ago was to glue everything down. That is the yellowish brown discoloration you see on the floor. Awhile back I read where George said that only the top portion of the side pieces are glued into place so that was how I did it; this time. (IMG:style_emoticons/default/chair.gif) Oh, and those 2 small firewall pieces. It was that screws or magnets. They will not remain in place on their own! I also found a way to mold the carpet into the recess next to the hand brake. Check it out. (IMG:style_emoticons/default/first.gif) Excuse the wood chips 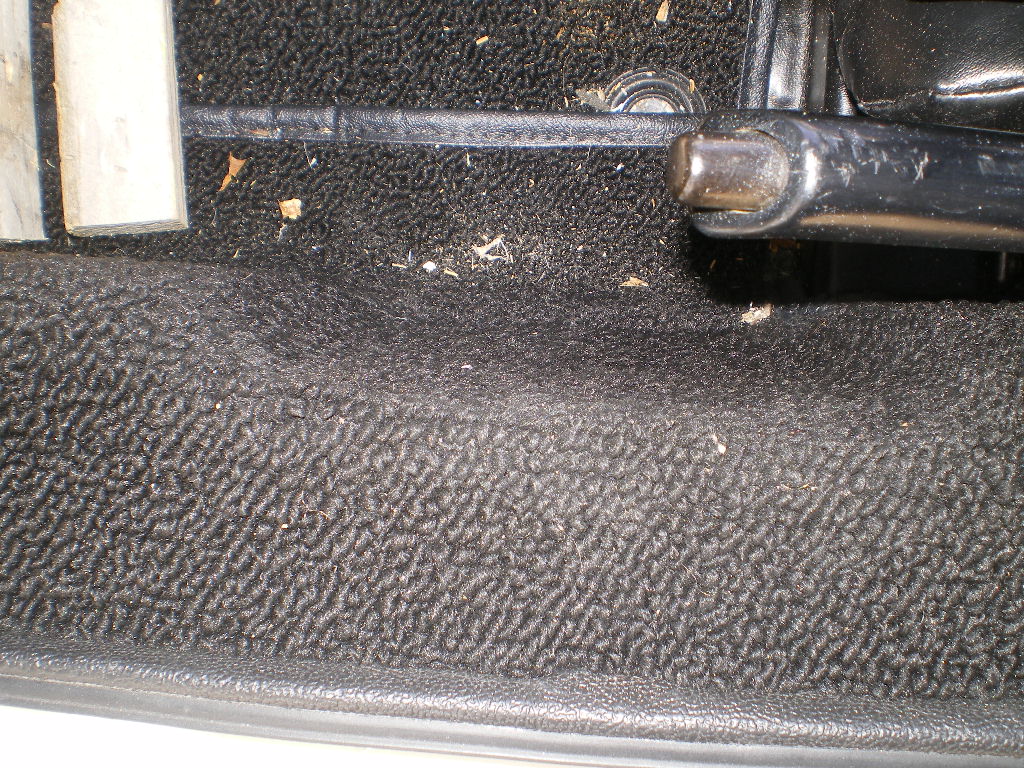 This is all it took. A few minutes of steam, a piece of plywood with a carpeted face and 2 posts to apply pressure. Let it sit overnight and voila. 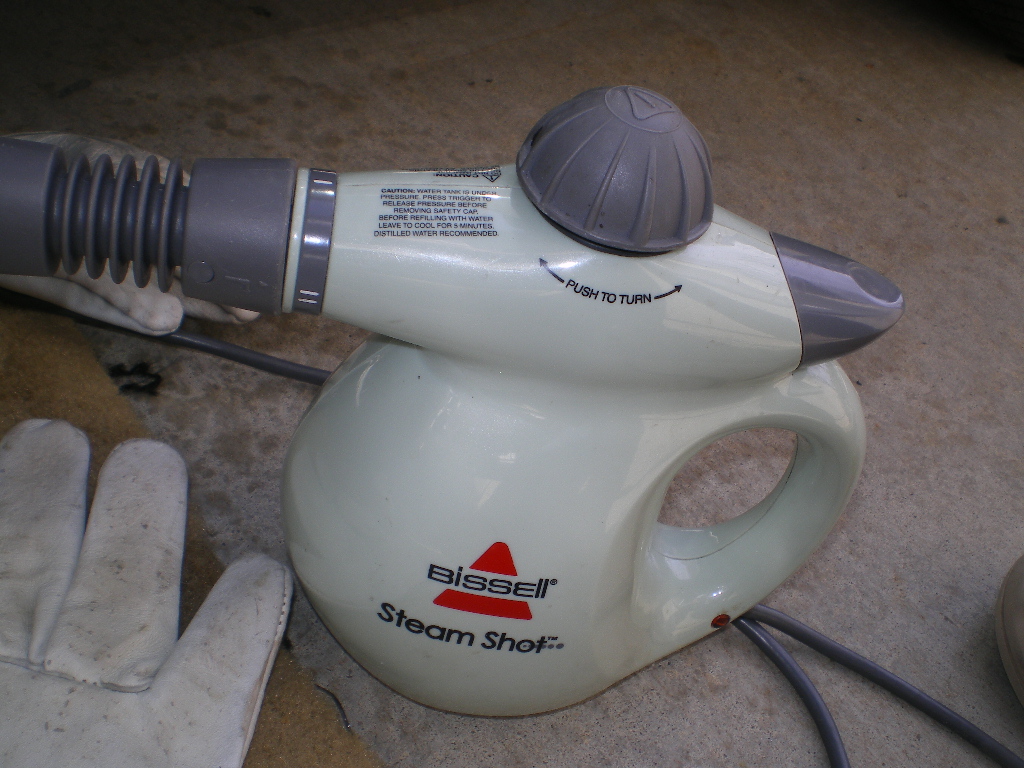 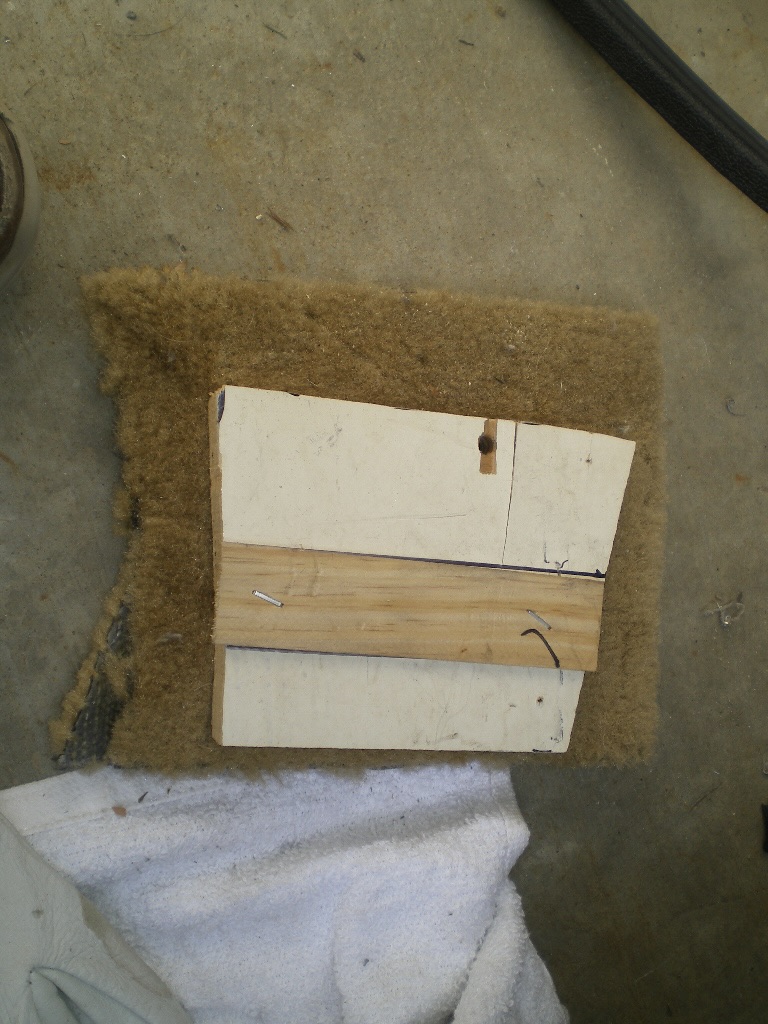 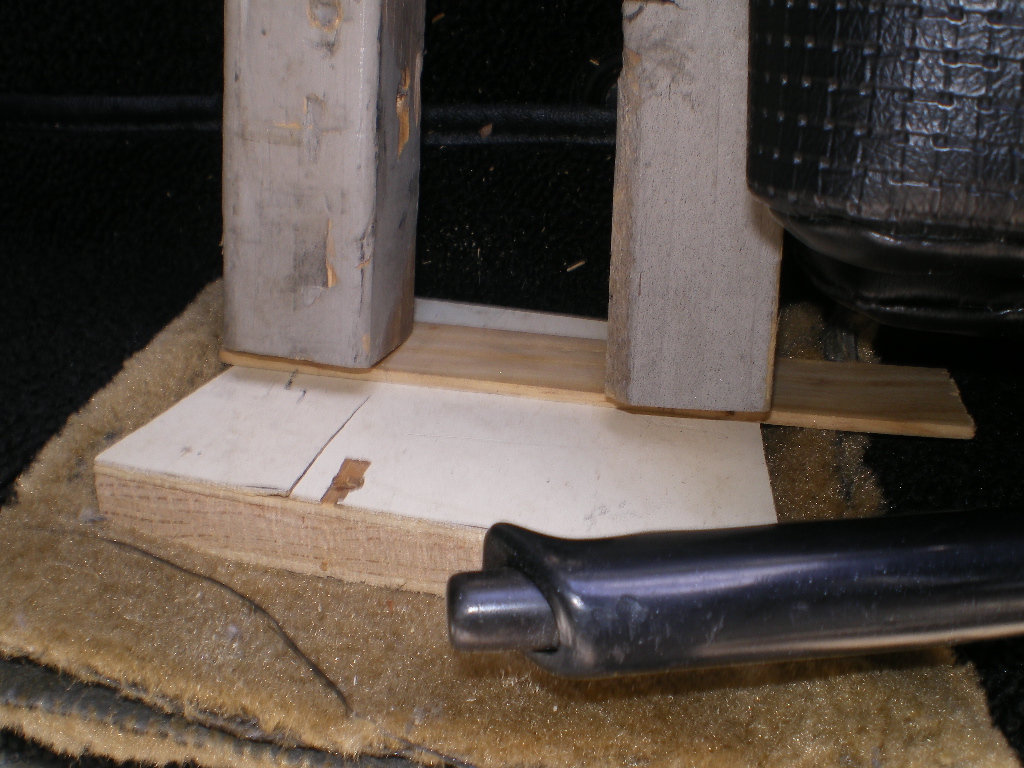 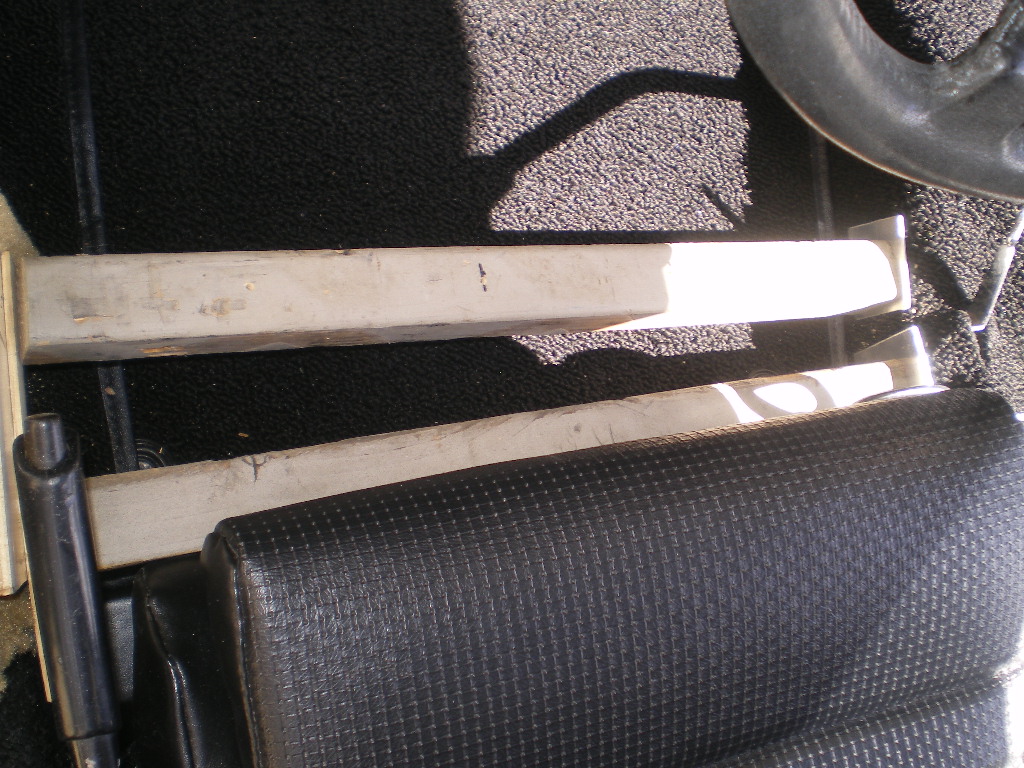 Attached image(s) 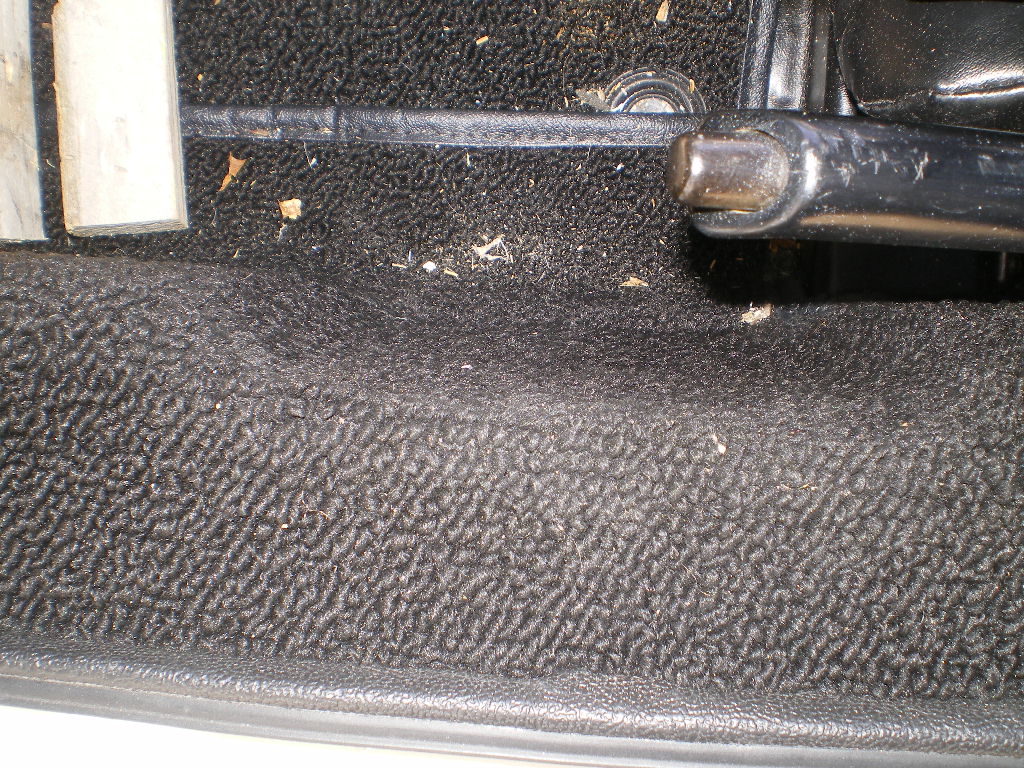
|
| 76-914 |
 Feb 17 2024, 07:32 PM Feb 17 2024, 07:32 PM
Post
#149
|
|
Repeat Offender & Resident Subaru Antagonist           Group: Members Posts: 13,634 Joined: 23-January 09 From: Temecula, CA Member No.: 9,964 Region Association: Southern California 
|
Supper time I'll post pics of the installed 914rubber door cards tomorrow.
|
| East coaster |
 Feb 18 2024, 06:11 AM Feb 18 2024, 06:11 AM
Post
#150
|
|
Senior Member    Group: Members Posts: 1,776 Joined: 28-March 03 From: Millville, NJ Member No.: 487 Region Association: None 
|
Nice job on the seats, they look great!
|
| rick 918-S |
 Feb 18 2024, 07:12 AM Feb 18 2024, 07:12 AM
Post
#151
|
|
Hey nice rack! -Celette                Group: Members Posts: 20,785 Joined: 30-December 02 From: Now in Superior WI Member No.: 43 Region Association: Northstar Region 

|
Lookin Good (IMG:style_emoticons/default/popcorn[1].gif)
|
| mepstein |
 Feb 18 2024, 08:11 AM Feb 18 2024, 08:11 AM
Post
#152
|
|
914-6 GT in waiting                Group: Members Posts: 19,596 Joined: 19-September 09 From: Landenberg, PA/Wilmington, DE Member No.: 10,825 Region Association: MidAtlantic Region 
|
Careful use of a heat gun will get rid of the wrinkles. Pre-warming the vinyl with a heat gun (warm, not hot) helps everything lay down easier.
|
| 76-914 |
 Feb 18 2024, 07:35 PM Feb 18 2024, 07:35 PM
Post
#153
|
|
Repeat Offender & Resident Subaru Antagonist           Group: Members Posts: 13,634 Joined: 23-January 09 From: Temecula, CA Member No.: 9,964 Region Association: Southern California 
|
Thx guys. Mark, I have a heat gun but use it judiciously. Steam is generally safe to use as its temps are constant. I've used it to straighten warped cardboard panels using clamps and 1x4's too. Very handy tool. Here are some pics of the door cards installed; for the most part anyway. (IMG:style_emoticons/default/mad.gif)
I 86'd the door speakers since the ones in the OEM pods are pretty nice. And as one member said, "Who buys a 914 for the stereo anyway?" I did reinforce the area that was butchered by the previous stereo installer. I also ran the speaker wire thru water tight grommets and marked the speaker mounting holes for the next owner should they desire adding them. The speakers will go with the car when sold. 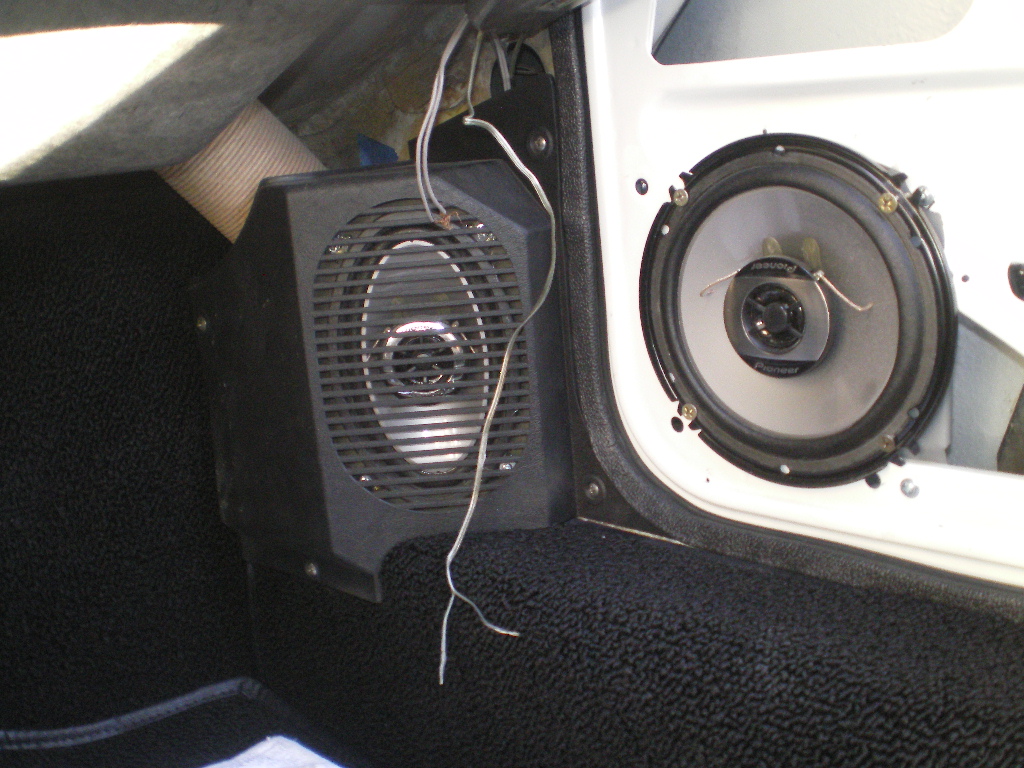 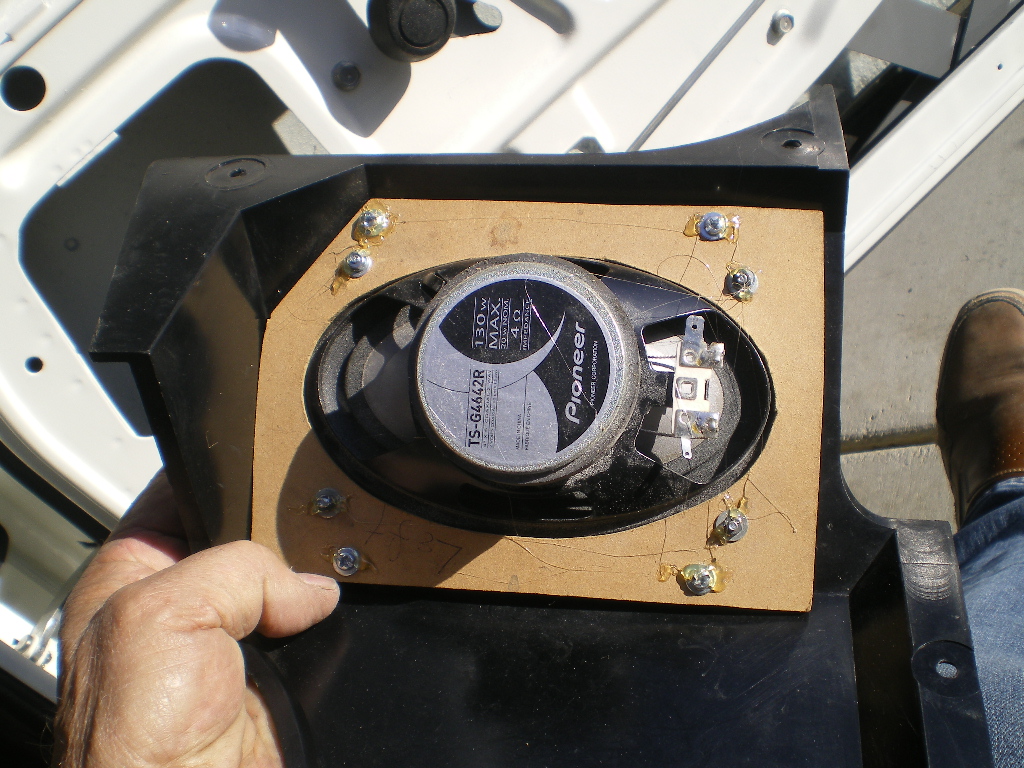 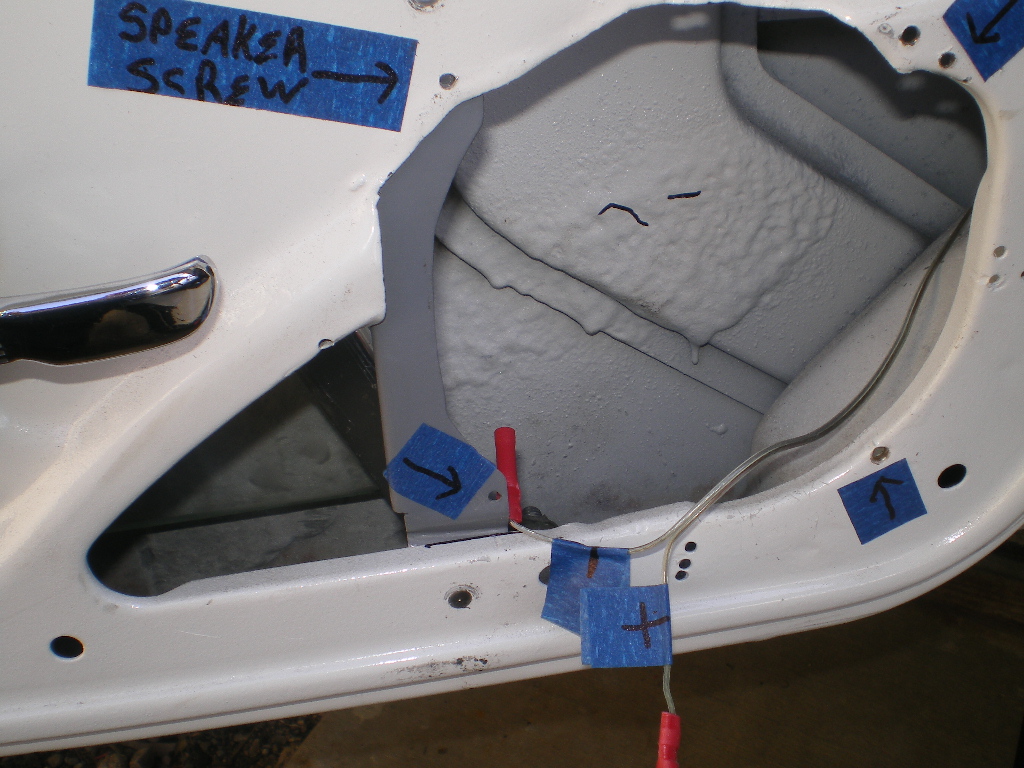 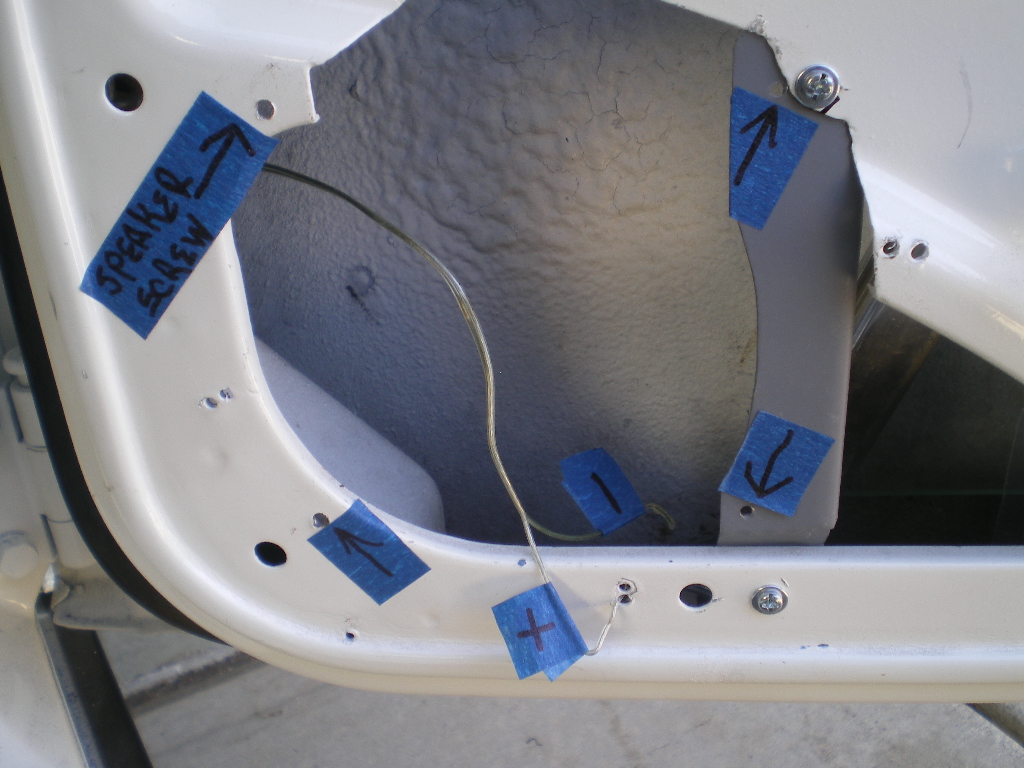 I added a metal grommet to accept the spring for the lid on the map box which required removing some of the covering. There is a small hole in the pressboard card for the spring but my old card had a metal grommet so I used one. I wasn't too keen on that metal spring hooking onto that pressboard material. 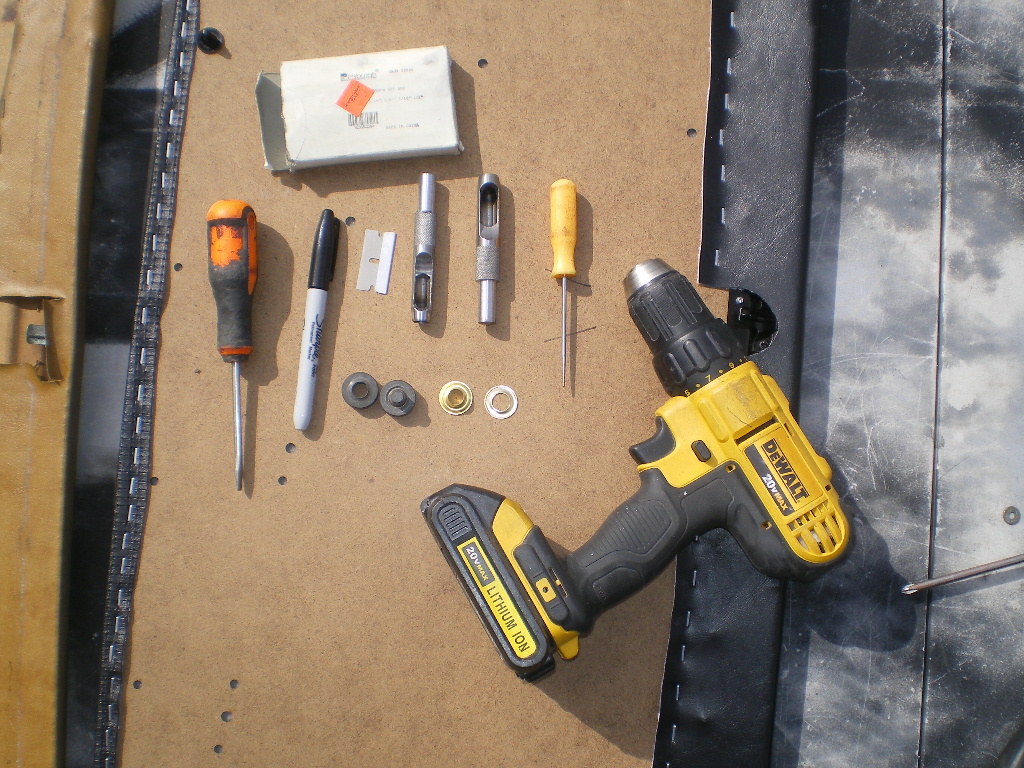 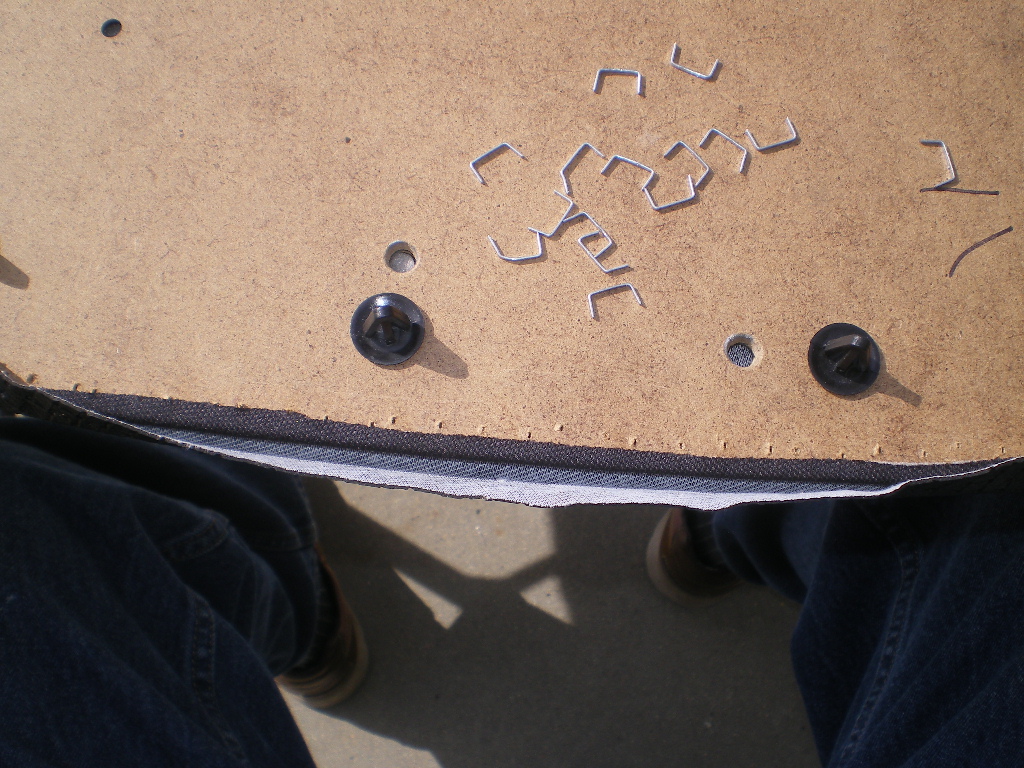 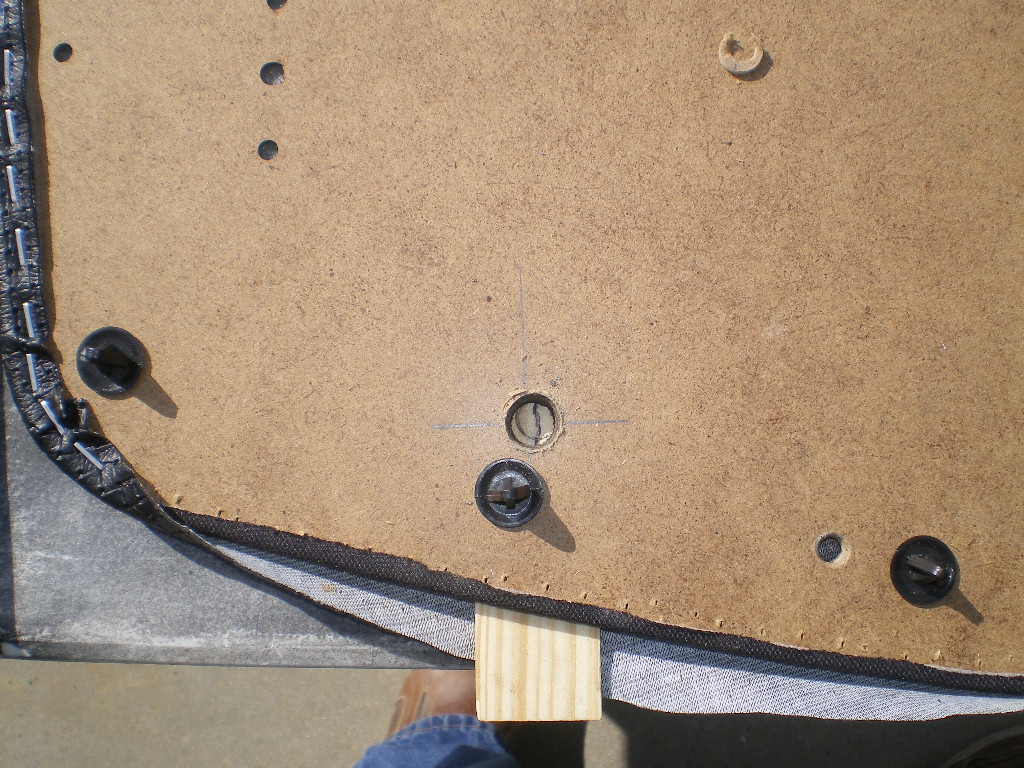 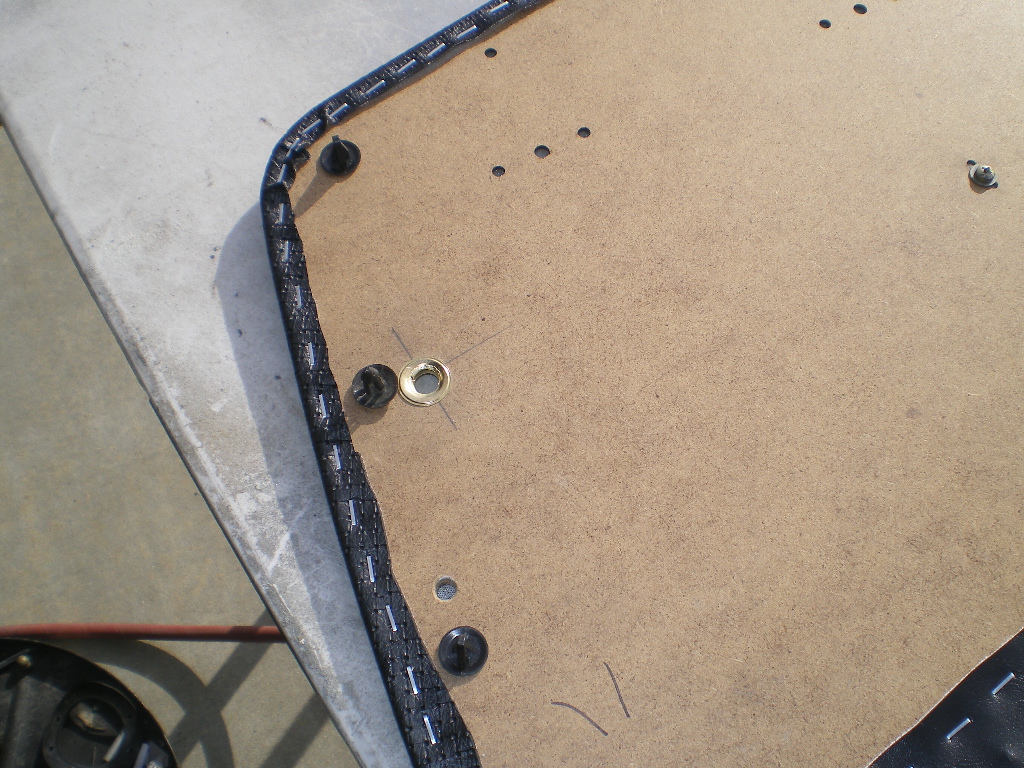 |
| 76-914 |
 Feb 18 2024, 07:54 PM Feb 18 2024, 07:54 PM
Post
#154
|
|
Repeat Offender & Resident Subaru Antagonist           Group: Members Posts: 13,634 Joined: 23-January 09 From: Temecula, CA Member No.: 9,964 Region Association: Southern California 
|
If you're using the map box's or whatever they're called you will need to make a hole in the covering. The holes are already punched in the pressboard. I used a short piece of 1/4" OD aluminum tube and reamed the inside edge to make a cutter tool. It dulls after 1-2 cuts and needs to be reamed again. If I had more to do I'd have turned an old bolt on the lathe instead.
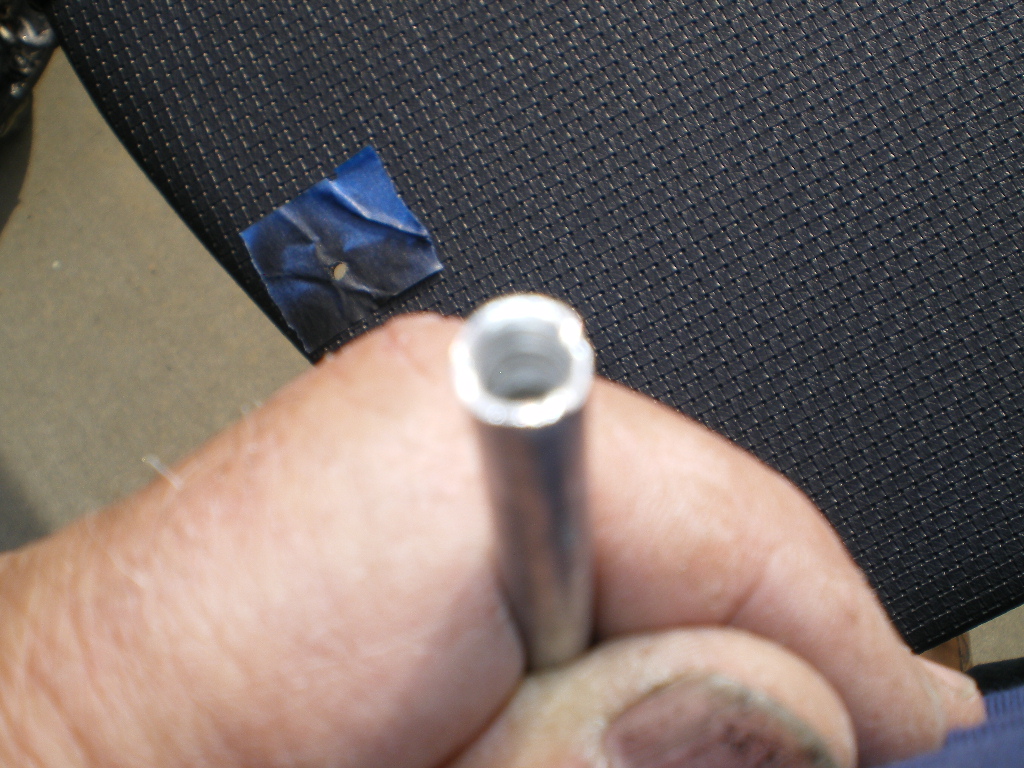 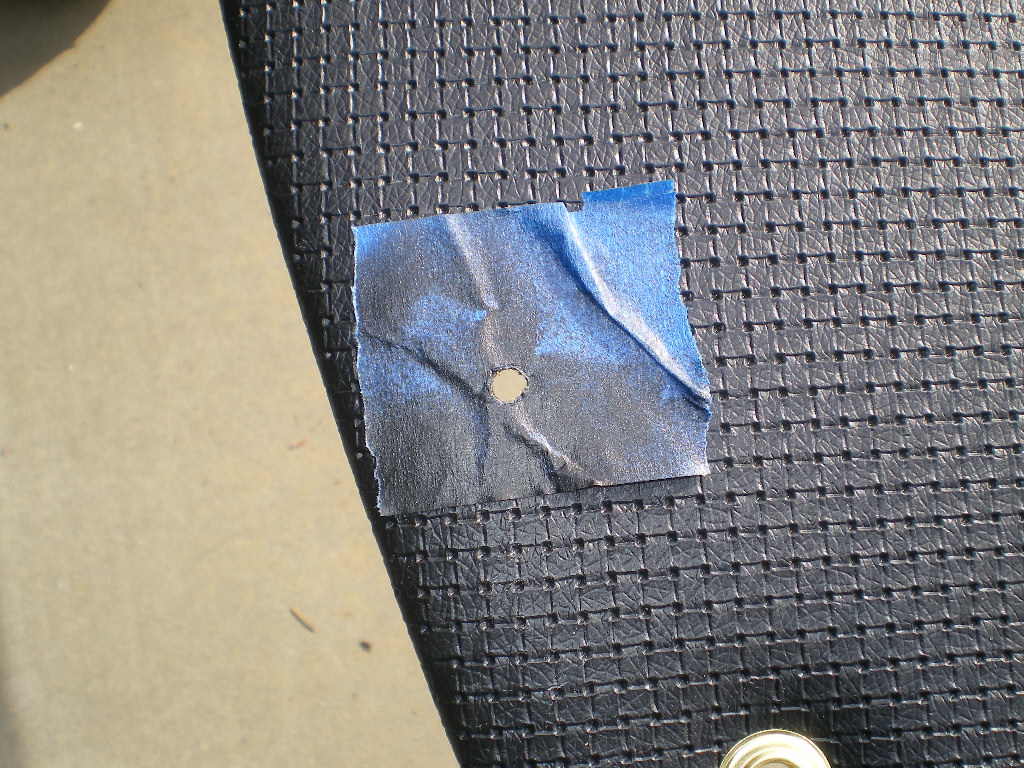 The rubber cups that were shipped with the door cards are a POS. I'm calling 914rubber tomorrow to get the plastic ones. Look at what happens to the rubber ones after taking the door card off/on 3 times. Everyone of these is hanging by a thread. (IMG:style_emoticons/default/WTF.gif) @Mikey914 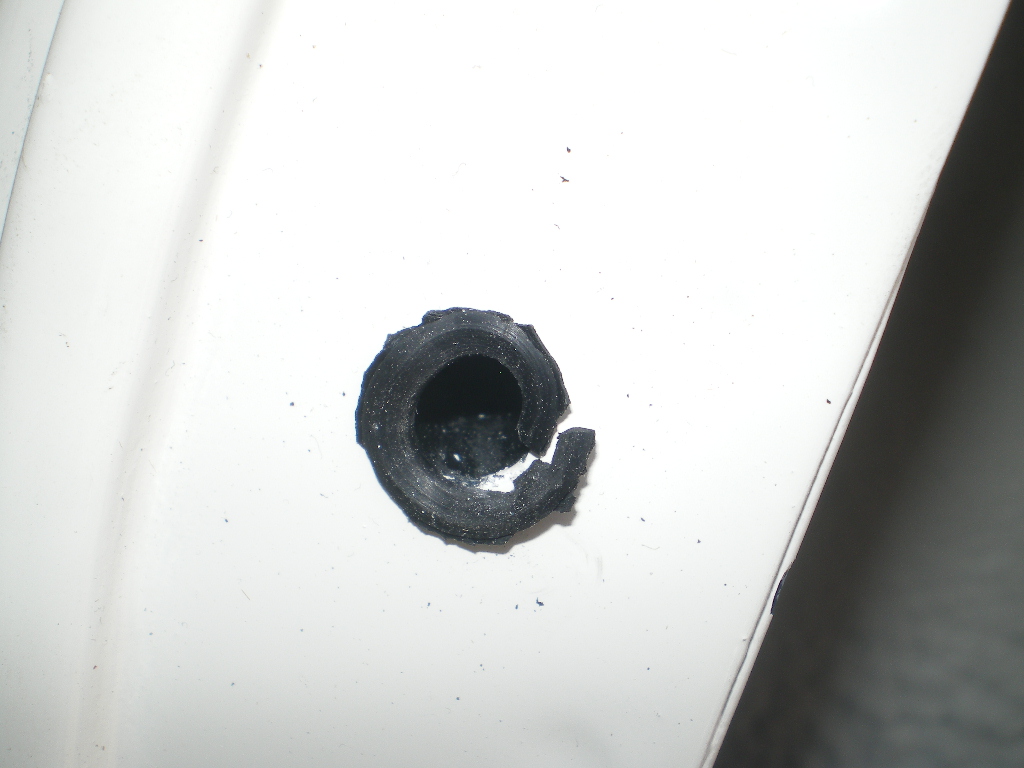 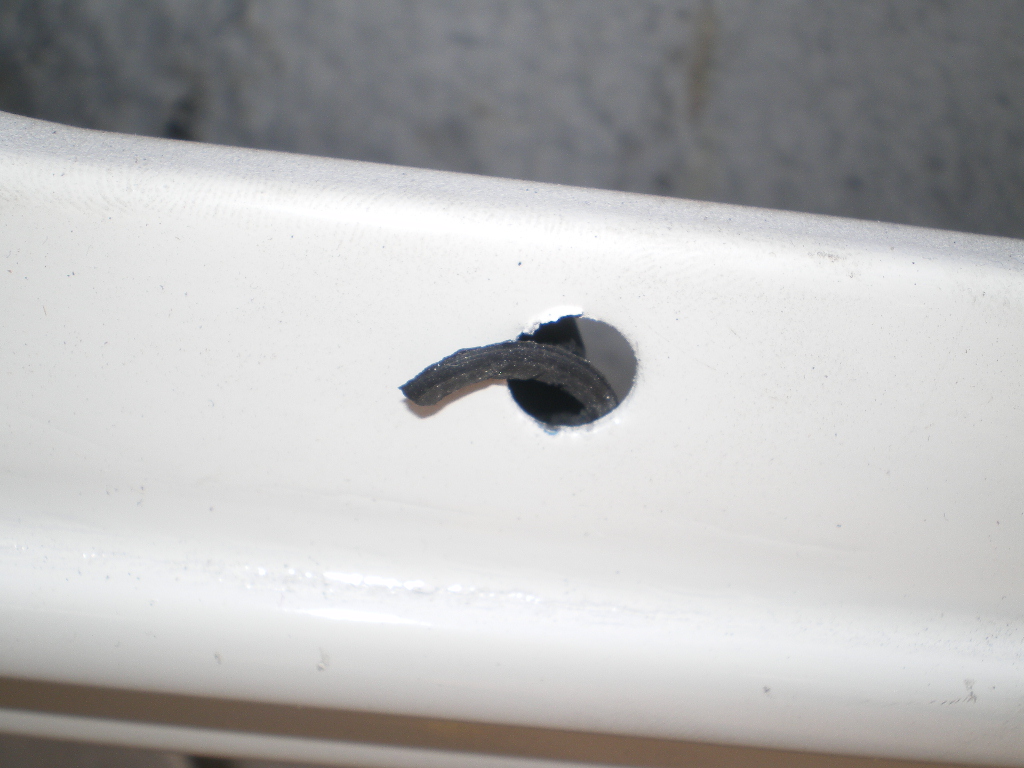 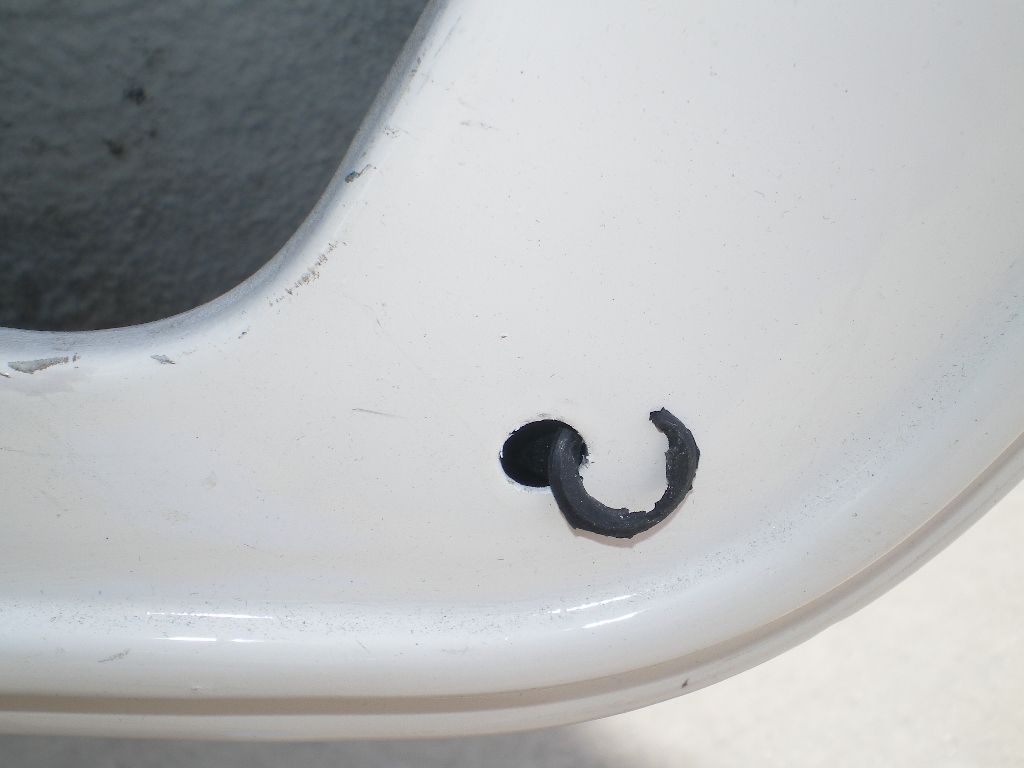 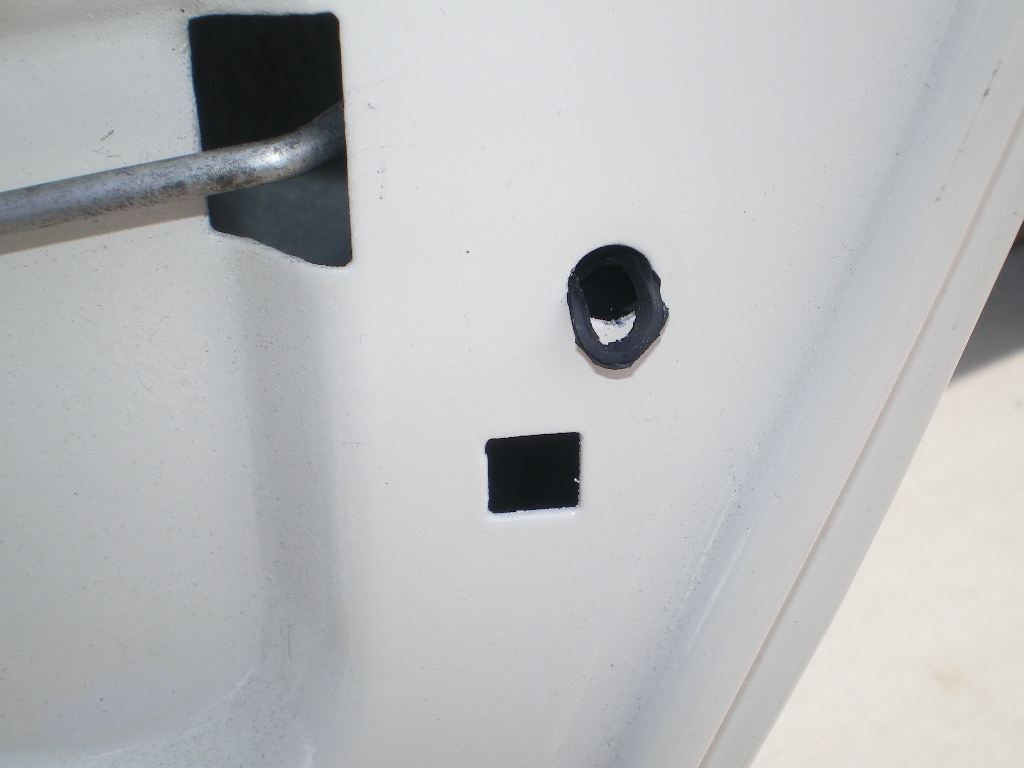 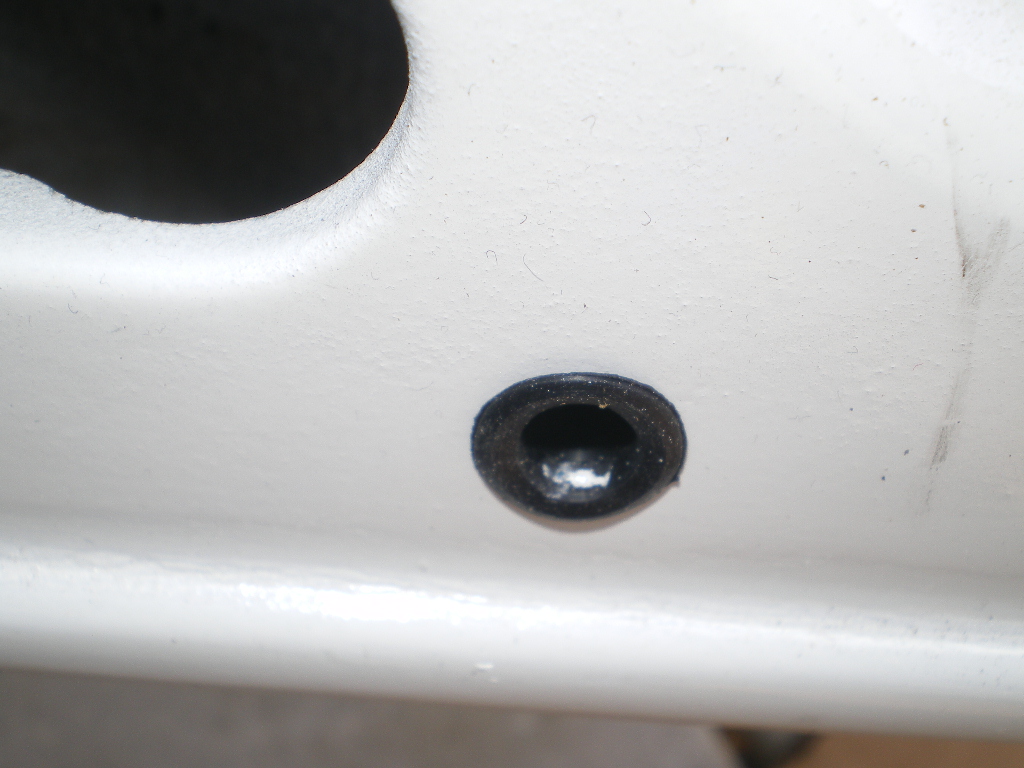 The only thing holding these on are the machine screws used on the map compartments. They do look nice though. (IMG:style_emoticons/default/lol-2.gif) 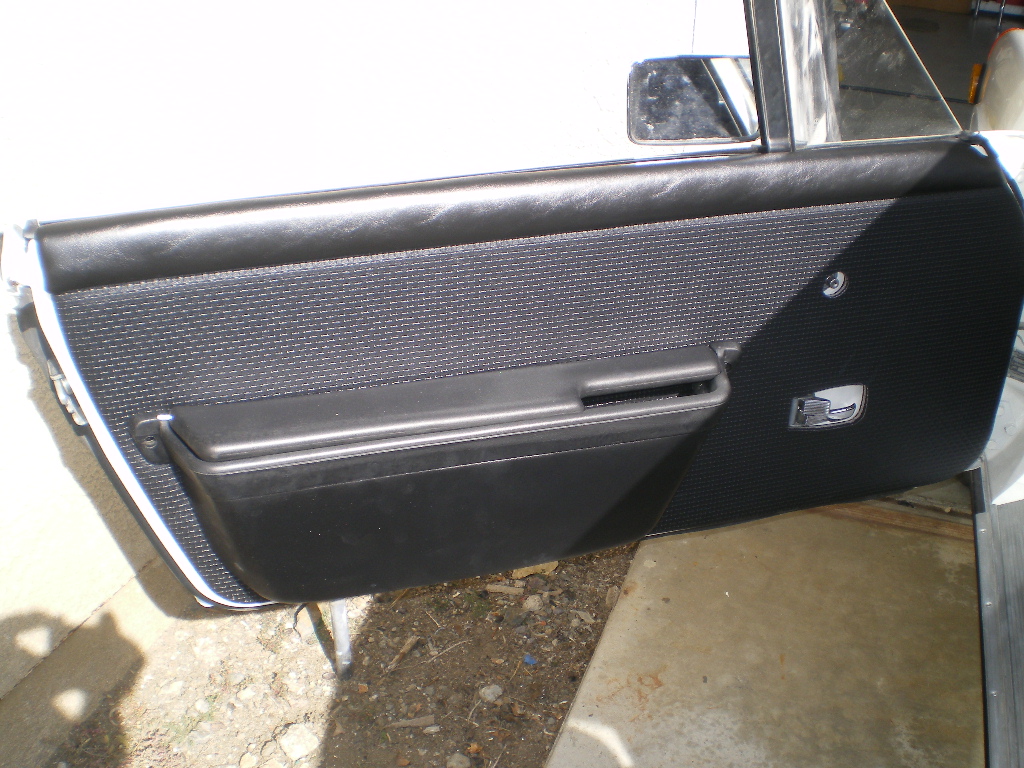 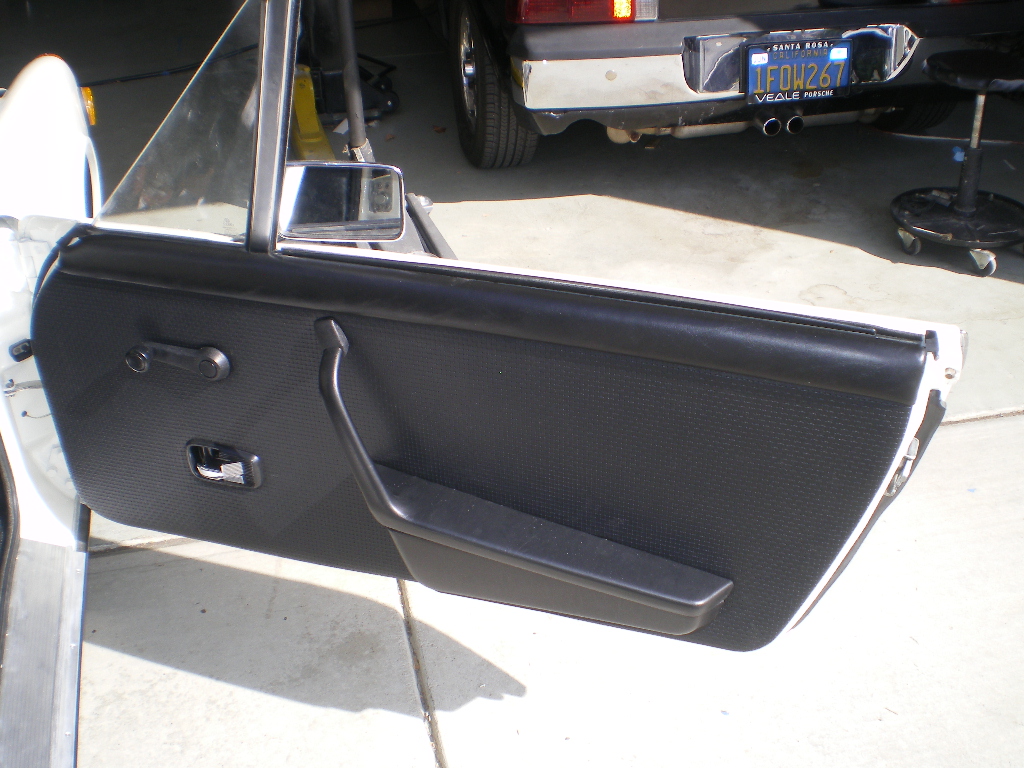 |
| Mikey914 |
 Feb 18 2024, 10:46 PM Feb 18 2024, 10:46 PM
Post
#155
|
|
The rubber man           Group: Members Posts: 12,736 Joined: 27-December 04 From: Hillsboro, OR Member No.: 3,348 Region Association: None 
|
Got them right here
https://914rubber.com/clear-door-panel-cup |
| rhodyguy |
 Feb 19 2024, 08:43 AM Feb 19 2024, 08:43 AM
Post
#156
|
|
Chimp Sanctuary NW. Check it out.                Group: Members Posts: 22,192 Joined: 2-March 03 From: Orion's Bell. The BELL! Member No.: 378 Region Association: Galt's Gulch |
Kent’s Plumbing morphs into Kent’s Uphostery.
|
  |
2 User(s) are reading this topic (2 Guests and 0 Anonymous Users)
0 Members:

|
Lo-Fi Version | Time is now: 24th November 2024 - 09:01 PM |
Invision Power Board
v9.1.4 © 2024 IPS, Inc.


