|
|

|
Porsche, and the Porsche crest are registered trademarks of Dr. Ing. h.c. F. Porsche AG.
This site is not affiliated with Porsche in any way. Its only purpose is to provide an online forum for car enthusiasts. All other trademarks are property of their respective owners. |
|
|
  |
| mills914/s |
 Apr 24 2007, 05:50 PM Apr 24 2007, 05:50 PM
Post
#1
|
|
Member   Group: Members Posts: 253 Joined: 23-December 06 From: Coeur D'Alene... IDAHO Member No.: 7,363 Region Association: Northern California |
(IMG:style_emoticons/default/sawzall-smiley.gif) How in the heck do you get new polyplastic bushings into factory rear drop links for the rear sway with out messing them up
I have tried heat....cold...soap ...shoe horn.. Whats the deal do I have to big of bushing or something? Any little tricks to force it in? (IMG:style_emoticons/default/sawzall-smiley.gif) Attached image(s) 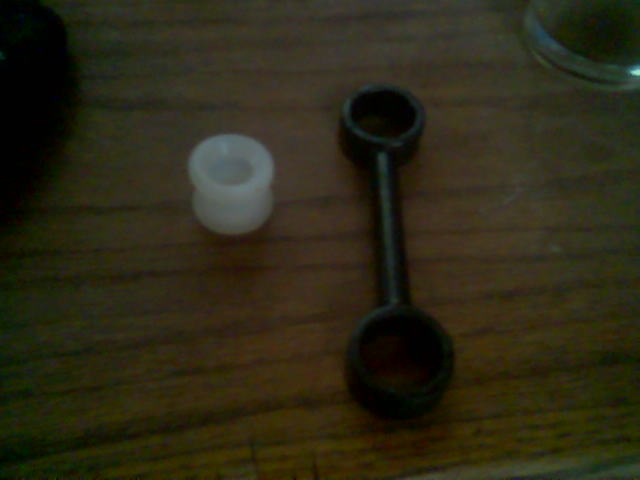
|
| Aaron Cox |
 Apr 24 2007, 05:53 PM Apr 24 2007, 05:53 PM
Post
#2
|
|
Professional Lawn Dart                Group: Retired Admin Posts: 24,541 Joined: 1-February 03 From: OC Member No.: 219 Region Association: Southern California |
they are a pain.. but doable.
soften em up with heat... and chase em in with a small screwdriver. heat pry and repeat. do not melt them or tear them. you can also use a small hose clamp to compress them, kinda like a ring compressor and chase em in that way..... once they are in, make sure you put one in one way, and one in the opposite... i made that mistake... on more than one install LOL |
| mills914/s |
 Apr 24 2007, 05:56 PM Apr 24 2007, 05:56 PM
Post
#3
|
|
Member   Group: Members Posts: 253 Joined: 23-December 06 From: Coeur D'Alene... IDAHO Member No.: 7,363 Region Association: Northern California |
Thanks Aaron if you didn't say that I would have put them in the same way
Seth |
| blitZ |
 Apr 24 2007, 06:03 PM Apr 24 2007, 06:03 PM
Post
#4
|
|
Beer please...     Group: Members Posts: 2,223 Joined: 31-August 05 From: Lawrenceville, GA Member No.: 4,719 Region Association: South East States |
I microwaved mine in a cup of water for a minute or so, then used channel locks to coax them in. The fun part is getting the ball in the socket.
|
| Aaron Cox |
 Apr 24 2007, 06:05 PM Apr 24 2007, 06:05 PM
Post
#5
|
|
Professional Lawn Dart                Group: Retired Admin Posts: 24,541 Joined: 1-February 03 From: OC Member No.: 219 Region Association: Southern California |
|
| brer |
 Apr 24 2007, 06:08 PM Apr 24 2007, 06:08 PM
Post
#6
|
|
Advanced Member     Group: Members Posts: 2,555 Joined: 10-March 05 From: san diego Member No.: 3,736 Region Association: None |
mine preloads.
thinking I might cut it in half and put a threaded collar on it. |
| Aaron Cox |
 Apr 24 2007, 06:14 PM Apr 24 2007, 06:14 PM
Post
#7
|
|
Professional Lawn Dart                Group: Retired Admin Posts: 24,541 Joined: 1-February 03 From: OC Member No.: 219 Region Association: Southern California |
mine preloads. thinking I might cut it in half and put a threaded collar on it. brando did just that.... smart move. do both and sell me one (IMG:style_emoticons/default/smile.gif) |
| mills914/s |
 Apr 24 2007, 06:17 PM Apr 24 2007, 06:17 PM
Post
#8
|
|
Member   Group: Members Posts: 253 Joined: 23-December 06 From: Coeur D'Alene... IDAHO Member No.: 7,363 Region Association: Northern California |
Wow that sucks !!!!! I got one in 3 more to go.
Thanks guys. |
| Cap'n Krusty |
 Apr 24 2007, 06:50 PM Apr 24 2007, 06:50 PM
Post
#9
|
|
Cap'n Krusty           Group: Members Posts: 10,794 Joined: 24-June 04 From: Santa Maria, CA Member No.: 2,246 Region Association: Central California |
I compress the cup and the link in a vise. One side will start to go in, then I coax the rest of it in with a blunt screwdriver. Figure on 3-5 minutes per socket, once you have the technique perfected. The Cap'n
|
| mills914/s |
 Apr 24 2007, 06:54 PM Apr 24 2007, 06:54 PM
Post
#10
|
|
Member   Group: Members Posts: 253 Joined: 23-December 06 From: Coeur D'Alene... IDAHO Member No.: 7,363 Region Association: Northern California |
Got em in next a c clamp to put them on.
Attached image(s) 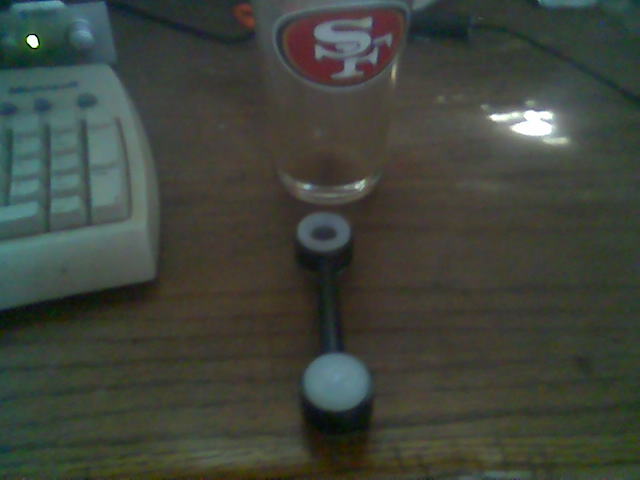
|
| McMark |
 Apr 25 2007, 12:42 AM Apr 25 2007, 12:42 AM
Post
#11
|
|
914 Freak!                Group: Retired Admin Posts: 20,179 Joined: 13-March 03 From: Grand Rapids, MI Member No.: 419 Region Association: None |
Cap'n has it right (duh) a vice is your friend. (IMG:style_emoticons/default/wink.gif)
|
| mills914/s |
 Apr 25 2007, 01:03 AM Apr 25 2007, 01:03 AM
Post
#12
|
|
Member   Group: Members Posts: 253 Joined: 23-December 06 From: Coeur D'Alene... IDAHO Member No.: 7,363 Region Association: Northern California |
Im almost ready for the ramble !!!!! Im switching over 72 to 75 suspension and brakes(THanks ERIC!!!) and factory sways where there was never any before. Next is drop motor put in new clutch, adjust valves and tune carbs. And im done.
Attached image(s) 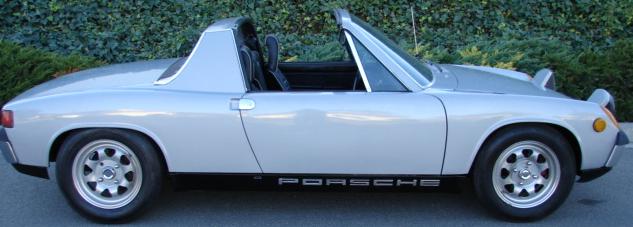
|
| McMark |
 Apr 25 2007, 02:06 AM Apr 25 2007, 02:06 AM
Post
#13
|
|
914 Freak!                Group: Retired Admin Posts: 20,179 Joined: 13-March 03 From: Grand Rapids, MI Member No.: 419 Region Association: None |
That's a sweet lookin' car. I can't wait to see it in person.
|
| Joe Ricard |
 Apr 25 2007, 07:27 AM Apr 25 2007, 07:27 AM
Post
#14
|
|
CUMONIWANNARACEU      Group: Members Posts: 6,811 Joined: 5-January 03 From: Gautier, MS Member No.: 92 |
I compress the cup and the link in a vise. One side will start to go in, then I coax the rest of it in with a blunt screwdriver. Figure on 3-5 minutes per socket, once you have the technique perfected. The Cap'n The Captains way is the best. Cuz that's how I do them too. Well when I used to have a sway bar. So what do you need a rear sway bar for anyway? Big channel locks for the bar end. and a 2lb hammer on the trailing arm end. line it up MOVE YOUR FINGER and whack. it should go right on. |
| mills914/s |
 Apr 25 2007, 07:57 AM Apr 25 2007, 07:57 AM
Post
#15
|
|
Member   Group: Members Posts: 253 Joined: 23-December 06 From: Coeur D'Alene... IDAHO Member No.: 7,363 Region Association: Northern California |
Thanks Mark its been alot of work.But Its getting there. Im lucky cause my wifey puts up with it. She loves 914's I need to get her a project 914 next.
Attached image(s) 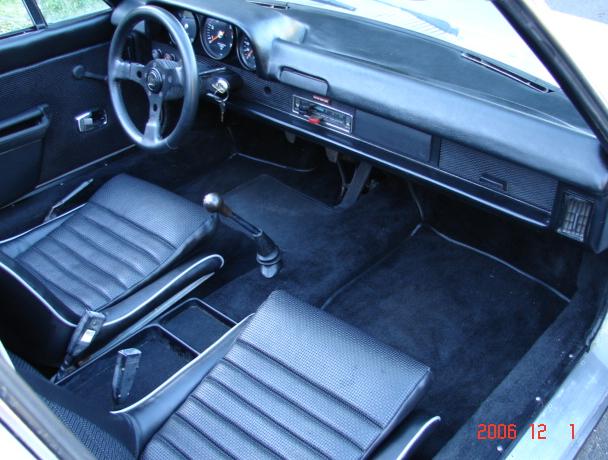 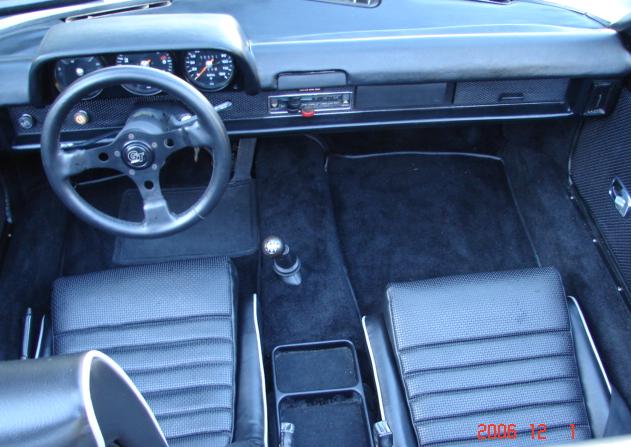 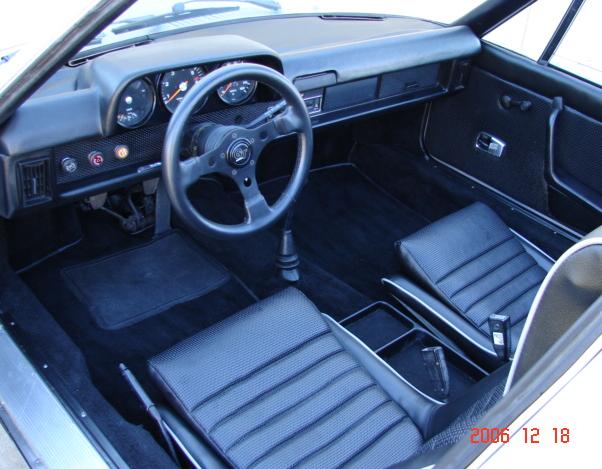
|
| Gint |
 Apr 25 2007, 08:11 AM Apr 25 2007, 08:11 AM
Post
#16
|
|
Mike Ginter                Group: Admin Posts: 16,095 Joined: 26-December 02 From: Denver CO. Member No.: 20 Region Association: Rocky Mountains  |
Definitely a great looking 914. Who's carpet?
|
| ConeDodger |
 Apr 25 2007, 09:50 AM Apr 25 2007, 09:50 AM
Post
#17
|
|
Apex killer!                Group: Members Posts: 23,852 Joined: 31-December 04 From: Tahoe Area Member No.: 3,380 Region Association: Northern California 
|
(IMG:style_emoticons/default/sawzall-smiley.gif) How in the heck do you get new polyplastic bushings into factory rear drop links for the rear sway with out messing them up I have tried heat....cold...soap ...shoe horn.. Whats the deal do I have to big of bushing or something? Any little tricks to force it in? (IMG:style_emoticons/default/sawzall-smiley.gif) You should not be having a problem with this. I can see by the picture that Sir Andy is helping you with this project and he knows how to do this.... (IMG:style_emoticons/default/biggrin.gif) Oh wait! Maybe you are just using Andy's camera? (IMG:style_emoticons/default/cool.gif) |
| mills914/s |
 Apr 25 2007, 11:00 AM Apr 25 2007, 11:00 AM
Post
#18
|
|
Member   Group: Members Posts: 253 Joined: 23-December 06 From: Coeur D'Alene... IDAHO Member No.: 7,363 Region Association: Northern California |
My friend does interiors for cars and ordered it from somewhere. Not sure where. It looks nice but if you look at it close in person the seams don't really look strong. I dont know. It works. Im just going to put mats in anyways to protect them.
Robby::: No Andy..... Im doing this all on my own with a little help from people giving me advise tips here and there. The camera is mine. Seth |
| mills914/s |
 Apr 25 2007, 07:07 PM Apr 25 2007, 07:07 PM
Post
#19
|
|
Member   Group: Members Posts: 253 Joined: 23-December 06 From: Coeur D'Alene... IDAHO Member No.: 7,363 Region Association: Northern California |
Ohhh and Joe... I like front and rear sways The car I took these from had them I liked the way it felt. So Im putting them on this car now. I have to say tho I have never driven a 914 with just a front and no rear. Mabey I will leave the drop links off for a day or 2 and see how it responds.
|
  |
1 User(s) are reading this topic (1 Guests and 0 Anonymous Users)
0 Members:

|
Lo-Fi Version | Time is now: 26th December 2024 - 02:41 PM |
Invision Power Board
v9.1.4 © 2024 IPS, Inc.


