|
|

|
Porsche, and the Porsche crest are registered trademarks of Dr. Ing. h.c. F. Porsche AG.
This site is not affiliated with Porsche in any way. Its only purpose is to provide an online forum for car enthusiasts. All other trademarks are property of their respective owners. |
|
|
  |
| rick 918-S |
 Oct 2 2024, 09:42 PM Oct 2 2024, 09:42 PM
Post
#721
|
|
Hey nice rack! -Celette                Group: Members Posts: 20,783 Joined: 30-December 02 From: Now in Superior WI Member No.: 43 Region Association: Northstar Region 

|
But as you are aware the diameter from 901 to Suby is different. Well Rick if I could have just convinced you to go suby powered 18 years ago while we crawled thru death valley, you would not have to do all this extra work. But he also wouldn’t have the only 928 powered 914 on the planet. Fact is, Suzy conversions are commonplace. I love the thread! And am really tickled by the idea that Boxster owners don’t wrench. Not sure if I know since I tend to hang around with teeners. Ya, I think as the cars get cheaper and cheaper that will be the next 914 group. But I had to just keep buying parts to see what stuff looked like and take measurements from. I think I will have some stuff to sell by the time I get this thing back on the road. Same with the 928 guys. There were some that had knowledge. I did get some help over time. Hey Scott! I spent the evening drilling out mounting holes in 1/2" 6061. Anyone have a good idea for cutting out the flywheel hole? (IMG:style_emoticons/default/idea.gif) I can't remember what I did when I fab'd the last one. (IMG:style_emoticons/default/confused24.gif) I have a router but that seems like a very slow method. All the machine shops I met with are 10 weeks + out and look at me like I have 3 heads. (IMG:style_emoticons/default/assimilate.gif) (IMG:style_emoticons/default/screwy.gif) |
| jd74914 |
 Oct 3 2024, 02:10 PM Oct 3 2024, 02:10 PM
Post
#722
|
|
Its alive     Group: Members Posts: 4,814 Joined: 16-February 04 From: CT Member No.: 1,659 Region Association: North East States |
I would cut the hole with a jig saw and then clean it up with a router.
|
| worn |
 Oct 3 2024, 07:52 PM Oct 3 2024, 07:52 PM
Post
#723
|
|
can't remember     Group: Members Posts: 3,341 Joined: 3-June 11 From: Madison, WI Member No.: 13,152 Region Association: Upper MidWest 
|
That thing about buying parts rings a bell. When I cannot get something apart I have been known to buy the parts I am trying to remove. Within financial reason of course. That way I can see what I cannot see when the part is installed. But then I end up with too much stuff.
|
| rick 918-S |
 Oct 4 2024, 12:07 PM Oct 4 2024, 12:07 PM
Post
#724
|
|
Hey nice rack! -Celette                Group: Members Posts: 20,783 Joined: 30-December 02 From: Now in Superior WI Member No.: 43 Region Association: Northstar Region 

|
I ended up going over to a local fab shop to see if they could water jet the holes and shape. They quit running their water jet. It was too expensive to run and too high maintenence. They had a couple huge slabs of 1" aluminum. He tried to plasma cut it but I figured that would be a huge fail. It was. But he did sell me a chunk of that plate super cheap! Back to the drawing board.
|
| rick 918-S |
 Oct 9 2024, 08:02 PM Oct 9 2024, 08:02 PM
Post
#725
|
|
Hey nice rack! -Celette                Group: Members Posts: 20,783 Joined: 30-December 02 From: Now in Superior WI Member No.: 43 Region Association: Northstar Region 

|
I did lots of work over the last several days. Since I could not find a place that had a water jet I ended up cutting out the engine plate with a Router. Cutting 1" aluminum with a 1/4" router bit is like a serious test of patience. I burned down 2 routers and broke about 7 router bits. But I now have the first set of plates roughed out including the starter locating plate.
This is the first cut. I trimmed the lower section and the outer top section. 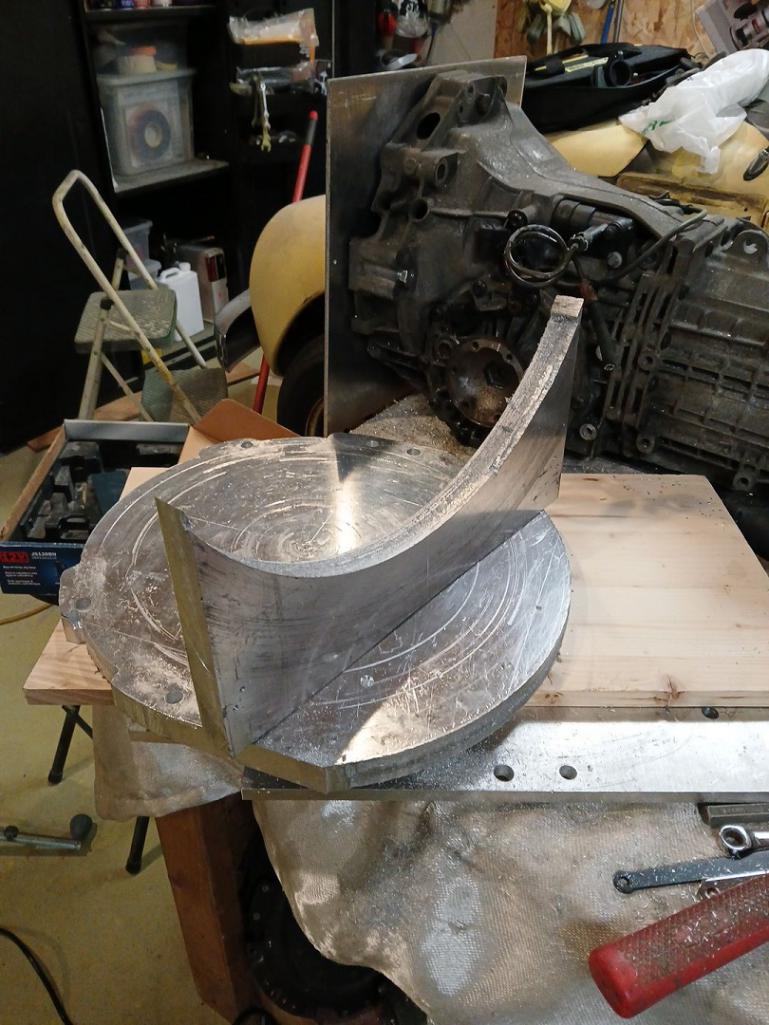 This is the start of the center hole. 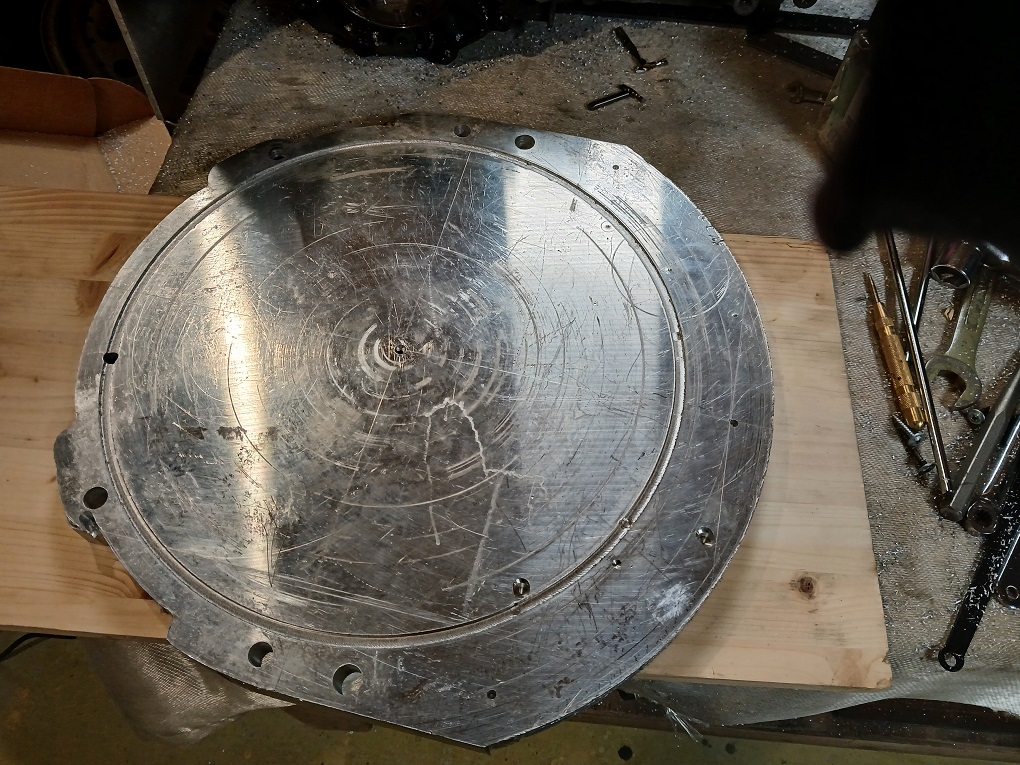 I screwed a piece of wood to the back of the 1" aluminum so when I finally finshed my last pass the center would stay in place and not cause the router bit to get pinched or snapped. 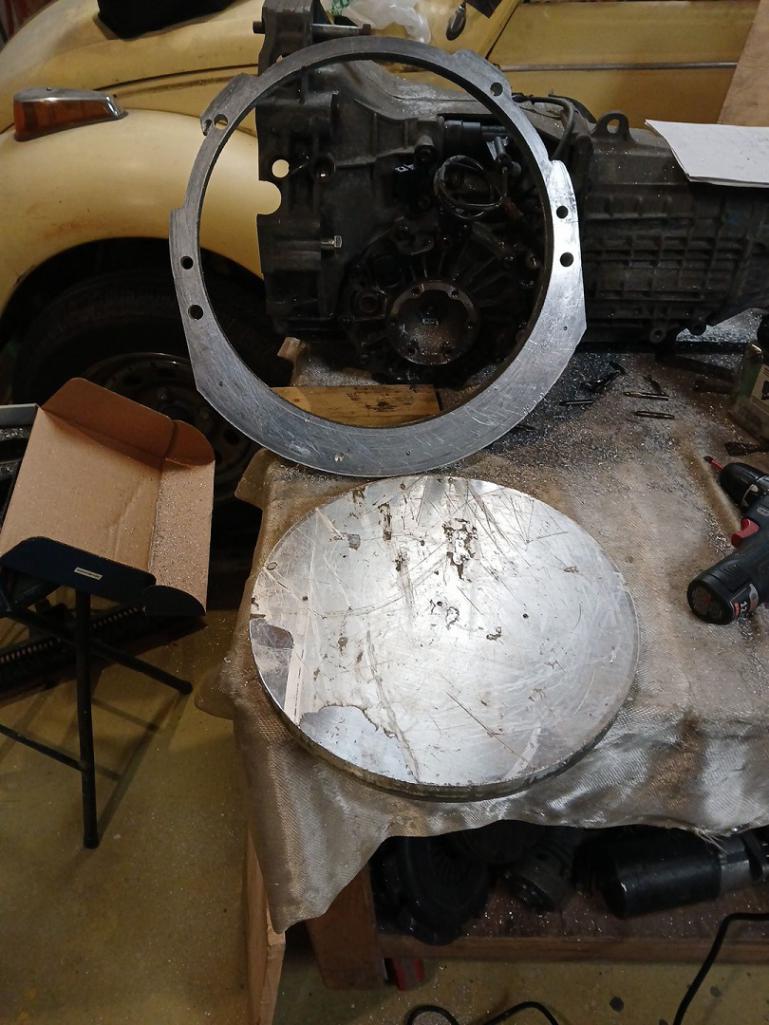 I temperarily drill screwed the starter locating plate to the 1" adapter plate. I plan on driing and taping the 1" for bolts 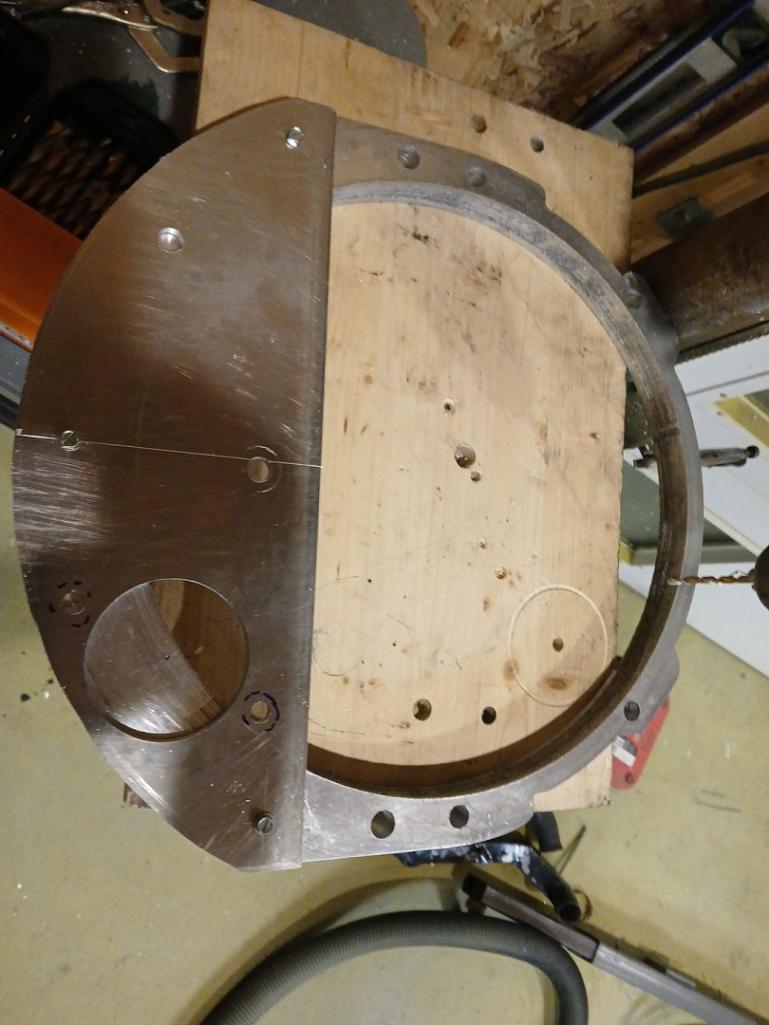 First test fit on the engine. 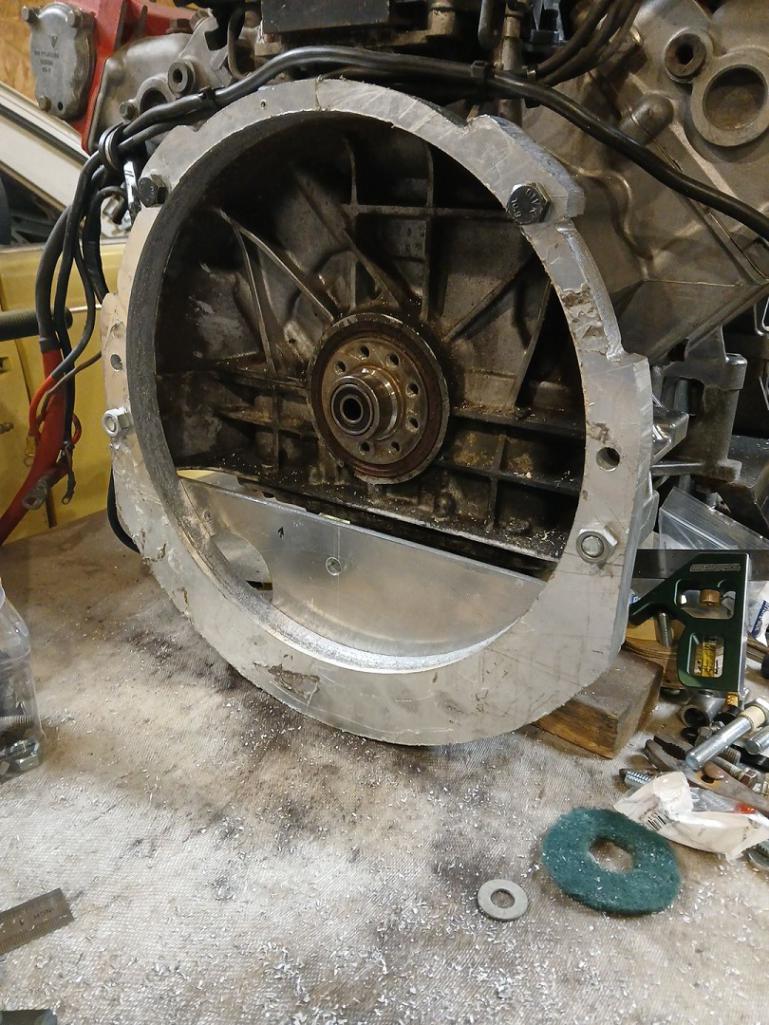 Oh ya, and I let the magic smoke escape. I was looking down into the vented end cap at the motor while it was running. There were big flames inside. 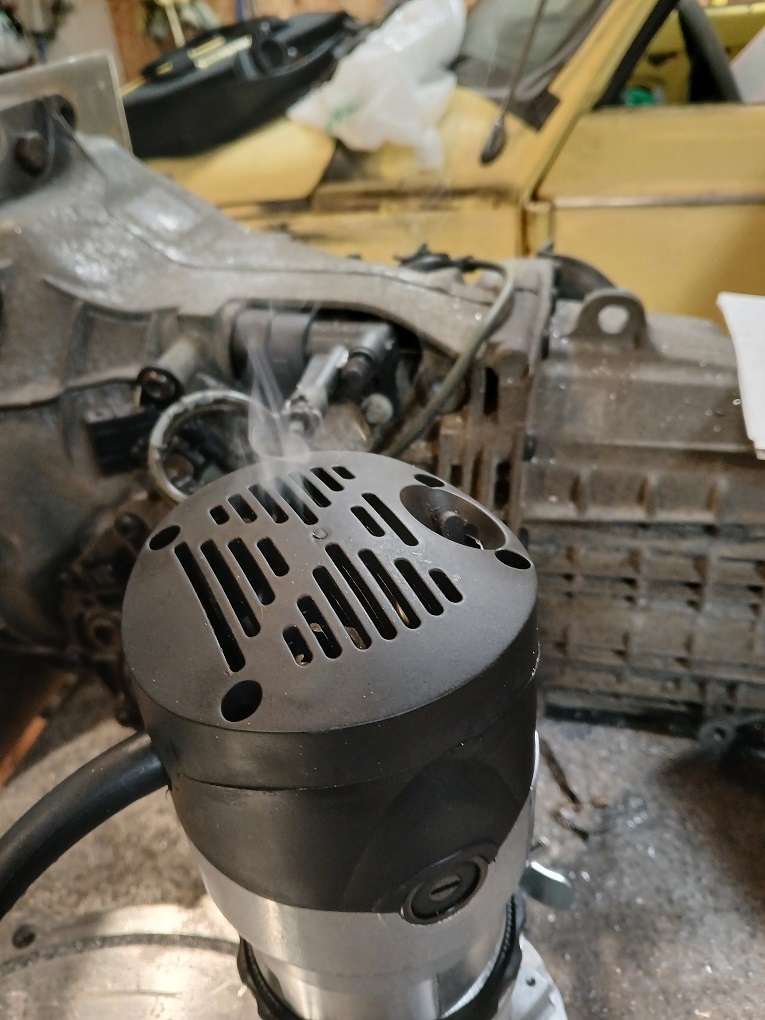 |
| Root_Werks |
 Oct 10 2024, 09:20 AM Oct 10 2024, 09:20 AM
Post
#726
|
|
Village Idiot      Group: Members Posts: 8,484 Joined: 25-May 04 From: About 5NM from Canada Member No.: 2,105 Region Association: Pacific Northwest 
|
Holy cow, if you can't find an adapter, just make one yourself! Awesome!
|
| rick 918-S |
 Oct 10 2024, 10:08 AM Oct 10 2024, 10:08 AM
Post
#727
|
|
Hey nice rack! -Celette                Group: Members Posts: 20,783 Joined: 30-December 02 From: Now in Superior WI Member No.: 43 Region Association: Northstar Region 

|
Holy cow, if you can't find an adapter, just make one yourself! Awesome! This is only the first phase.. (IMG:style_emoticons/default/screwy.gif) |
| East coaster |
 Oct 10 2024, 06:09 PM Oct 10 2024, 06:09 PM
Post
#728
|
|
Senior Member    Group: Members Posts: 1,775 Joined: 28-March 03 From: Millville, NJ Member No.: 487 Region Association: None 
|
Necessity is a mutha’…….or something like that! If you were closer I’d have milled it for you. I applaud your tenacity!
|
| rick 918-S |
 Oct 14 2024, 10:21 PM Oct 14 2024, 10:21 PM
Post
#729
|
|
Hey nice rack! -Celette                Group: Members Posts: 20,783 Joined: 30-December 02 From: Now in Superior WI Member No.: 43 Region Association: Northstar Region 

|
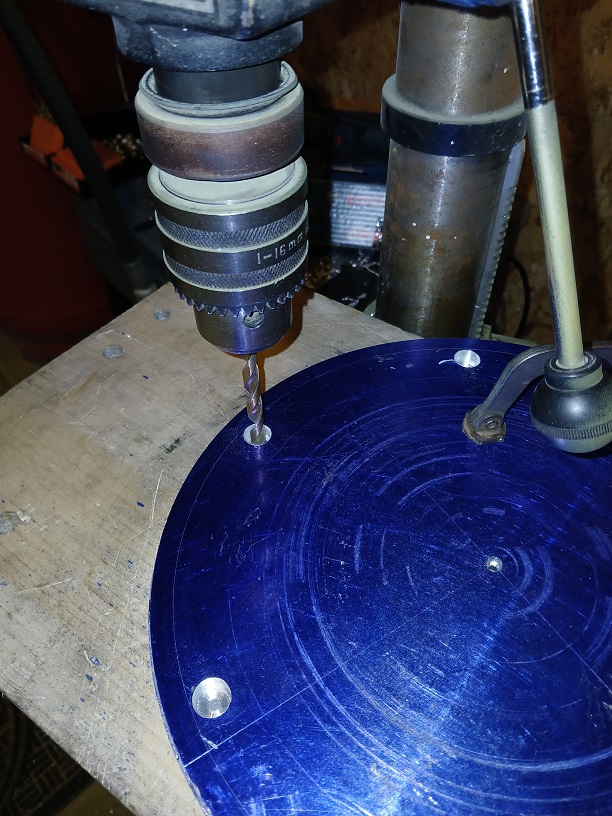
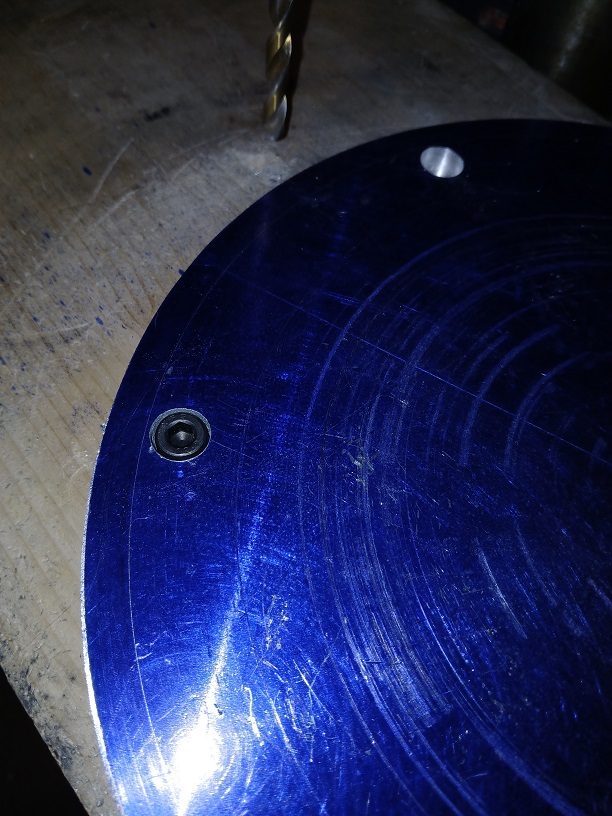
All that work and I am going in a different direction. The 1" adapter plate is out. This is a teaser to the new path. Sometimes things just don't work out. So the piece I cut out of the middle of the adapter is becoming the new spacer. this will make way more sense as this thing takes shape I had to cut it down smaller. I still need to reduce the diameter more for the final product. In the first photo you can see a sharpe arrow pointing at the scribed line. That is the final size I need.
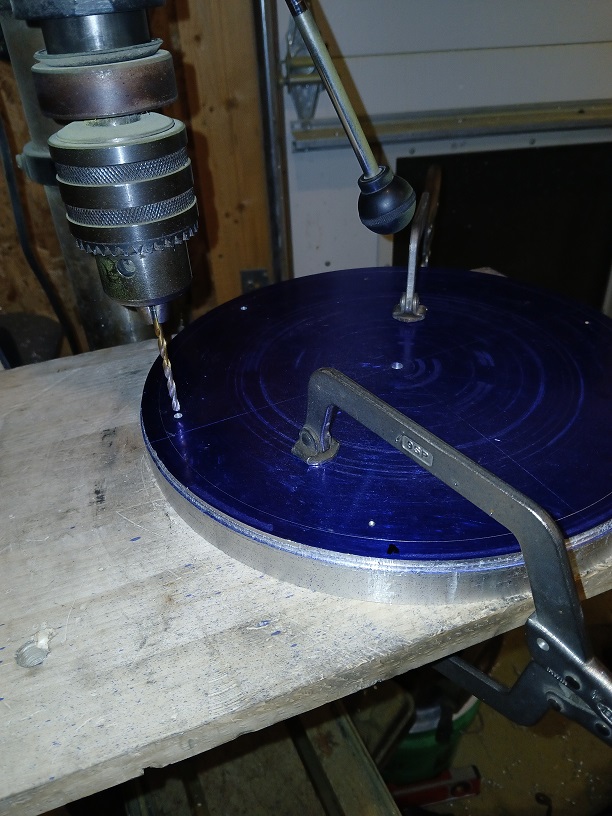 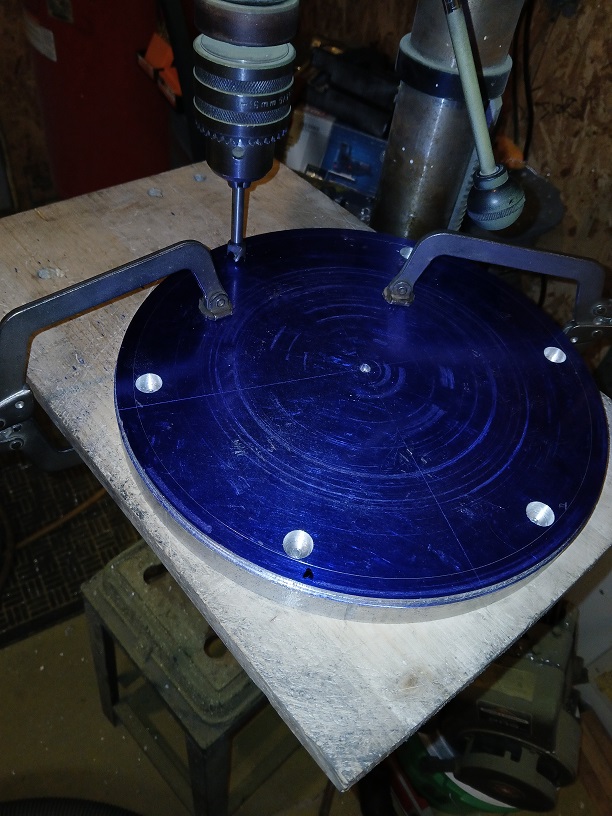   |
| rick 918-S |
 Oct 16 2024, 06:45 AM Oct 16 2024, 06:45 AM
Post
#730
|
|
Hey nice rack! -Celette                Group: Members Posts: 20,783 Joined: 30-December 02 From: Now in Superior WI Member No.: 43 Region Association: Northstar Region 

|
More Router work. I Really need to buy a large Lathe or something... (IMG:style_emoticons/default/screwy.gif)
But this just goes to show what you can do with a little imagination. I have the holes for the cap head bolts in place. I needed to reduce the diameter to allow the spacer to push the clutch into the Boxster bellhousing. I moved up to a 3/8" router bit. That ended the breakage with the 1/4" bits. 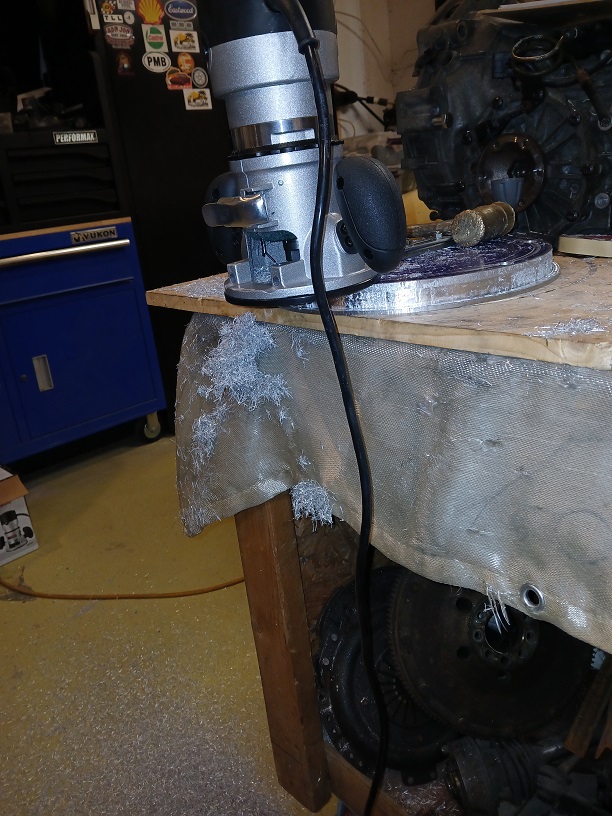 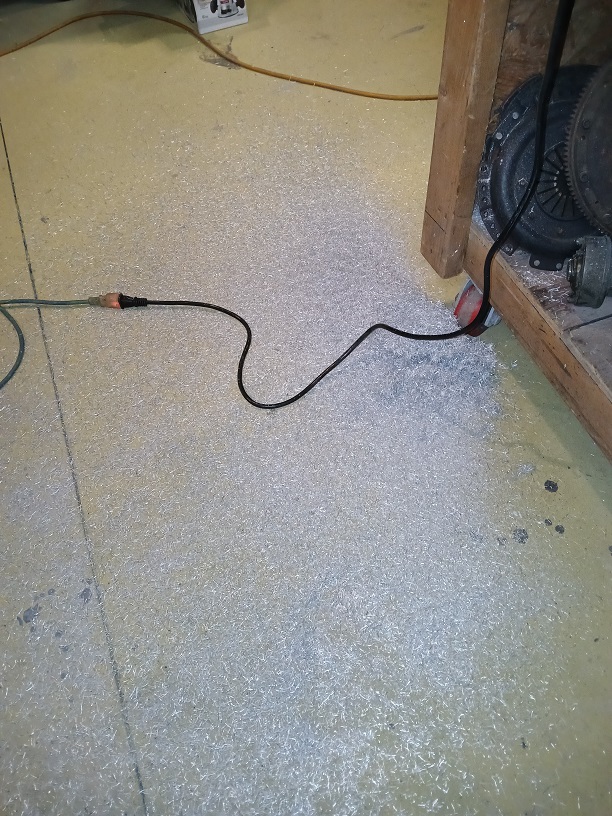 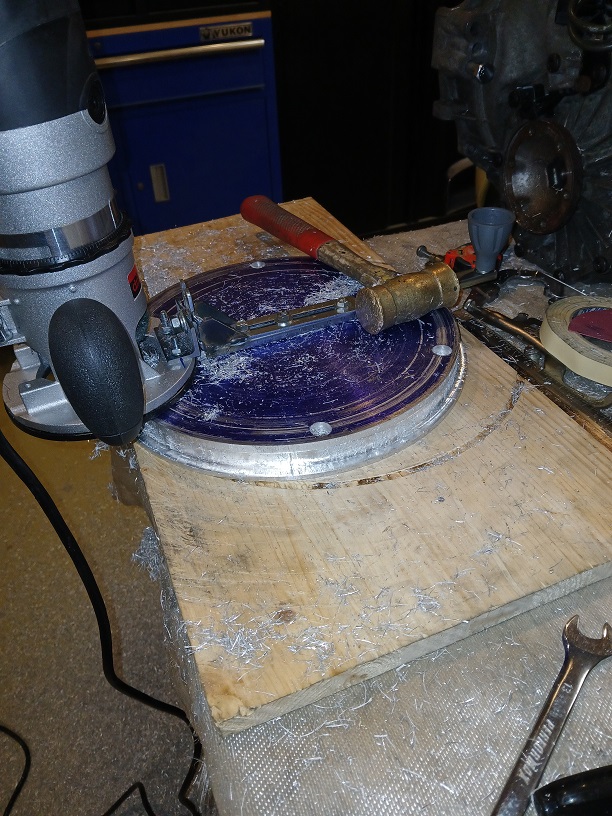 The scribe line is the final pass for the diameter of the clutch. 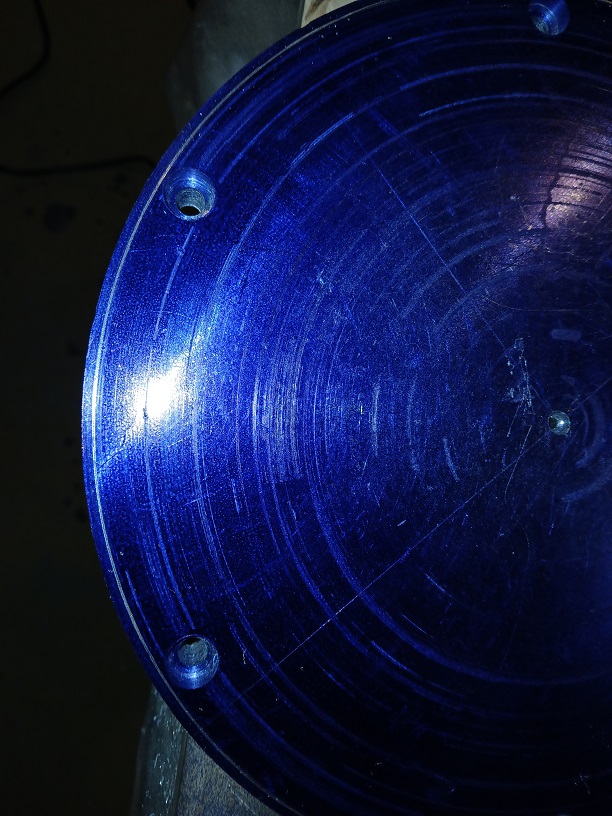 Bolted to the steel flywheel 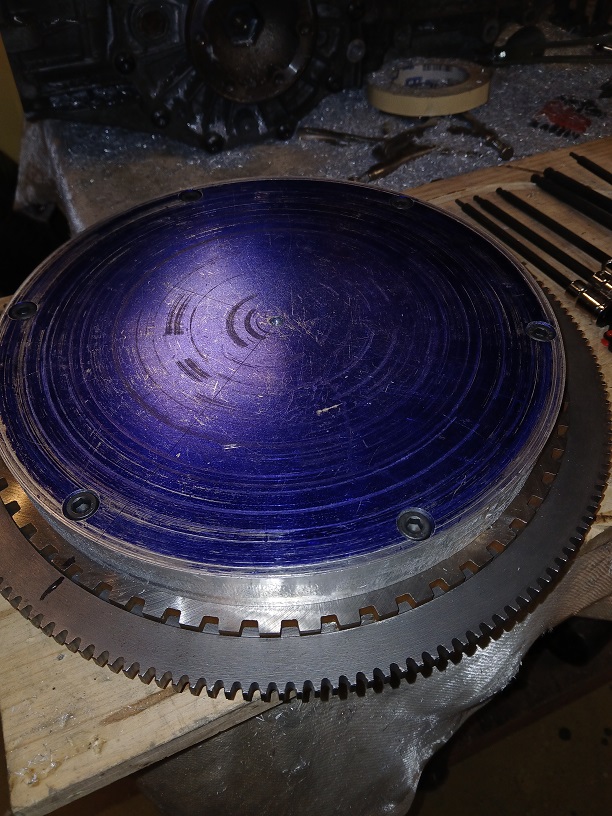 First test fit of the new adapter flywheel and clutch. I have a steel flywheel disc arriving today like you see on custom aluminum flywheels. That is the next step. 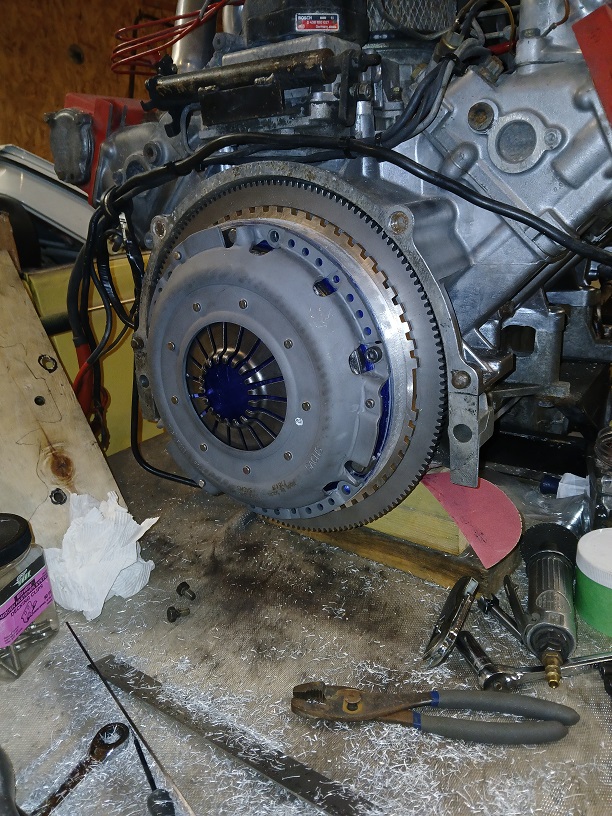 Here is the weight difference from the 928 clutch/flywheel to the conversion set up. Notice the aluminum spacer size is still too large of a diameter. This is before resizing the 1" aluminum spacer. 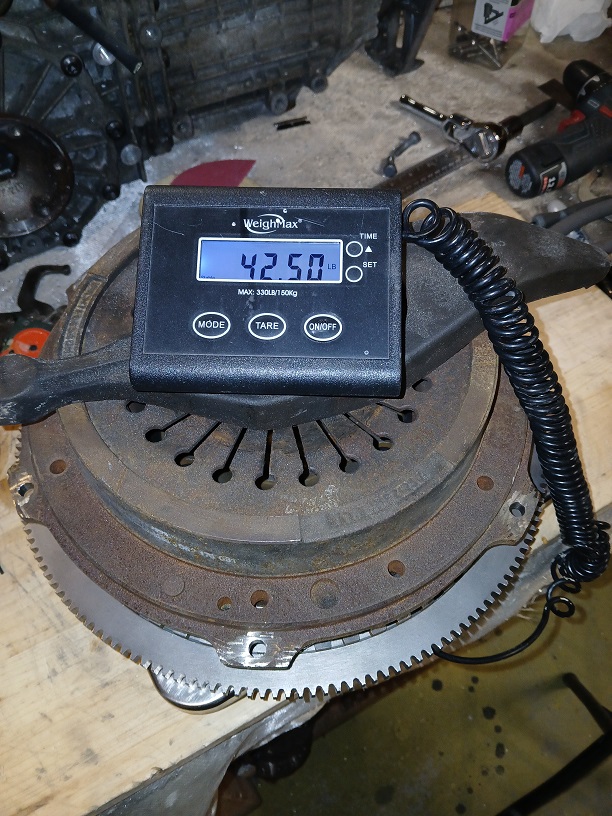 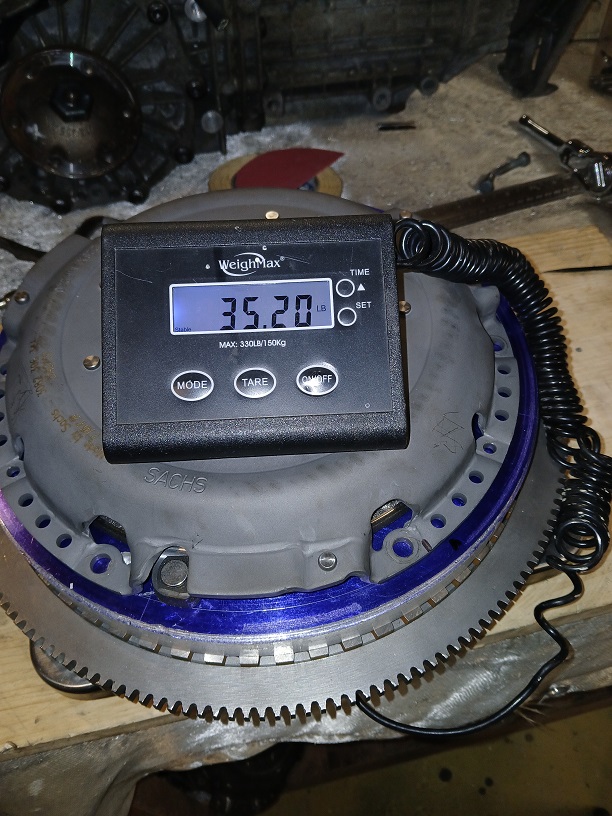 |
| ClayPerrine |
 Oct 16 2024, 03:03 PM Oct 16 2024, 03:03 PM
Post
#731
|
|
Life's been good to me so far.....                Group: Admin Posts: 15,901 Joined: 11-September 03 From: Hurst, TX. Member No.: 1,143 Region Association: NineFourteenerVille 
|
You need to drill your flywheel for the pressure plate dowel pins. They may seem a bit redundant, but they are necessary.
Clay |
| rick 918-S |
 Oct 16 2024, 03:31 PM Oct 16 2024, 03:31 PM
Post
#732
|
|
Hey nice rack! -Celette                Group: Members Posts: 20,783 Joined: 30-December 02 From: Now in Superior WI Member No.: 43 Region Association: Northstar Region 

|
You need to drill your flywheel for the pressure plate dowel pins. They may seem a bit redundant, but they are necessary. Clay I was eyeing that up last night. I am waiting for my steel flywheel surface to arrive. I am hoping it is the same diameter as the aluminum spacer. I will drill the steel surface for the dowel pins. |
| ClayPerrine |
 Oct 17 2024, 05:28 AM Oct 17 2024, 05:28 AM
Post
#733
|
|
Life's been good to me so far.....                Group: Admin Posts: 15,901 Joined: 11-September 03 From: Hurst, TX. Member No.: 1,143 Region Association: NineFourteenerVille 
|
And another thing..... have you thought about using end mills instead of router bits in the router? It might last longer and break less.
|
| rick 918-S |
 Oct 17 2024, 05:52 AM Oct 17 2024, 05:52 AM
Post
#734
|
|
Hey nice rack! -Celette                Group: Members Posts: 20,783 Joined: 30-December 02 From: Now in Superior WI Member No.: 43 Region Association: Northstar Region 

|
|
| rick 918-S |
 Oct 18 2024, 06:13 AM Oct 18 2024, 06:13 AM
Post
#735
|
|
Hey nice rack! -Celette                Group: Members Posts: 20,783 Joined: 30-December 02 From: Now in Superior WI Member No.: 43 Region Association: Northstar Region 

|
Received the Steel flywheel face and drilled the holes to mount it on the aluminum Flywheel.
First I scribed a line to center the disc. 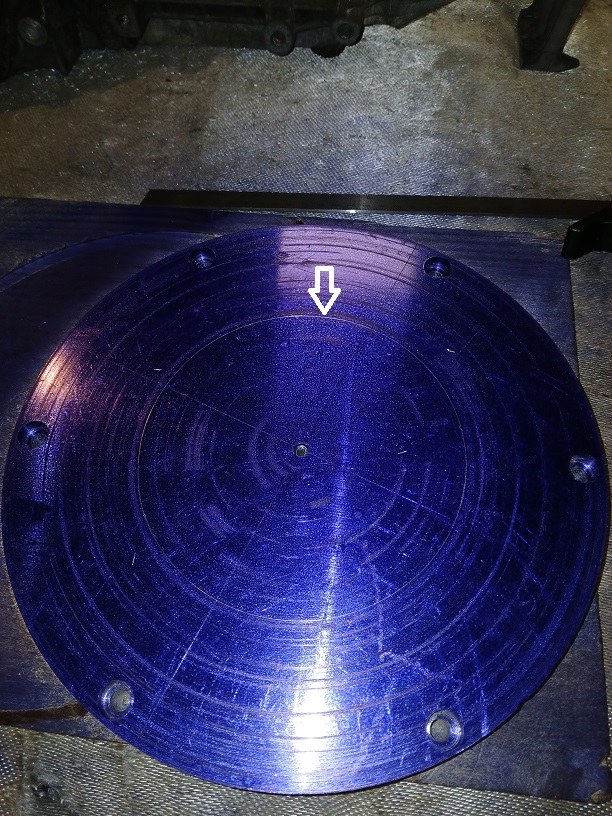 Then Drilled for the disc 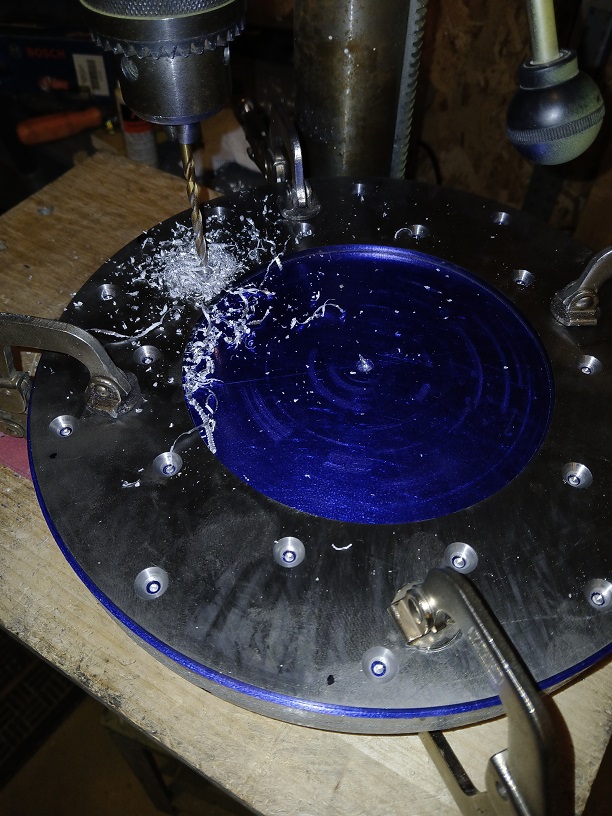 Countersink for the nuts 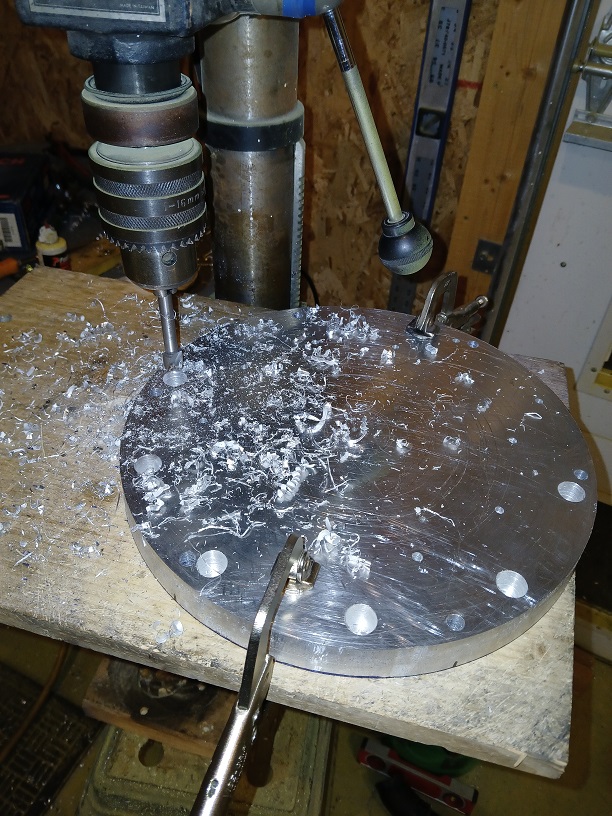 Disc Bolted 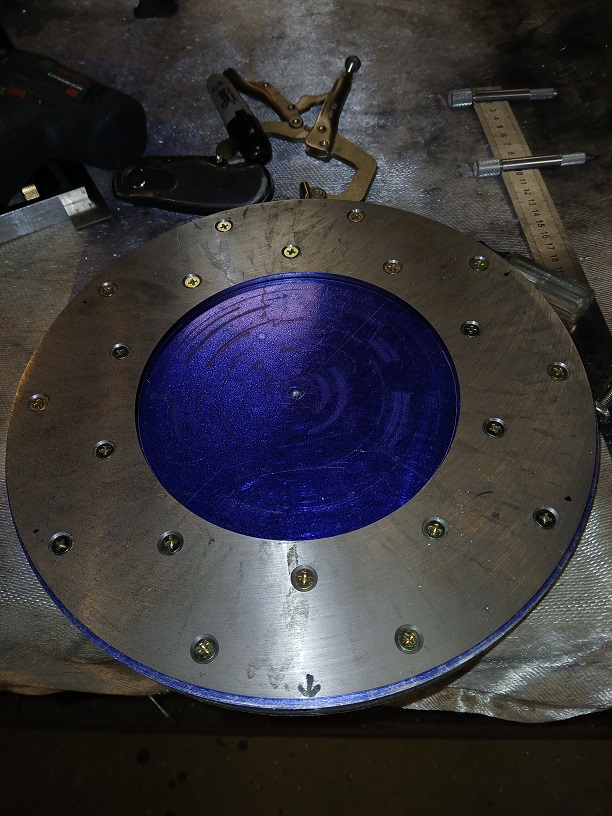 |
| Root_Werks |
 Oct 18 2024, 09:37 AM Oct 18 2024, 09:37 AM
Post
#736
|
|
Village Idiot      Group: Members Posts: 8,484 Joined: 25-May 04 From: About 5NM from Canada Member No.: 2,105 Region Association: Pacific Northwest 
|
|
| rick 918-S |
 Oct 19 2024, 09:54 PM Oct 19 2024, 09:54 PM
Post
#737
|
|
Hey nice rack! -Celette                Group: Members Posts: 20,783 Joined: 30-December 02 From: Now in Superior WI Member No.: 43 Region Association: Northstar Region 

|
Another day of drilling holes. There are already two different bolt patterns in my spacer. I needed one more set of holes. The first two sets were to hold the spacer to the steel 928 flywheel. The layout of the holes are the same as the Boxster pressure plate. They are counter sunk into the aluminum spacer to clear the the steel disc. I had to add an access hole thru the steel disc that I could slide an Allen wrench thru to tight the bolts.
The second set consisted of multiple holes to hold the steel clutch surface to the aluminum spacer. They are all counter sunk on the back side. The third set is to hold the pressure plate to the steel disc. (IMG:style_emoticons/default/wacko.gif) In order to pick the best location for the last set of holes I made a plastic template of the clutch pattern. I spun the pattern until I located the best place to drill and counter sink the last set of holes. 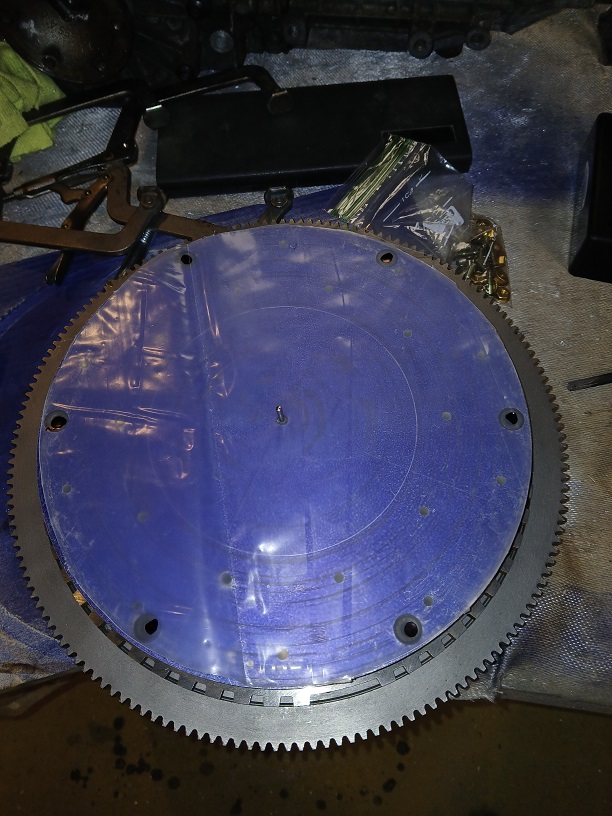 Once all the holes were drilled and counter sunk I was able to finally cut out the center of the spacer. I didn't have a router bit with a bearing tonight so I have to finish cleaning up the edge tomorrow. The bearing can ride on the inner steel lip of the clutch disc. this should work nicely to finish off the spacer. The arrows show the three different patterns. The large counter sunk hole is for a serrated flange nut. The serrated side faces up to contact the back of the steel disc. This is how I am fastening the pressure plate to the steel disc. The smaller counter sink is for the cap head bolts the hold the aluminum spacer to the 928 flywheel. And the smaller holes are to mount the steel disc for the clutch contact surface. All the holes are counter sunk on the back side for a serrated flange nut. 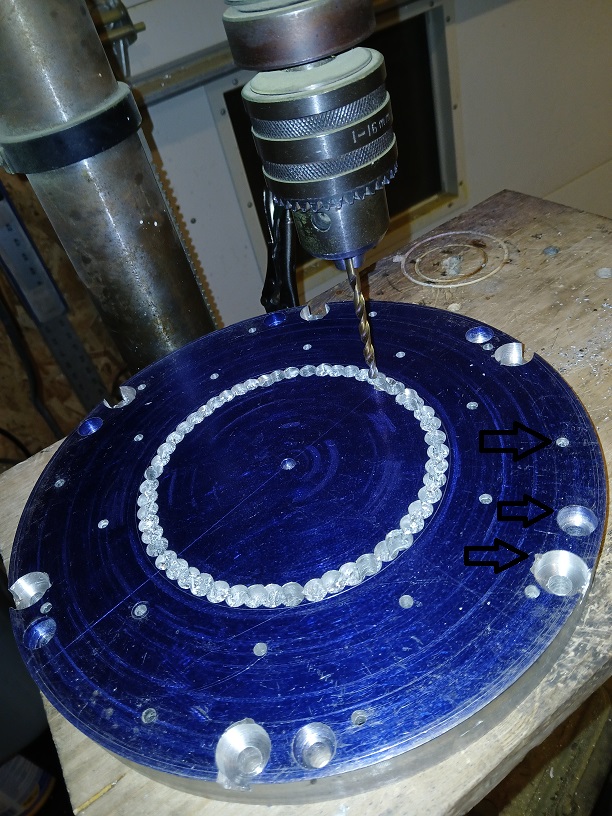 I have to run 1/4 spacer between the crank and the flywheel. That is in place now. 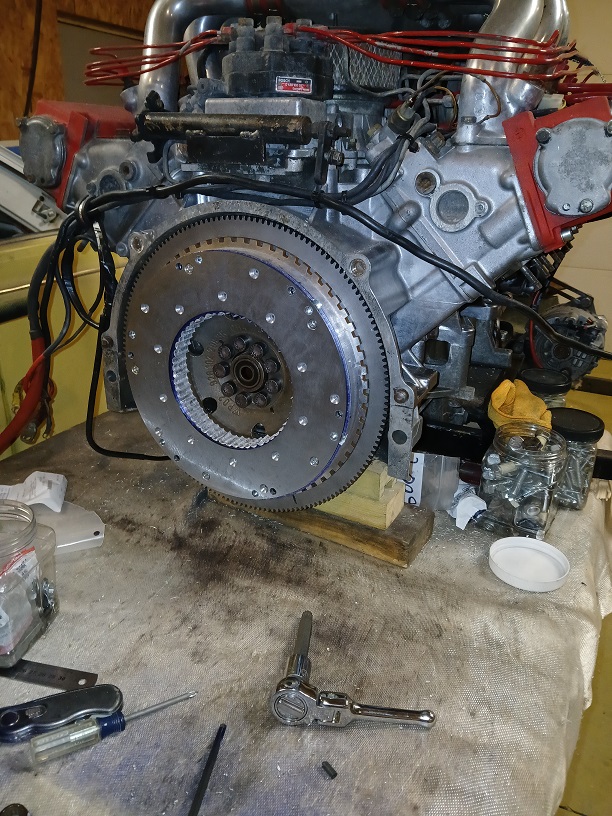 Test fit the flywheel, spacer and pressure plate to the crank. Everything bolts on nicely. Monday I bring the 928 flywheel with the aluminum spacer bolted together to the local Clutch & Brake place. I want them to check the runout of the aluminum spacer to be sure their is no wobble. I had the reface the 928 flywheel alredy so I know there is no issue there. 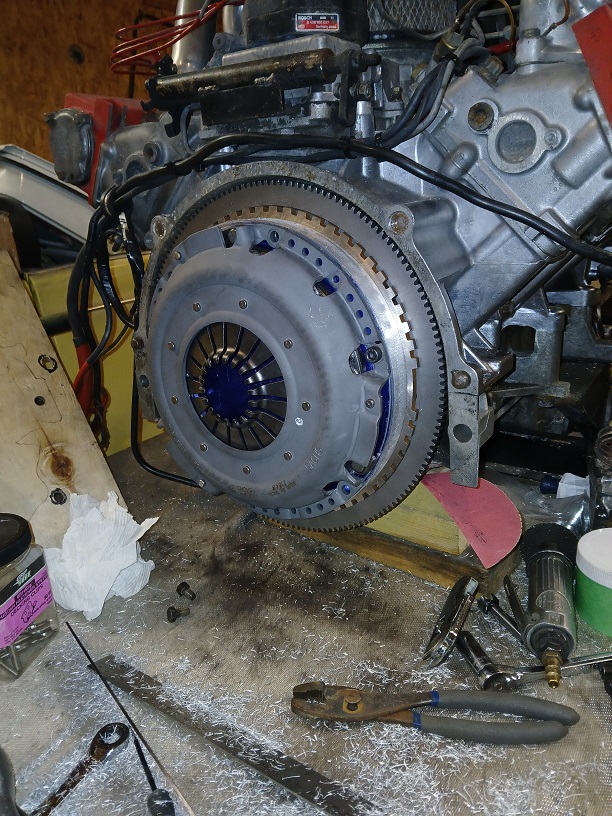 |
| rick 918-S |
 Oct 21 2024, 10:03 PM Oct 21 2024, 10:03 PM
Post
#738
|
|
Hey nice rack! -Celette                Group: Members Posts: 20,783 Joined: 30-December 02 From: Now in Superior WI Member No.: 43 Region Association: Northstar Region 

|
Made a tool today to cut out the curves and circles for the adapter plate.
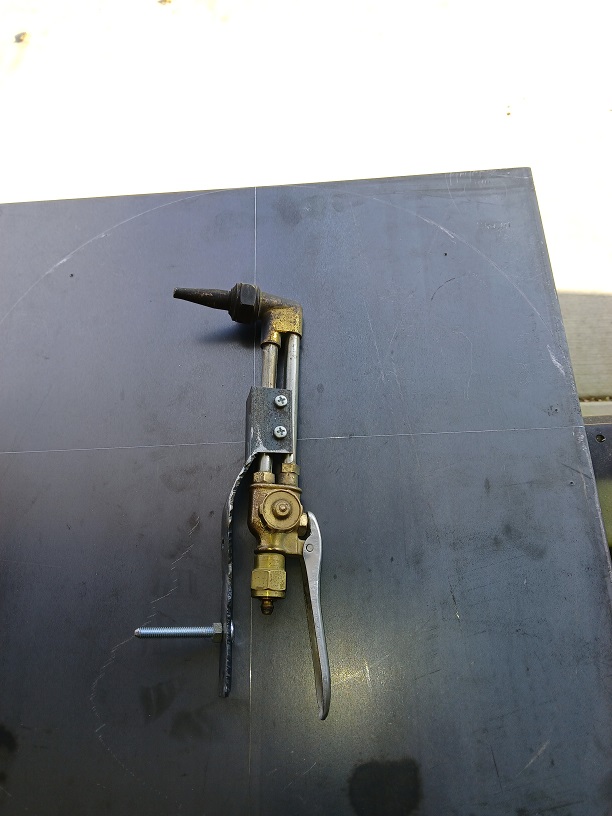 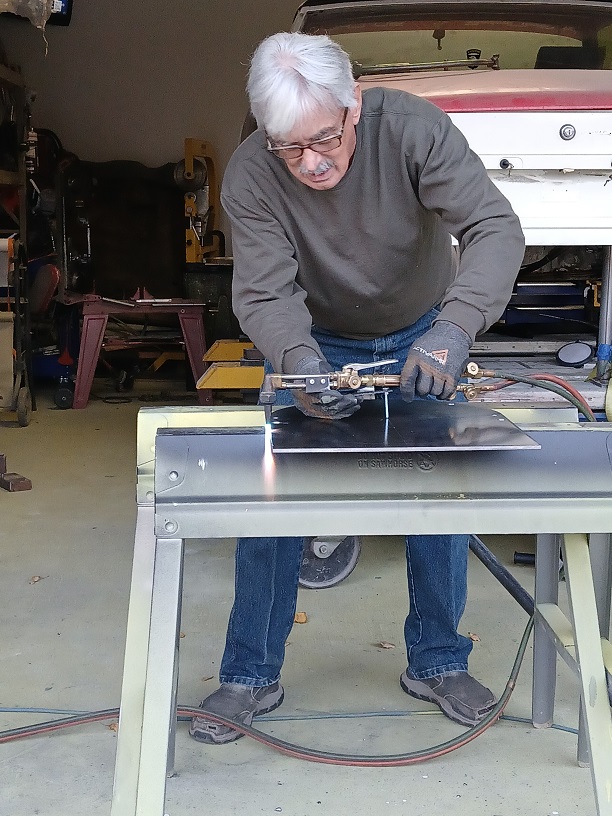 |
| Root_Werks |
 Oct 22 2024, 10:44 AM Oct 22 2024, 10:44 AM
Post
#739
|
|
Village Idiot      Group: Members Posts: 8,484 Joined: 25-May 04 From: About 5NM from Canada Member No.: 2,105 Region Association: Pacific Northwest 
|
Be curious how clean the cuts come out. Mine always needed a lot of clean up.
Nifty setup to keep things in line. |
| rick 918-S |
 Oct 22 2024, 01:14 PM Oct 22 2024, 01:14 PM
Post
#740
|
|
Hey nice rack! -Celette                Group: Members Posts: 20,783 Joined: 30-December 02 From: Now in Superior WI Member No.: 43 Region Association: Northstar Region 

|
Be curious how clean the cuts come out. Mine always needed a lot of clean up. Nifty setup to keep things in line. Here is the start of the new adapter plate. I had to abandon the 1" thick spacer I made It was overly complicating the conversion. No center hole yet. I am still mapping the holes off the centerline. 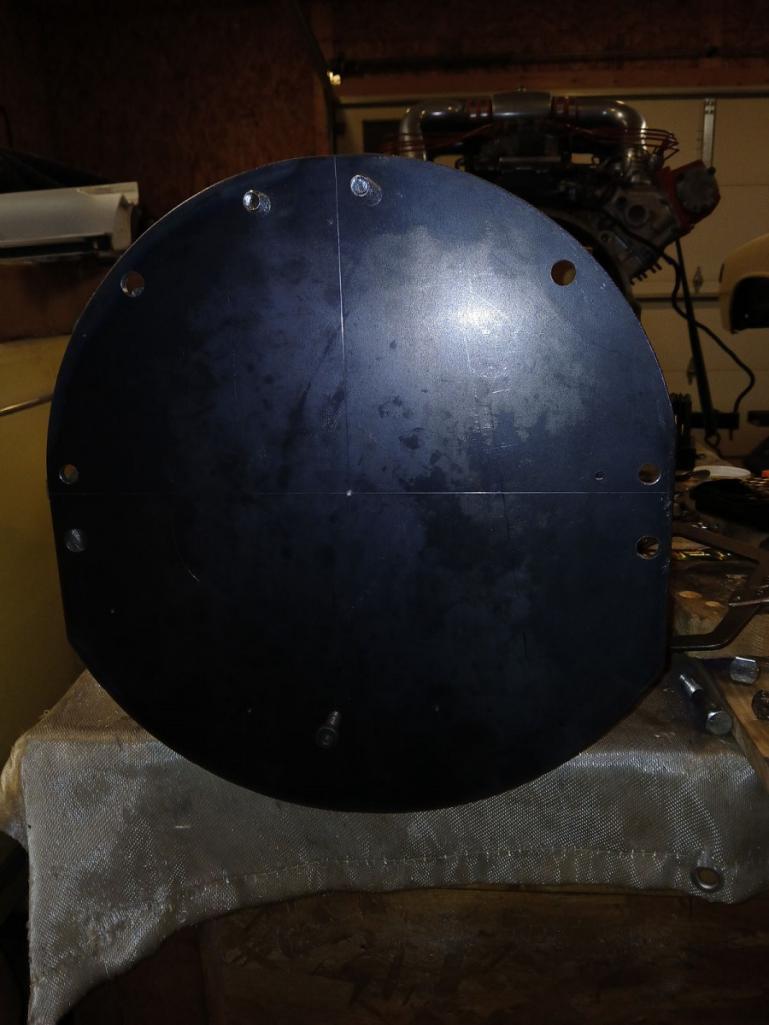 |
  |
3 User(s) are reading this topic (3 Guests and 0 Anonymous Users)
0 Members:

|
Lo-Fi Version | Time is now: 22nd November 2024 - 10:16 PM |
Invision Power Board
v9.1.4 © 2024 IPS, Inc.


