|
|

|
Porsche, and the Porsche crest are registered trademarks of Dr. Ing. h.c. F. Porsche AG.
This site is not affiliated with Porsche in any way. Its only purpose is to provide an online forum for car enthusiasts. All other trademarks are property of their respective owners. |
|
|
  |
| dlee6204 |
 Feb 23 2010, 07:28 PM Feb 23 2010, 07:28 PM
Post
#121
|
|
Howdy     Group: Members Posts: 2,162 Joined: 30-April 06 From: Burnsville, NC Member No.: 5,956 |
QUOTE Looks like its coming along. Let me know if theres any metal you need, I have a parts car at work. Thanks Jon. I'll keep that in mind. (IMG:style_emoticons/default/beerchug.gif) |
| dlee6204 |
 Feb 27 2010, 05:57 PM Feb 27 2010, 05:57 PM
Post
#122
|
|
Howdy     Group: Members Posts: 2,162 Joined: 30-April 06 From: Burnsville, NC Member No.: 5,956 |
|
| dlee6204 |
 Feb 27 2010, 06:00 PM Feb 27 2010, 06:00 PM
Post
#123
|
|
Howdy     Group: Members Posts: 2,162 Joined: 30-April 06 From: Burnsville, NC Member No.: 5,956 |
|
| dlee6204 |
 Feb 27 2010, 06:03 PM Feb 27 2010, 06:03 PM
Post
#124
|
|
Howdy     Group: Members Posts: 2,162 Joined: 30-April 06 From: Burnsville, NC Member No.: 5,956 |
|
| dlee6204 |
 Feb 27 2010, 06:14 PM Feb 27 2010, 06:14 PM
Post
#125
|
|
Howdy     Group: Members Posts: 2,162 Joined: 30-April 06 From: Burnsville, NC Member No.: 5,956 |
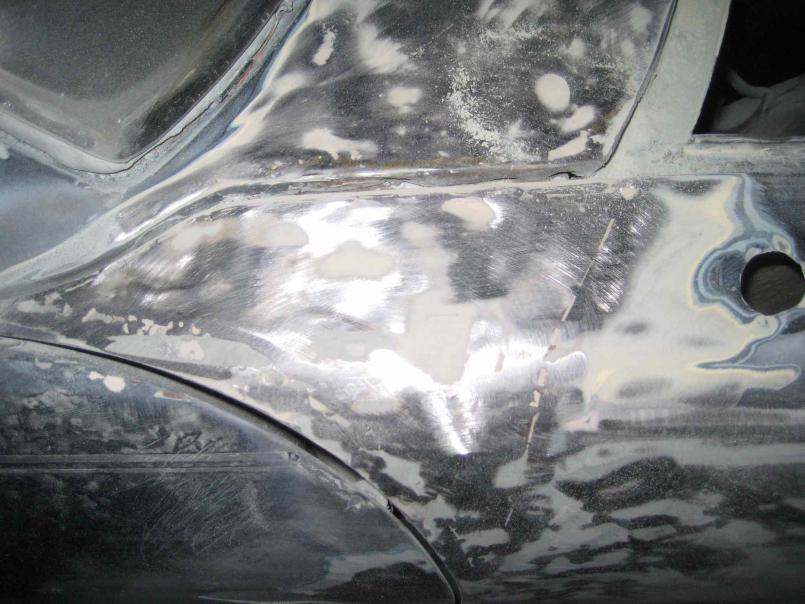
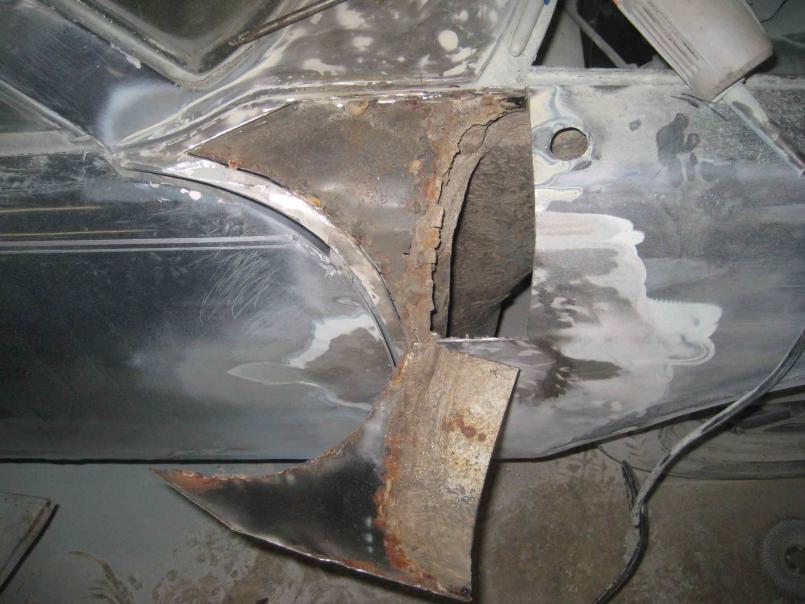
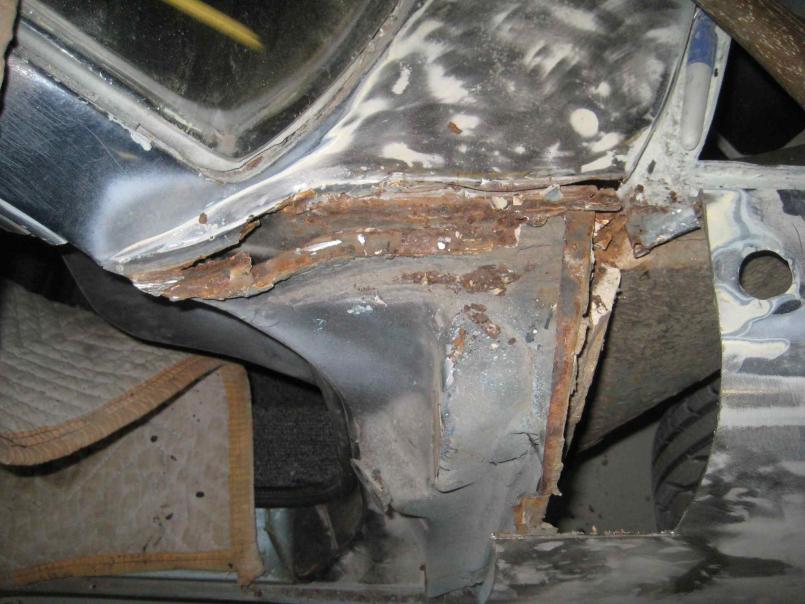
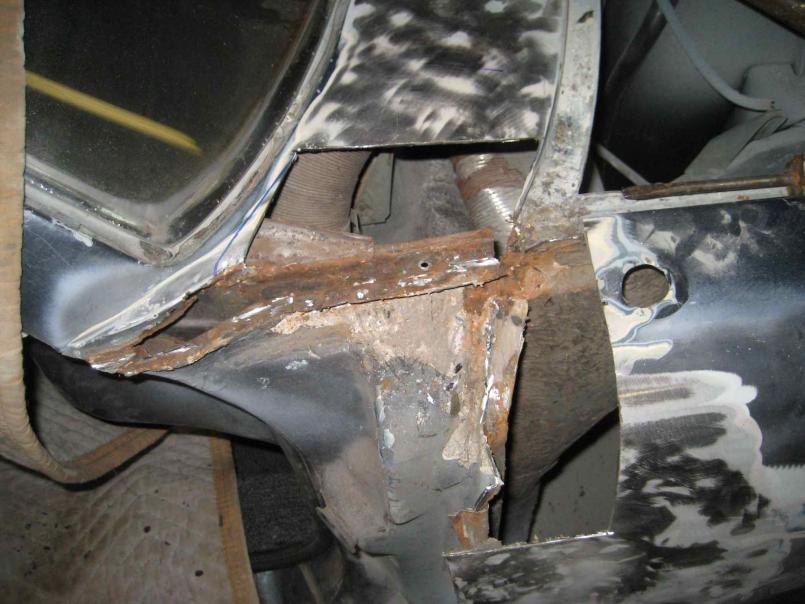
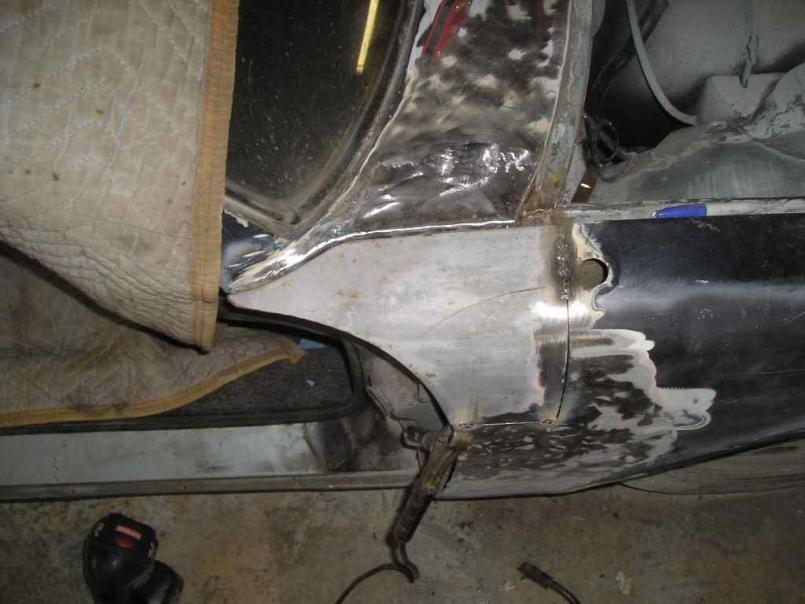 Here it is with new gaskets. And I finished welding it up on this side but I don't have a pictures. (IMG:style_emoticons/default/headbang.gif) 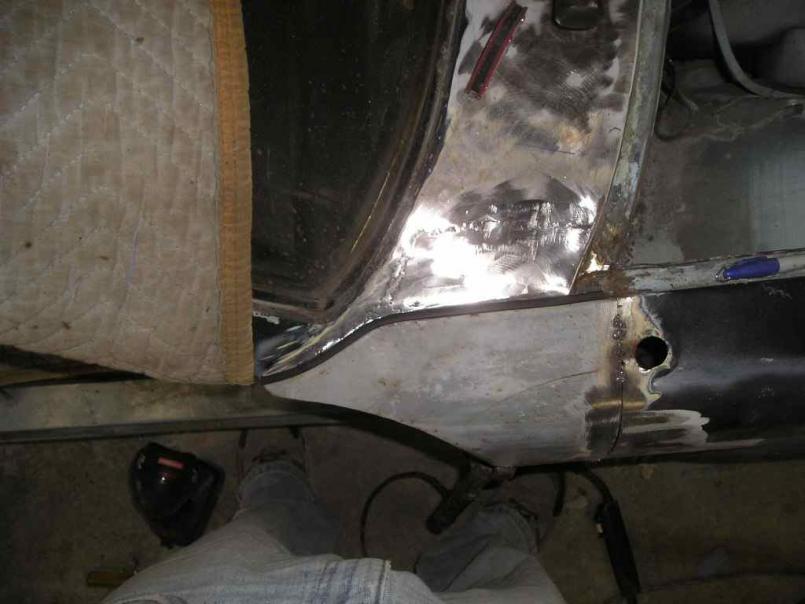 So I started on the driver's side. This side was not as bad it was still a pain in the butt to fix. 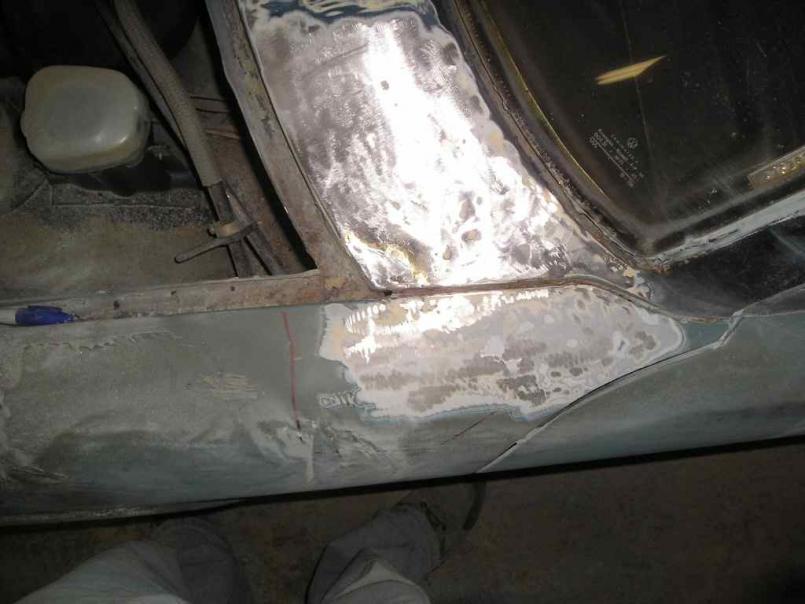 Bad stuff removed... 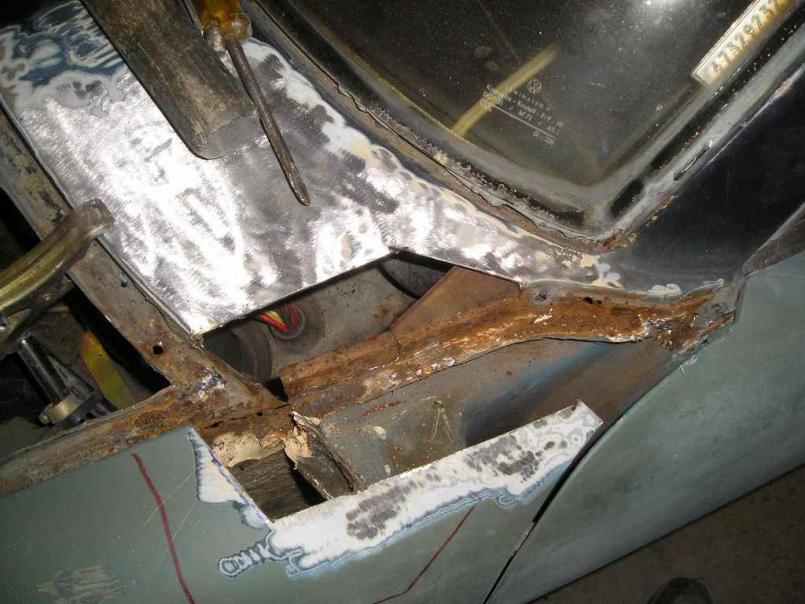 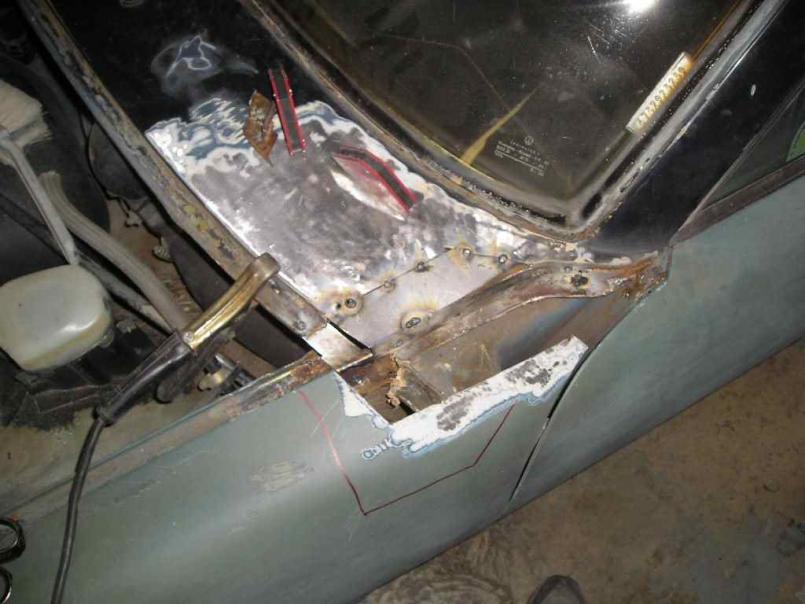 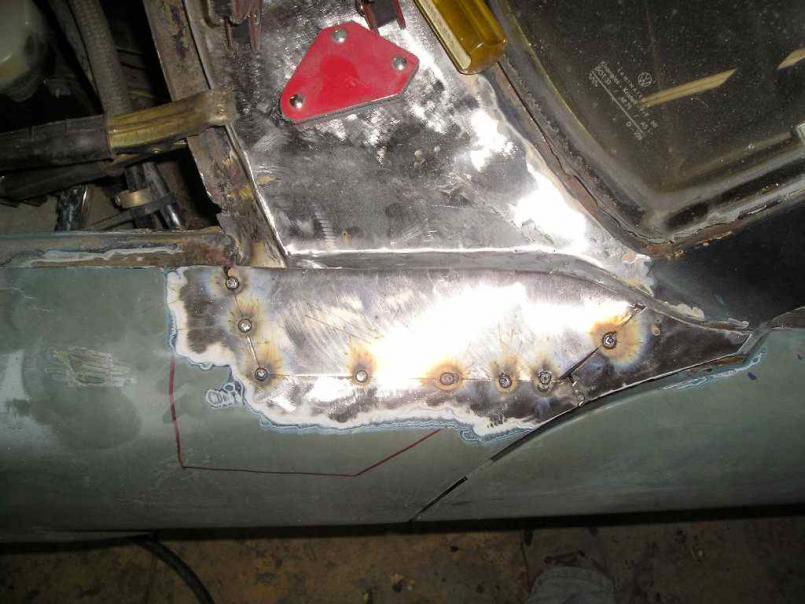 And the finished product (IMG:style_emoticons/default/piratenanner.gif) 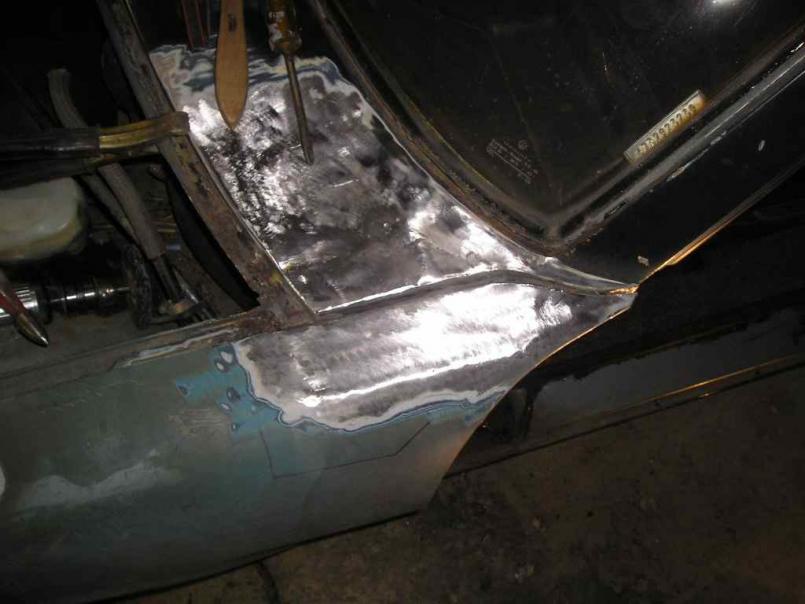 |
| dlee6204 |
 Feb 27 2010, 06:19 PM Feb 27 2010, 06:19 PM
Post
#126
|
|
Howdy     Group: Members Posts: 2,162 Joined: 30-April 06 From: Burnsville, NC Member No.: 5,956 |
That's all of the pictures for tonight. There is some rust in the front weatherstrip channel that I started to cut out but haven't finished with that yet.
Tomorrow I will probably start removing the gas tank and all the ventilation ducting to get it ready for paint. The last main thing that needs to be done before i start prepping for paint is to fix some damage in the rear trunk . The fun just doesn't stop! |
| dlee6204 |
 Mar 4 2010, 08:07 PM Mar 4 2010, 08:07 PM
Post
#127
|
|
Howdy     Group: Members Posts: 2,162 Joined: 30-April 06 From: Burnsville, NC Member No.: 5,956 |
More Progress!
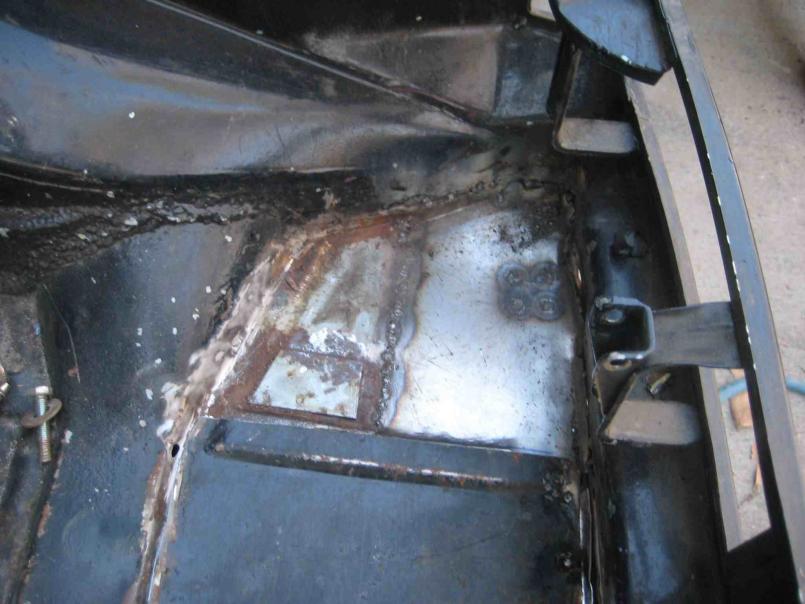
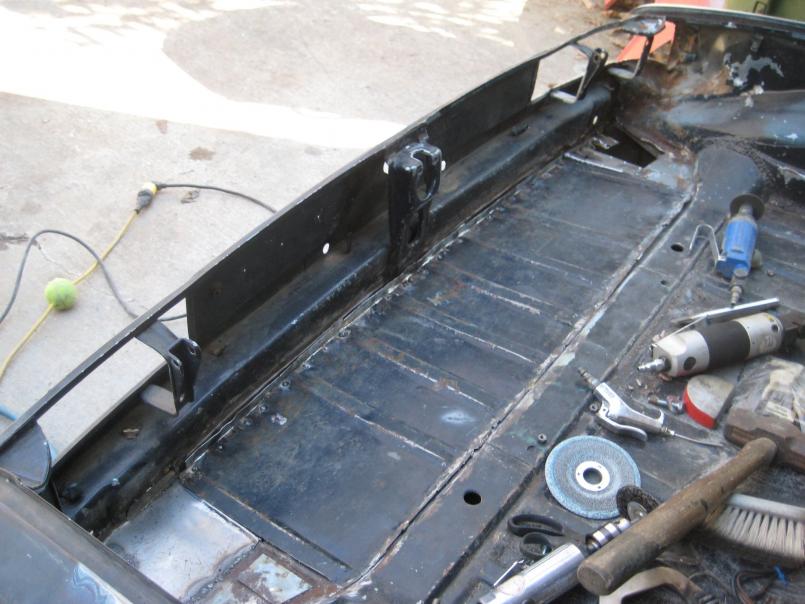
So at one time there was rust in the rear trunk and the PO decided to cut out a trunk floor from another car and weld/braze it over the rusted floor. So I cut out the top layer of the floor... 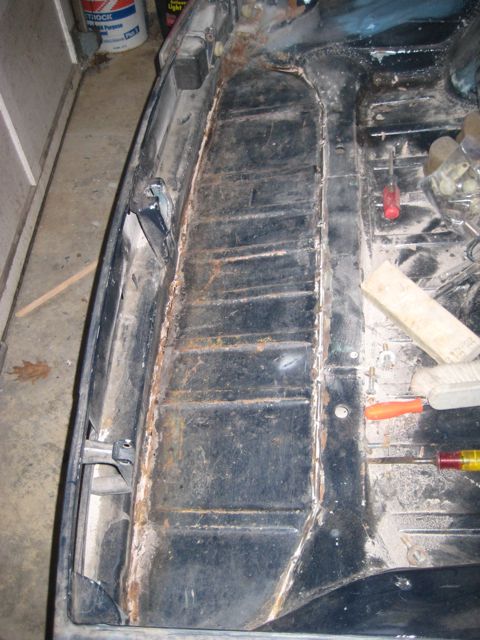 What you're about to see hasn't been seen in many years..... 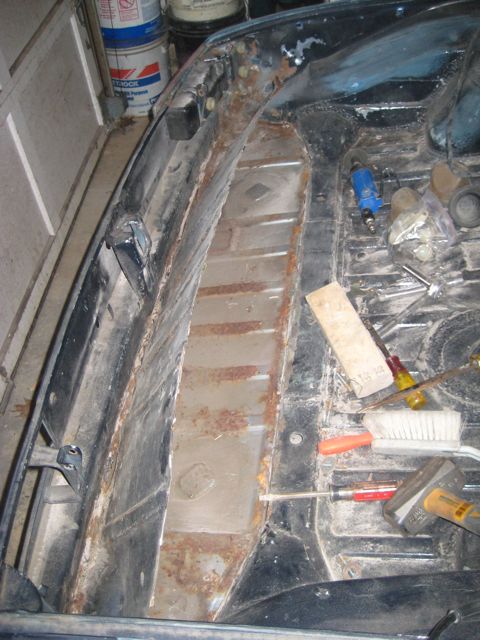 Beautiful! 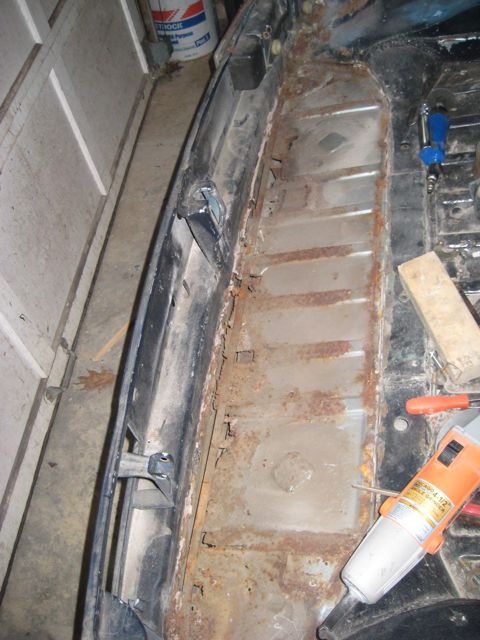 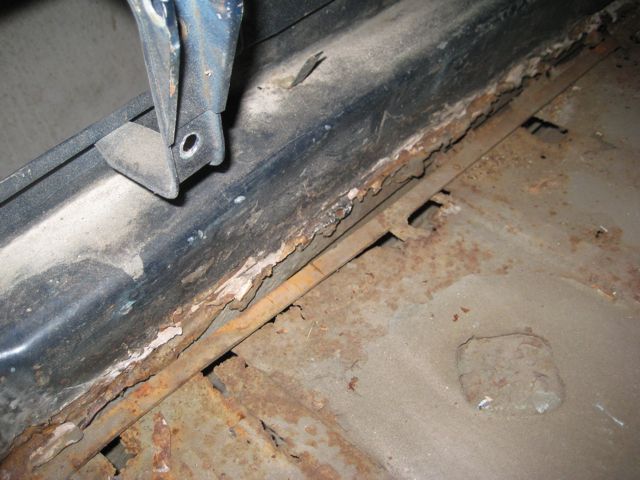 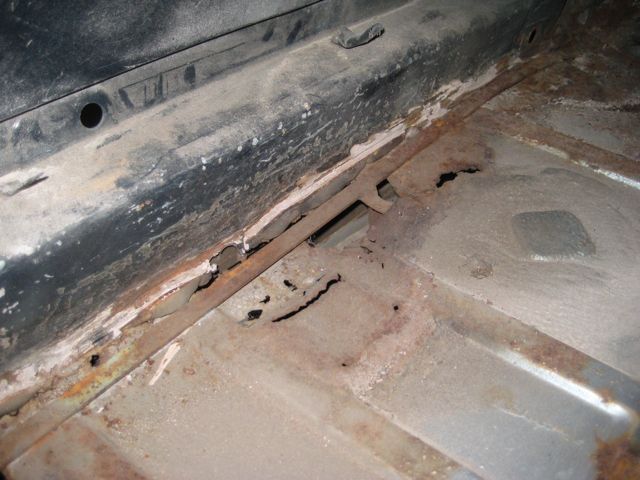 Since the car was hit in the driver's side rear corner at some point, you can still see some of the damage. I will address this with the floor out. 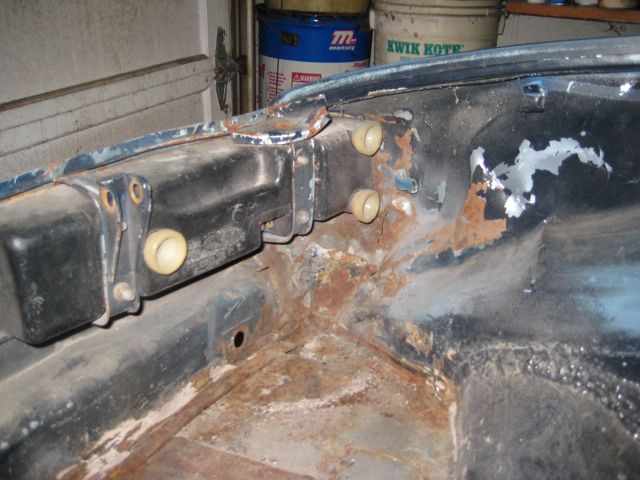 |
| dlee6204 |
 Mar 4 2010, 08:12 PM Mar 4 2010, 08:12 PM
Post
#128
|
|
Howdy     Group: Members Posts: 2,162 Joined: 30-April 06 From: Burnsville, NC Member No.: 5,956 |
Most of the trunk floor out. This is as far as I got tonight with the floor.
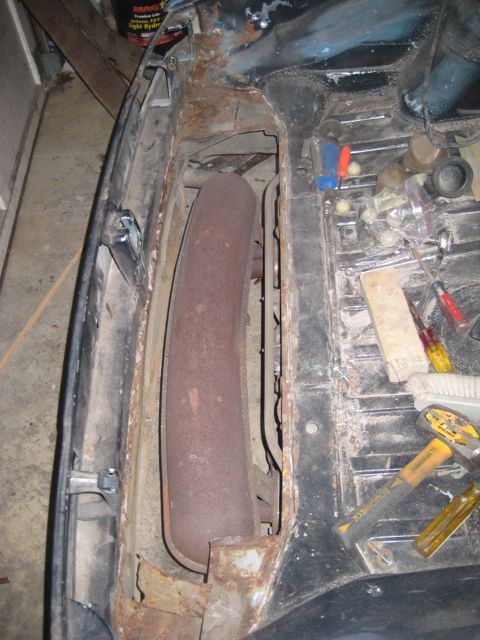 I also removed the windshield... without breaking it! (IMG:style_emoticons/default/smile.gif) The windshield is not in good shape so I will replace this after paint. 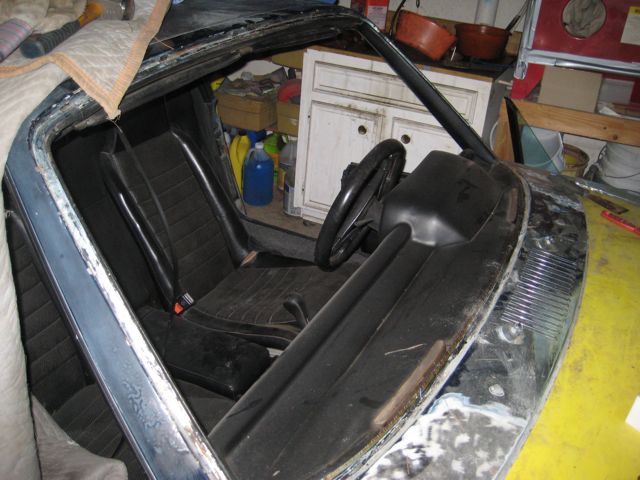 |
| dlee6204 |
 Mar 10 2010, 10:04 PM Mar 10 2010, 10:04 PM
Post
#129
|
|
Howdy     Group: Members Posts: 2,162 Joined: 30-April 06 From: Burnsville, NC Member No.: 5,956 |
|
| dlee6204 |
 Mar 10 2010, 10:21 PM Mar 10 2010, 10:21 PM
Post
#130
|
|
Howdy     Group: Members Posts: 2,162 Joined: 30-April 06 From: Burnsville, NC Member No.: 5,956 |
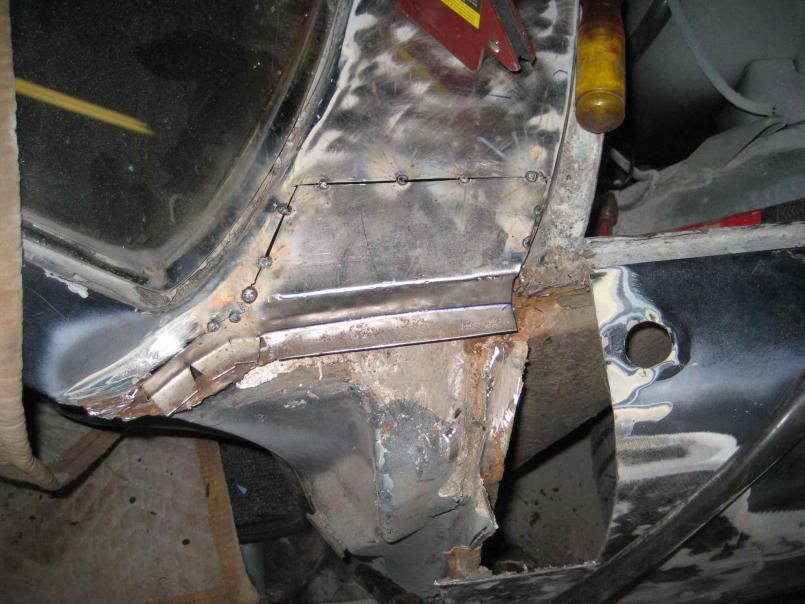
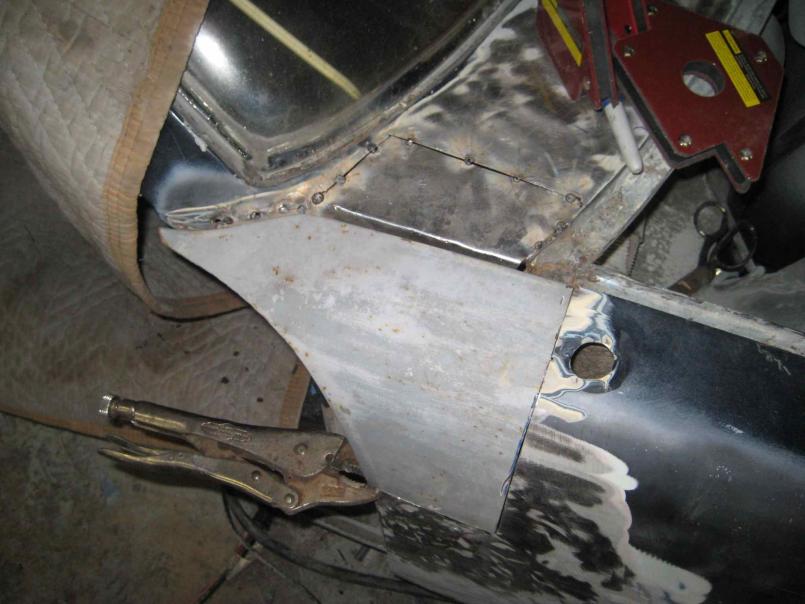
Today I started to address the damage in the rear. After stripping the rear fender of body filler, the rear half of the fender was obviously beaten back into shape and it was pretty mangled. So I decided to cut out and replace that part of the fender. This also allowed me to beat out some of the damage in the rear trunk.
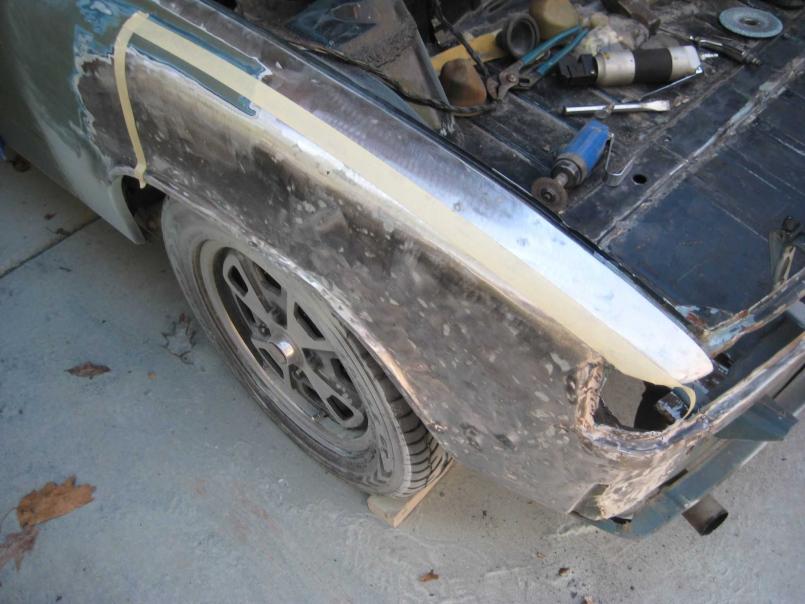 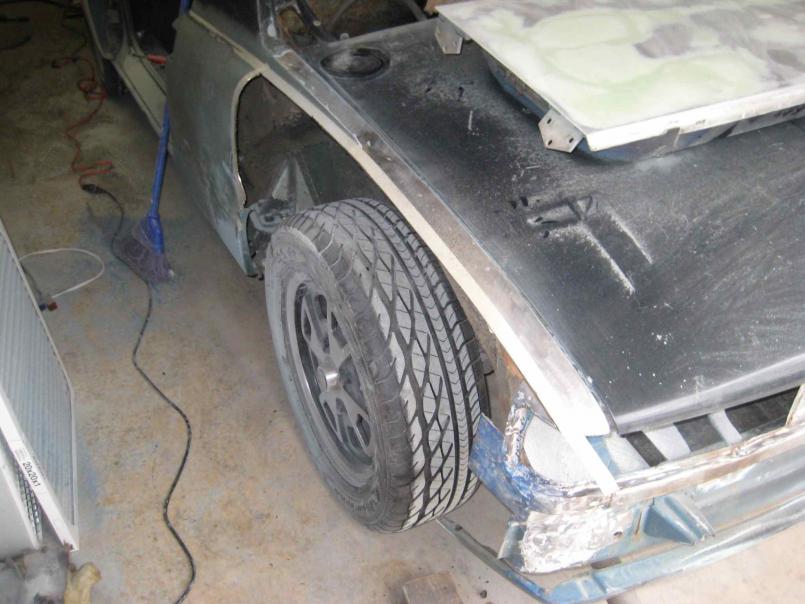 This is as far as I got for tonight. A little more trimming and it should be ready to weld into place. 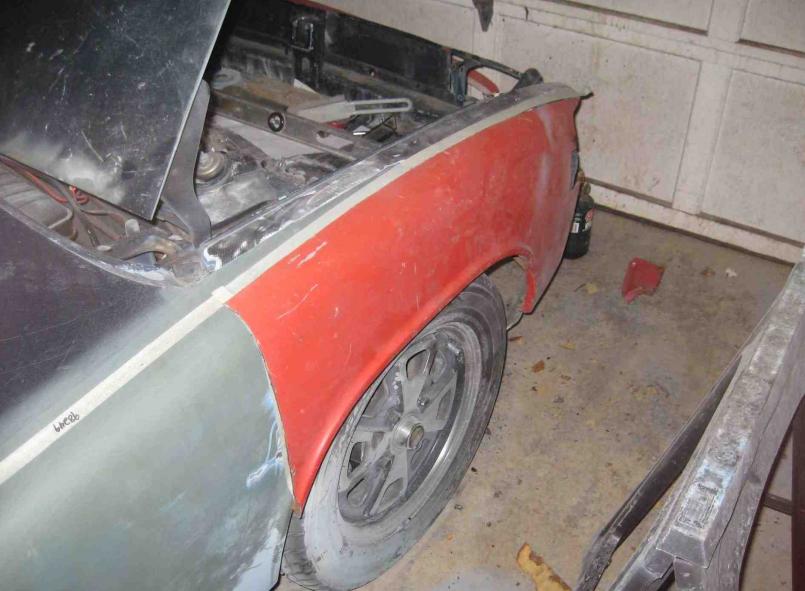 |
| dlee6204 |
 Mar 10 2010, 10:26 PM Mar 10 2010, 10:26 PM
Post
#131
|
|
Howdy     Group: Members Posts: 2,162 Joined: 30-April 06 From: Burnsville, NC Member No.: 5,956 |
|
| jonferns |
 Mar 10 2010, 10:29 PM Mar 10 2010, 10:29 PM
Post
#132
|
|
Advanced Member     Group: Members Posts: 2,081 Joined: 29-March 07 From: New Jersey Member No.: 7,631 Region Association: North East States 
|
Doug, great metal work!
|
| dlee6204 |
 Mar 10 2010, 10:31 PM Mar 10 2010, 10:31 PM
Post
#133
|
|
Howdy     Group: Members Posts: 2,162 Joined: 30-April 06 From: Burnsville, NC Member No.: 5,956 |
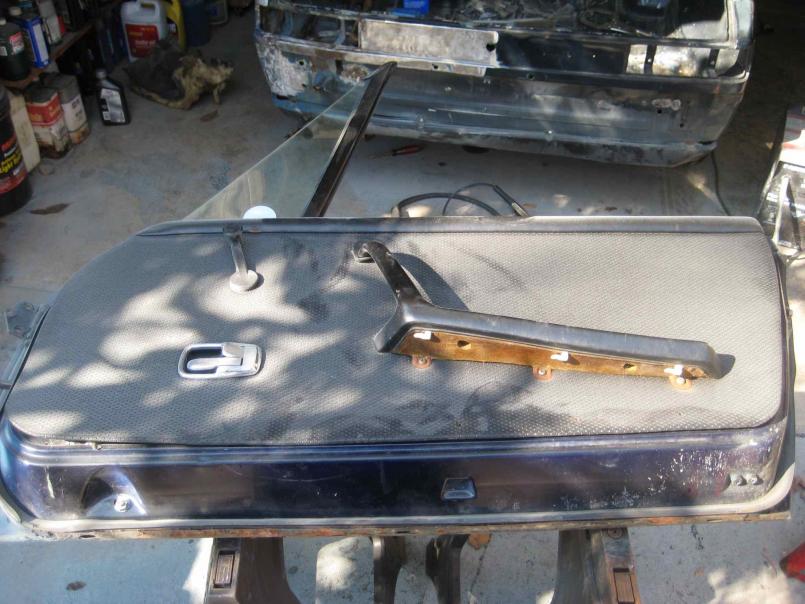
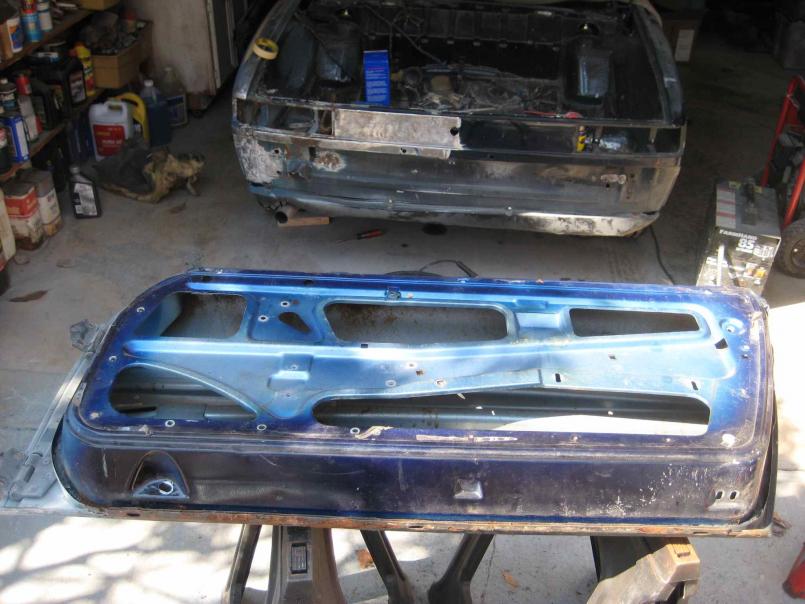
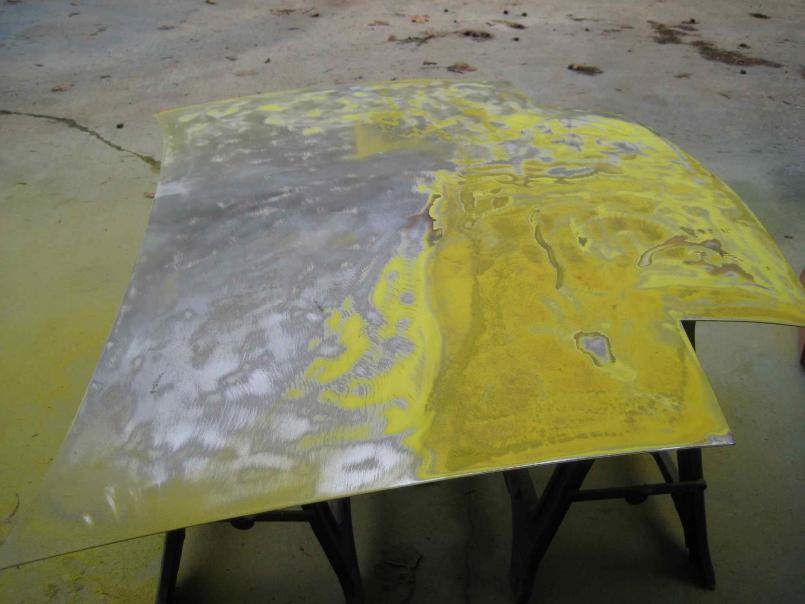
I stripped the door of its layers and layers of paint
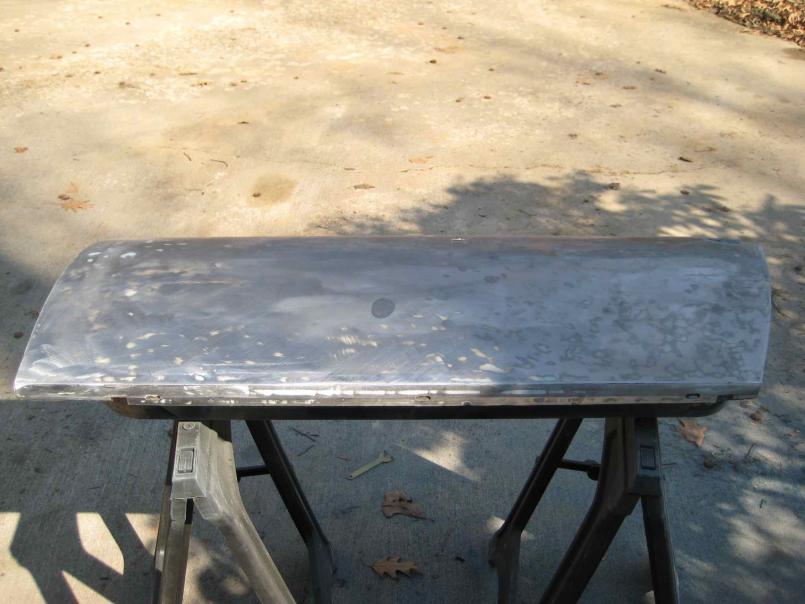 And I started working with body filler (IMG:style_emoticons/default/stirthepot.gif) 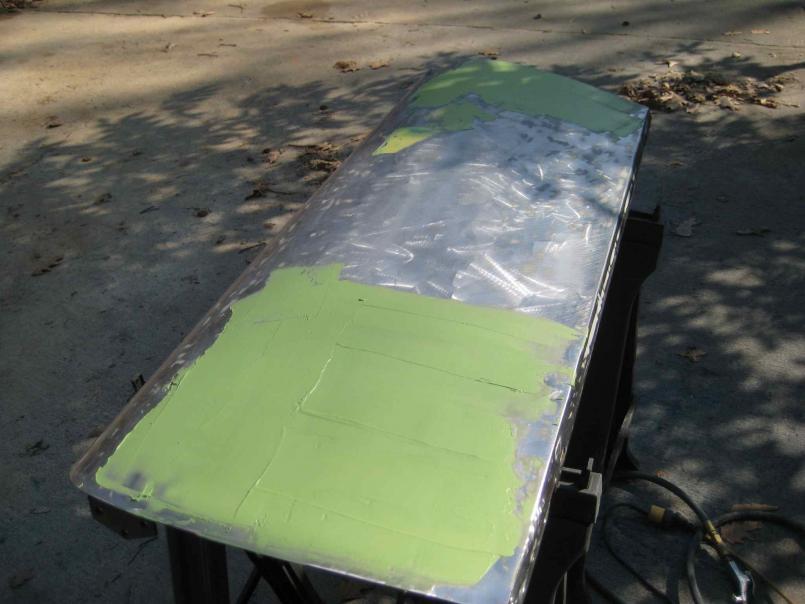 After a sanded first coat... 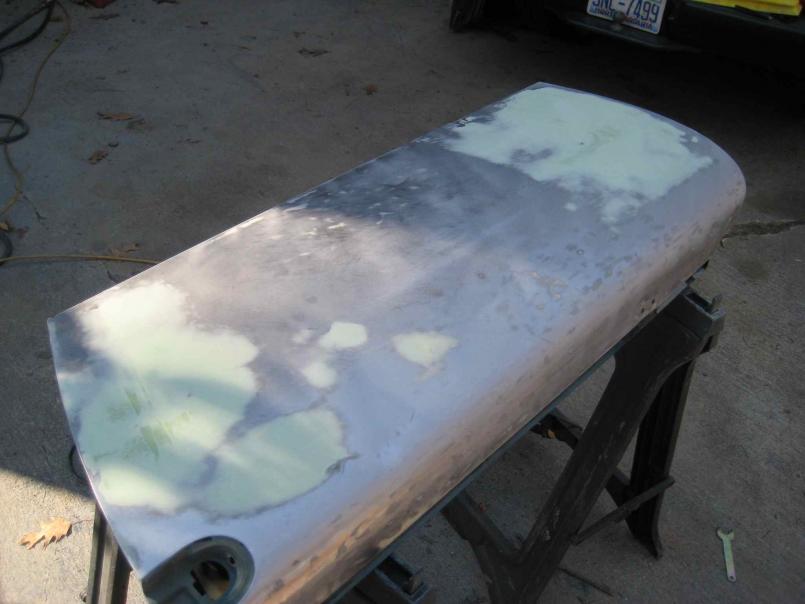 |
| dlee6204 |
 Mar 10 2010, 10:45 PM Mar 10 2010, 10:45 PM
Post
#134
|
|
Howdy     Group: Members Posts: 2,162 Joined: 30-April 06 From: Burnsville, NC Member No.: 5,956 |
And after a few more layers, we are good to go (IMG:style_emoticons/default/thumb3d.gif) I started to work on the other door but it needed a little more work so I put it off to the side.
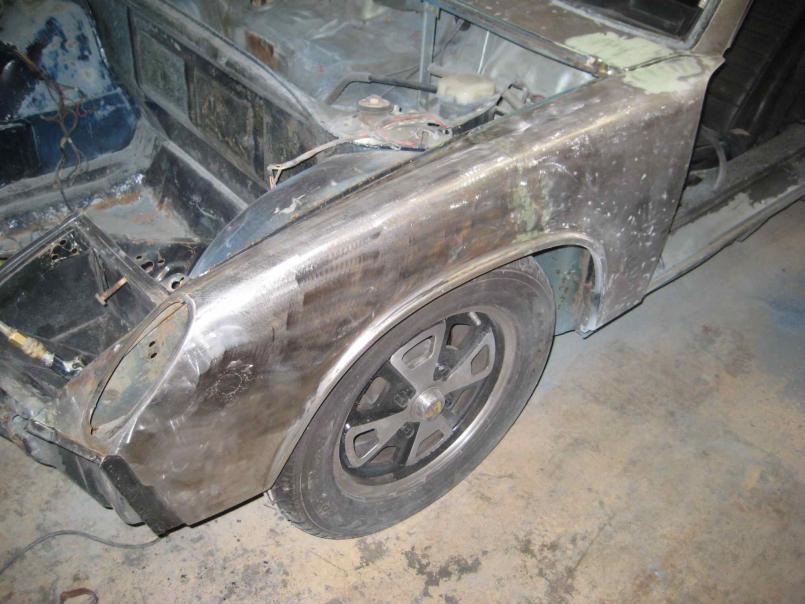
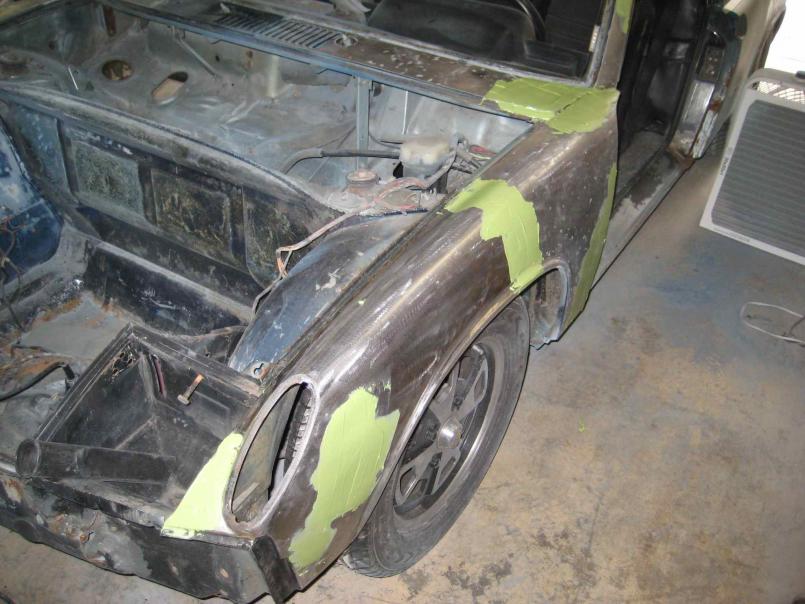
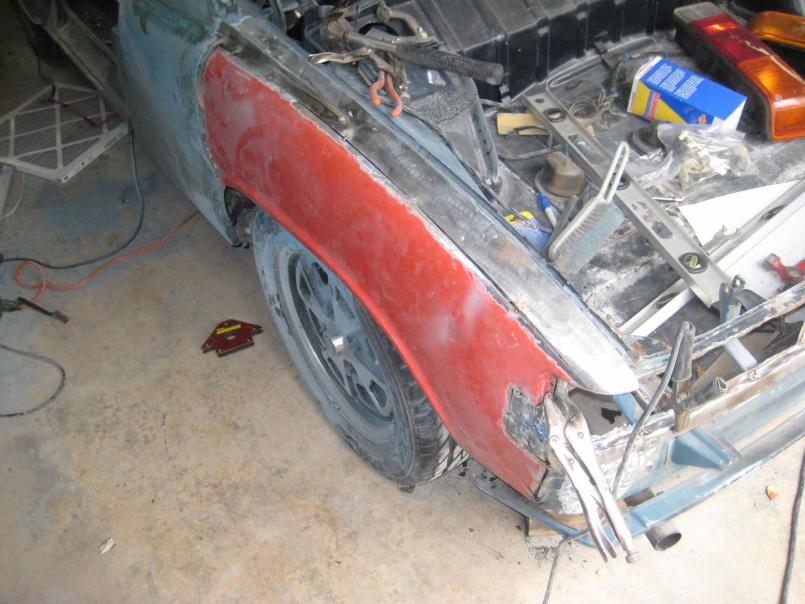
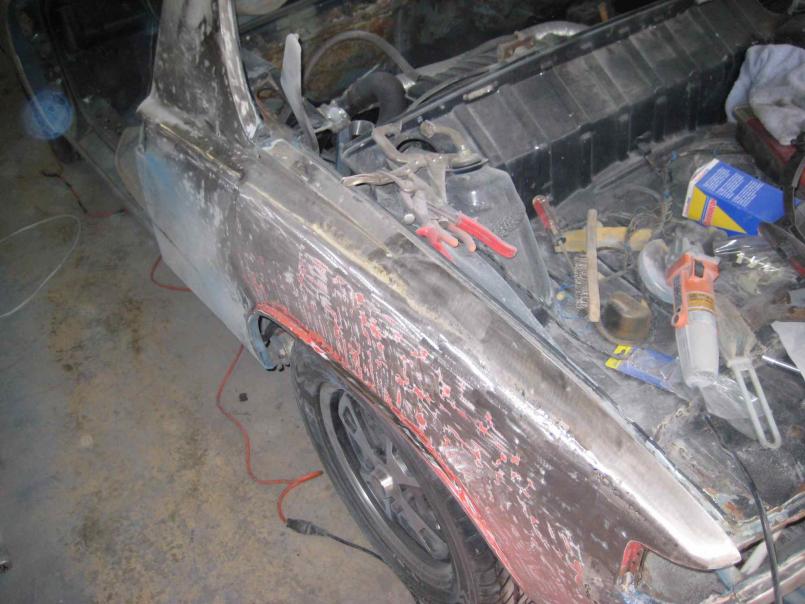
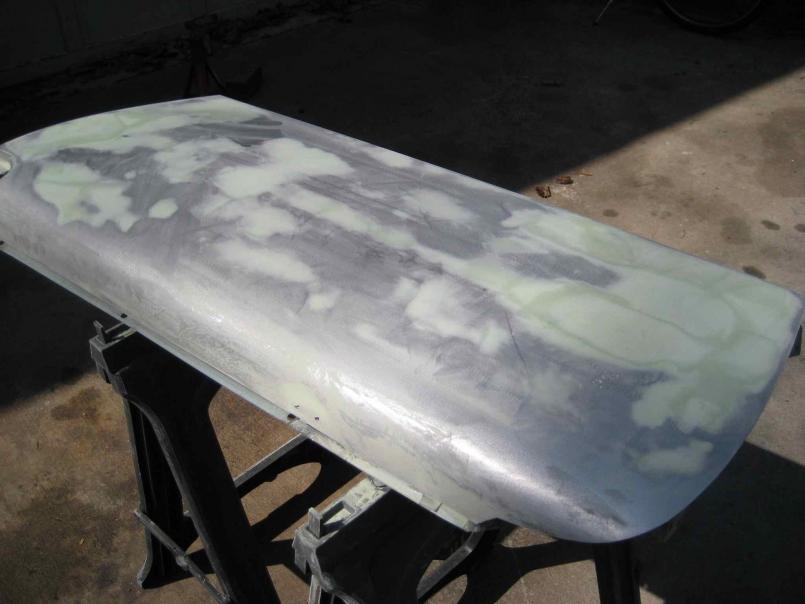 I also stripped the passenger side front fender, welded up the side marker holes and put on some filler. Its looking good! 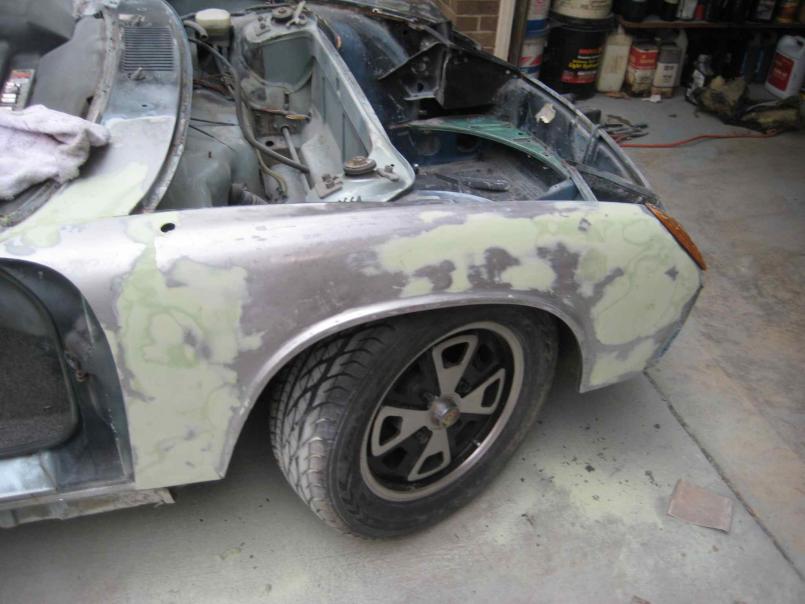 Stripping the other fender. 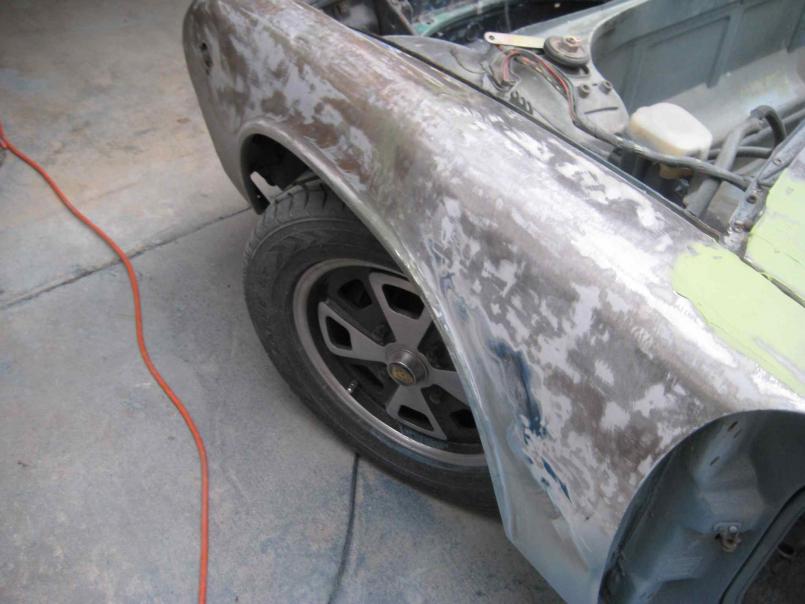 |
| dlee6204 |
 Mar 10 2010, 10:51 PM Mar 10 2010, 10:51 PM
Post
#135
|
|
Howdy     Group: Members Posts: 2,162 Joined: 30-April 06 From: Burnsville, NC Member No.: 5,956 |
|
| dlee6204 |
 Mar 10 2010, 11:05 PM Mar 10 2010, 11:05 PM
Post
#136
|
|
Howdy     Group: Members Posts: 2,162 Joined: 30-April 06 From: Burnsville, NC Member No.: 5,956 |
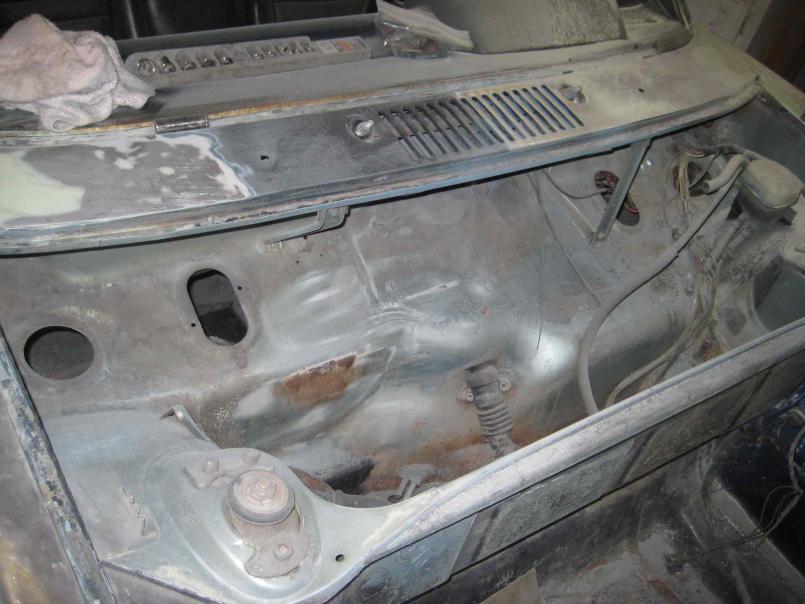
I also took out the gas tank and all ventilation ducting in the front trunk because I will be painting all those areas. No pictures of this either.
Things left to do: -Weld up rear driver's side fender -Weld up rear trunk floor -Strip rear fenders, trunk lids, and engine lid -Apply filler to remaining pieces -Sand trunks |
| watsonrx13 |
 Mar 11 2010, 05:59 AM Mar 11 2010, 05:59 AM
Post
#137
|
|
Advanced Member     Group: Members Posts: 2,735 Joined: 18-February 03 From: Plant City, FL Member No.: 312 Region Association: South East States |
Doug great job. (IMG:style_emoticons/default/sawzall-smiley.gif)
What brand of body filler are you using? What grade sandpaper are you using to remove it? Are you removing it use air-powered tools or by hand? --Rob |
| dlee6204 |
 Mar 12 2010, 10:09 PM Mar 12 2010, 10:09 PM
Post
#138
|
|
Howdy     Group: Members Posts: 2,162 Joined: 30-April 06 From: Burnsville, NC Member No.: 5,956 |
QUOTE What brand of body filler are you using? What grade sandpaper are you using to remove it? Are you removing it use air-powered tools or by hand? I'm using Evercoat products. I haven't used the Metal Glaze yet but I will after I get done applying the filler. I prepare the metal with 60 grit and then sand down with 60. I will probably step up to 120 before applying the glaze. Most of the sanding so far has been with a RO sander but I have used a long board sanding block in some areas. I should also mention that this is my first time dealing with with any sort of body filler or painting for that matter so I've been learning as I go. 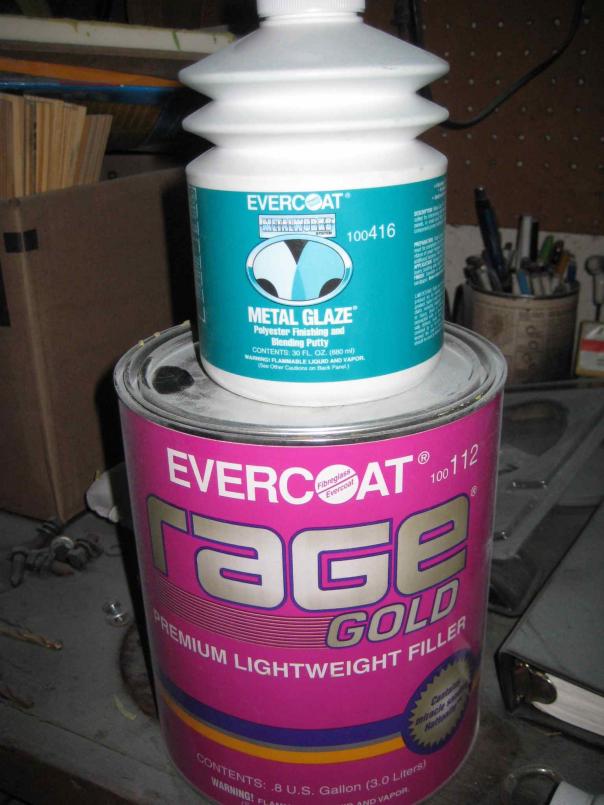 |
| dlee6204 |
 Mar 12 2010, 10:31 PM Mar 12 2010, 10:31 PM
Post
#139
|
|
Howdy     Group: Members Posts: 2,162 Joined: 30-April 06 From: Burnsville, NC Member No.: 5,956 |
|
| dlee6204 |
 Mar 12 2010, 10:36 PM Mar 12 2010, 10:36 PM
Post
#140
|
|
Howdy     Group: Members Posts: 2,162 Joined: 30-April 06 From: Burnsville, NC Member No.: 5,956 |
|
  |
1 User(s) are reading this topic (1 Guests and 0 Anonymous Users)
0 Members:

|
Lo-Fi Version | Time is now: 8th April 2025 - 05:11 AM |
Invision Power Board
v9.1.4 © 2025 IPS, Inc.


