|
|

|
Porsche, and the Porsche crest are registered trademarks of Dr. Ing. h.c. F. Porsche AG.
This site is not affiliated with Porsche in any way. Its only purpose is to provide an online forum for car enthusiasts. All other trademarks are property of their respective owners. |
|
|
  |
| Speedo |
 Dec 21 2020, 04:08 PM Dec 21 2020, 04:08 PM
Post
#481
|
|
Senior Member    Group: Members Posts: 554 Joined: 7-November 06 From: Boulder Member No.: 7,170 Region Association: Rocky Mountains 
|
|
| Speedo |
 Dec 21 2020, 04:09 PM Dec 21 2020, 04:09 PM
Post
#482
|
|
Senior Member    Group: Members Posts: 554 Joined: 7-November 06 From: Boulder Member No.: 7,170 Region Association: Rocky Mountains 
|
|
| Cairo94507 |
 Dec 21 2020, 06:08 PM Dec 21 2020, 06:08 PM
Post
#483
|
|
Michael           Group: Members Posts: 10,094 Joined: 1-November 08 From: Auburn, CA Member No.: 9,712 Region Association: Northern California 
|
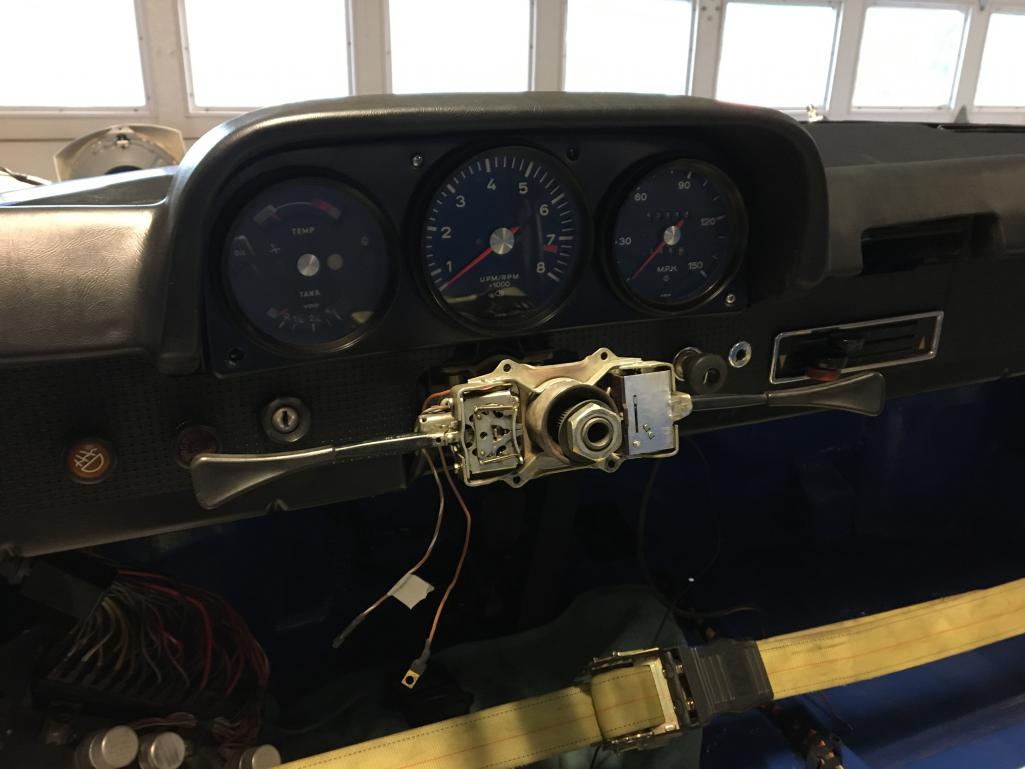
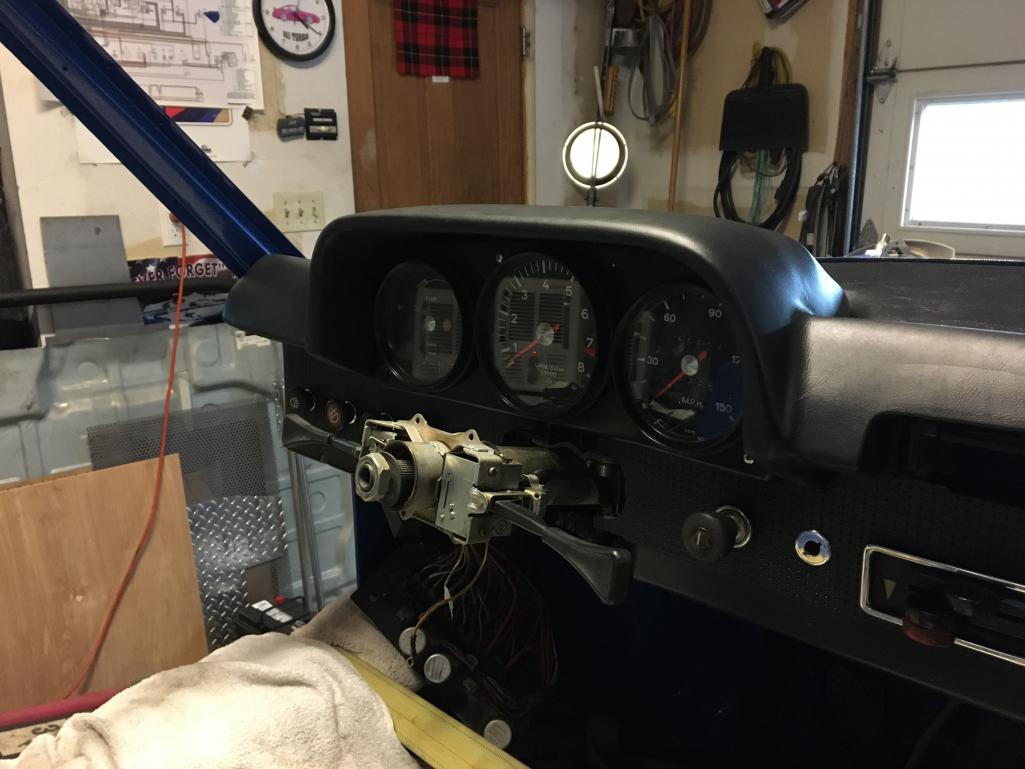
Big step getting the instruments back in the car and sorting all of the previous owner(s) shade tree add ons. Now it will be a nail biter when you put juice to it for the first time. I would leave the battery ground just snug enough so it works but so if you need to pop it off quickly, you can. Of course fire extinguisher and an extra set of eyes help too. (IMG:style_emoticons/default/beerchug.gif)
|
| brant |
 Dec 22 2020, 08:53 AM Dec 22 2020, 08:53 AM
Post
#484
|
|
914 Wizard           Group: Members Posts: 11,795 Joined: 30-December 02 From: Colorado Member No.: 47 Region Association: Rocky Mountains 

|
Nice work!!!
|
| jaredmcginness |
 Dec 22 2020, 01:25 PM Dec 22 2020, 01:25 PM
Post
#485
|
|
...    Group: Members Posts: 507 Joined: 12-June 19 From: Baltimore Member No.: 23,209 Region Association: MidAtlantic Region 
|
Restoring and installing the gauges in my car was such a big moment for me. All part of the big picture. Keep it up!
|
| Speedo |
 Dec 22 2020, 08:07 PM Dec 22 2020, 08:07 PM
Post
#486
|
|
Senior Member    Group: Members Posts: 554 Joined: 7-November 06 From: Boulder Member No.: 7,170 Region Association: Rocky Mountains 
|
The steering wheel will be a stock size, but a surprise. My son and I are working with a wood-working friend on an alternative to the plastic rim. It will still incorporate the batwing horn center. Nuff said...
|
| altitude411 |
 Dec 22 2020, 08:13 PM Dec 22 2020, 08:13 PM
Post
#487
|
|
I drove my 6 into a tree    Group: Members Posts: 1,306 Joined: 21-September 14 From: montana Member No.: 17,932 Region Association: Rocky Mountains 
|
The steering wheel will be a stock size, but a surprise. My son and I are working with a wood-working friend on an alternative to the plastic rim. It will still incorporate the batwing horn center. Nuff said... (IMG:style_emoticons/default/huh.gif) (IMG:style_emoticons/default/popcorn[1].gif) |
| Speedo |
 Feb 15 2021, 07:16 PM Feb 15 2021, 07:16 PM
Post
#488
|
|
Senior Member    Group: Members Posts: 554 Joined: 7-November 06 From: Boulder Member No.: 7,170 Region Association: Rocky Mountains 
|
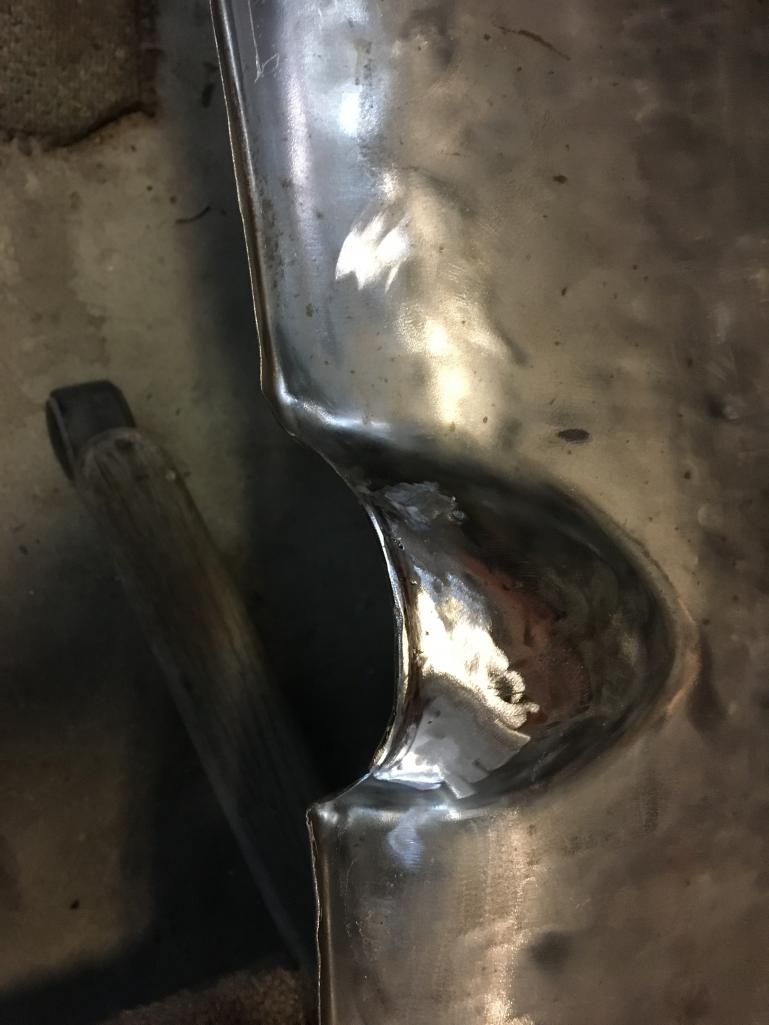
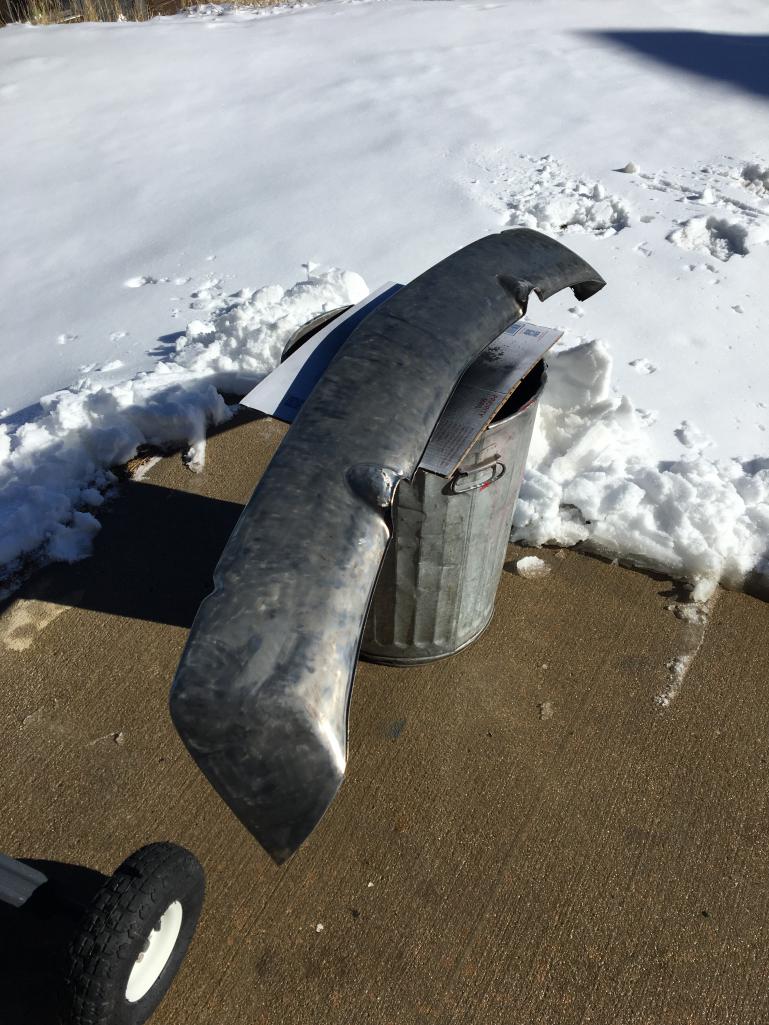
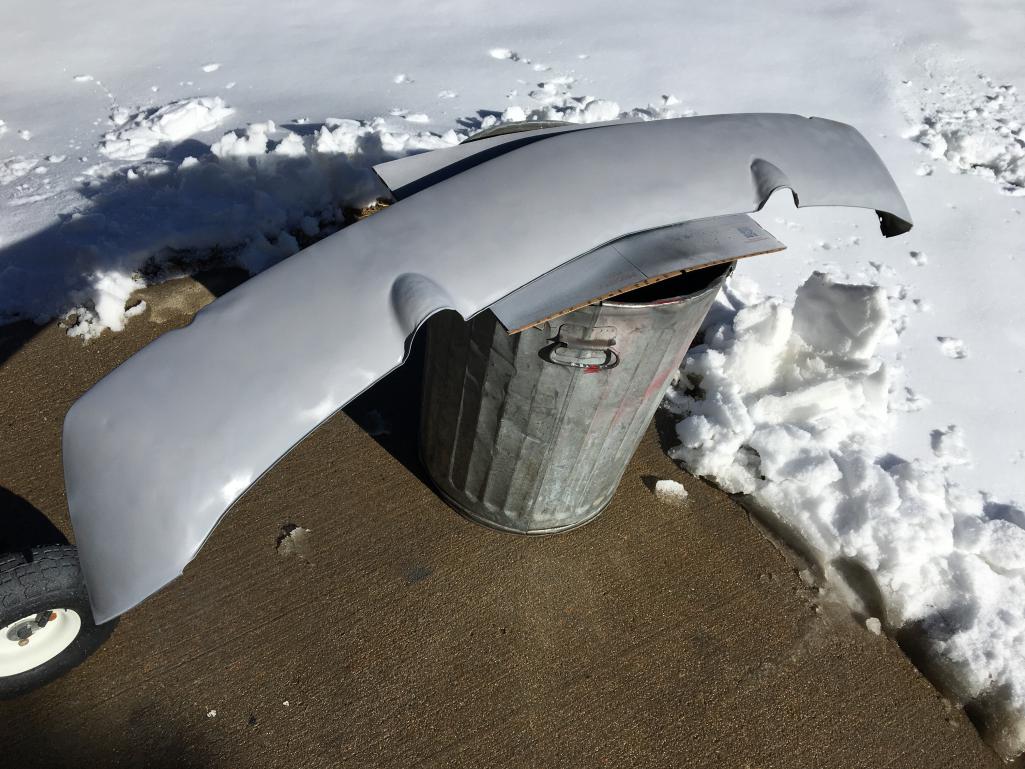
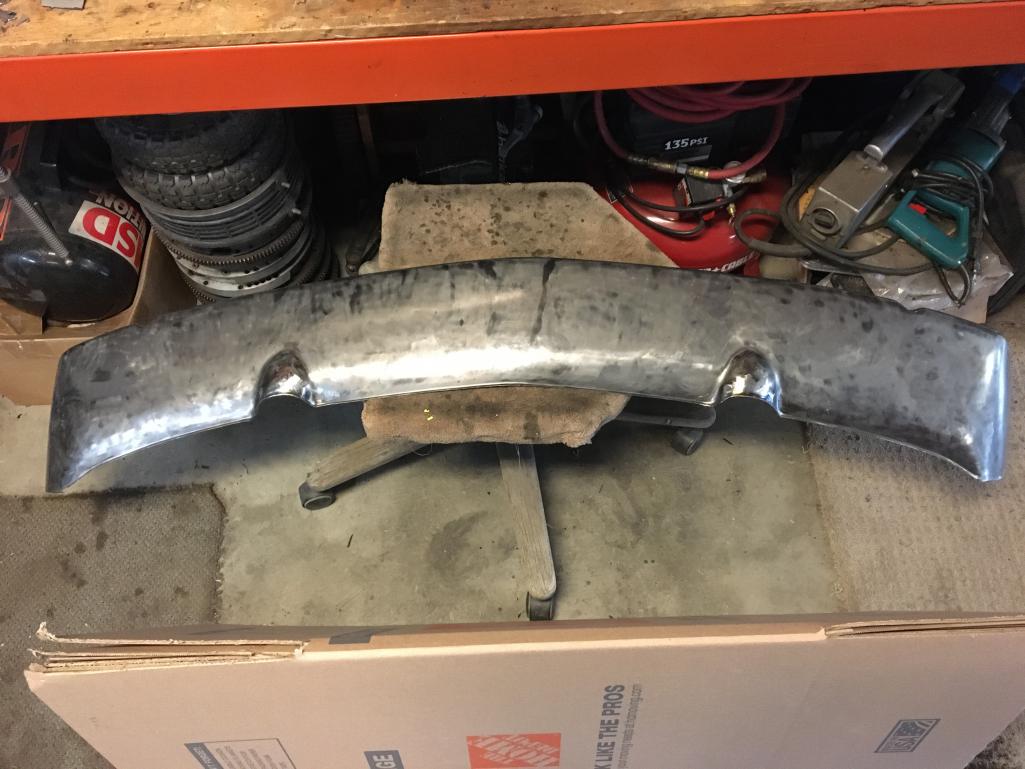
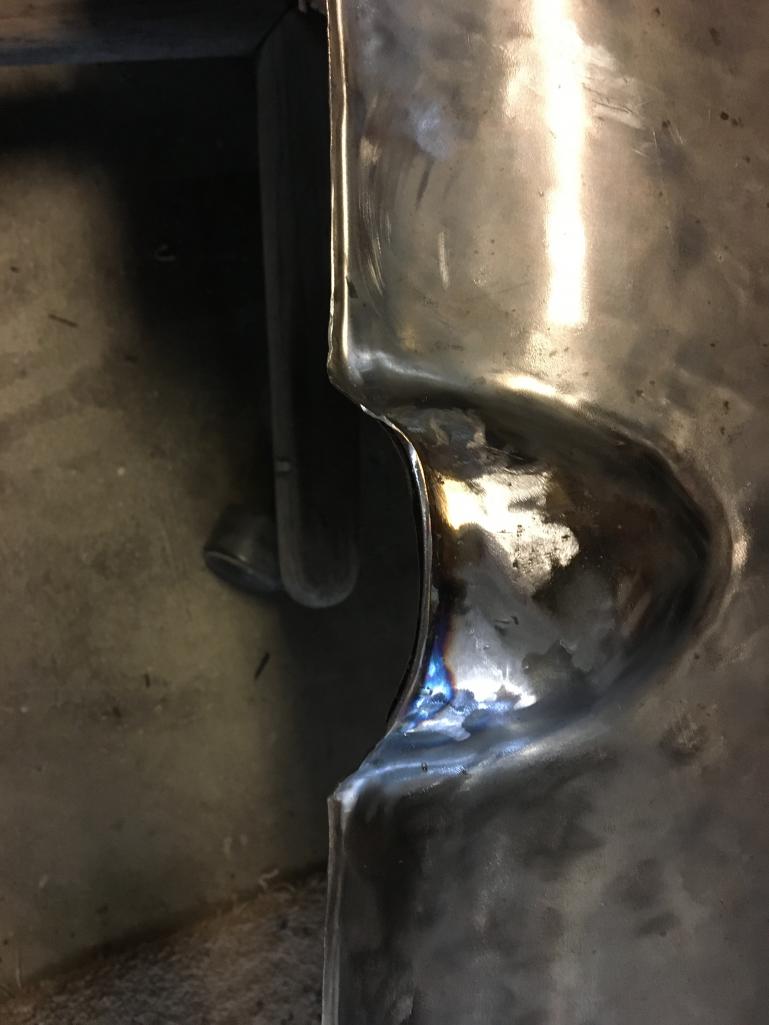
So I have been working on getting my son's car ready for paint, to paint, and then back from paint. It is now back, but will need to be re-assembled and then taken back to the painter for touch up and some PDR for dings...long story. While getting ready for paint, we realized he was missing a front valence. At that point...wondering where my front valence was, I realized that I too was missing a front valence. This did not surprise me as the car was flogged for years as an autox dog. Brant thought he had a couple extra valences and after looking, determined that he had two...one nice and one needing rehab. The son grabbed the nice one and I have been working on the "rehab dude"...sort of fitting I guess. It had some dents, and needed some welding...both of which I am capable. I didn't grab any before pics, but here is what we have achieved. First was a bit of wire brush to remove the old paint, to see what we were working with. A good part of the challenge was rebuilding the protrusions covering the front of the torsion bar attach points. They were missing some steel...likely from years of parking to close to, or on top of the concrete parking barriers at the front of mall parking slots. It involved welding enough steel to be able to grind down and re-shape what was missing. Here is stripped, welded and welds massaged.
 |
| bigkensteele |
 Feb 15 2021, 07:24 PM Feb 15 2021, 07:24 PM
Post
#489
|
|
Major Member     Group: Members Posts: 2,197 Joined: 30-August 04 From: Cincinnati, OH Member No.: 2,660 Region Association: South East States 
|
The steering wheel will be a stock size, but a surprise. My son and I are working with a wood-working friend on an alternative to the plastic rim. It will still incorporate the batwing horn center. Nuff said... This is what I want to do to match the shift know that Zack made. Can't wait to see how yours turns out! |
| Speedo |
 Feb 15 2021, 07:25 PM Feb 15 2021, 07:25 PM
Post
#490
|
|
Senior Member    Group: Members Posts: 554 Joined: 7-November 06 From: Boulder Member No.: 7,170 Region Association: Rocky Mountains 
|
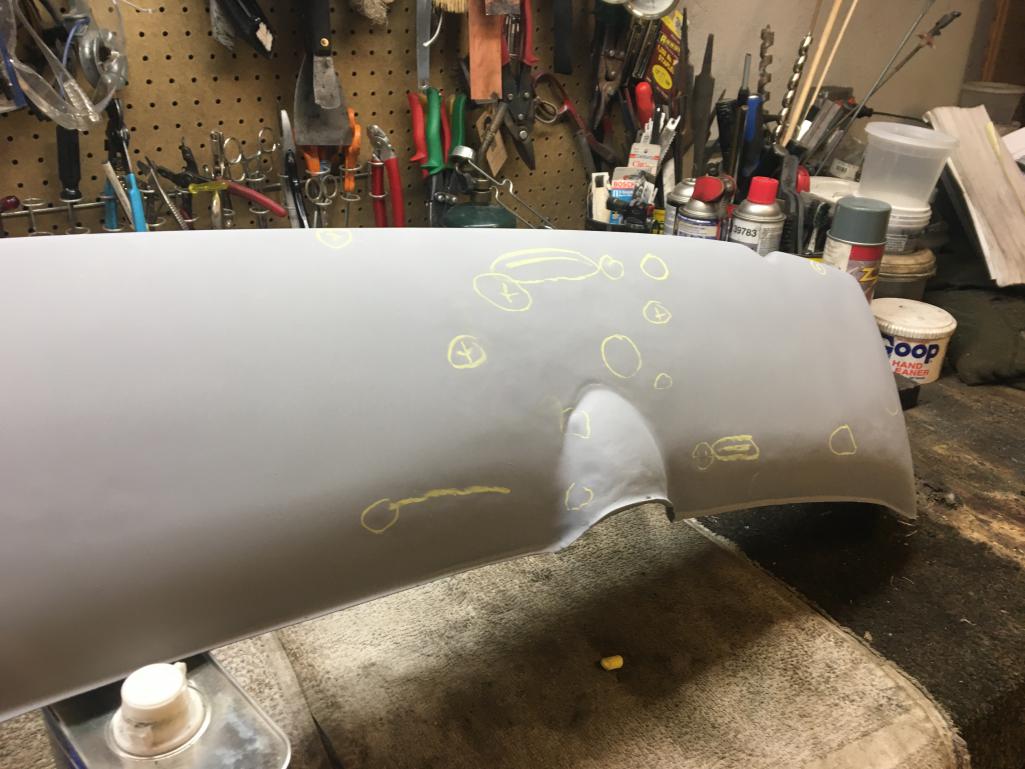
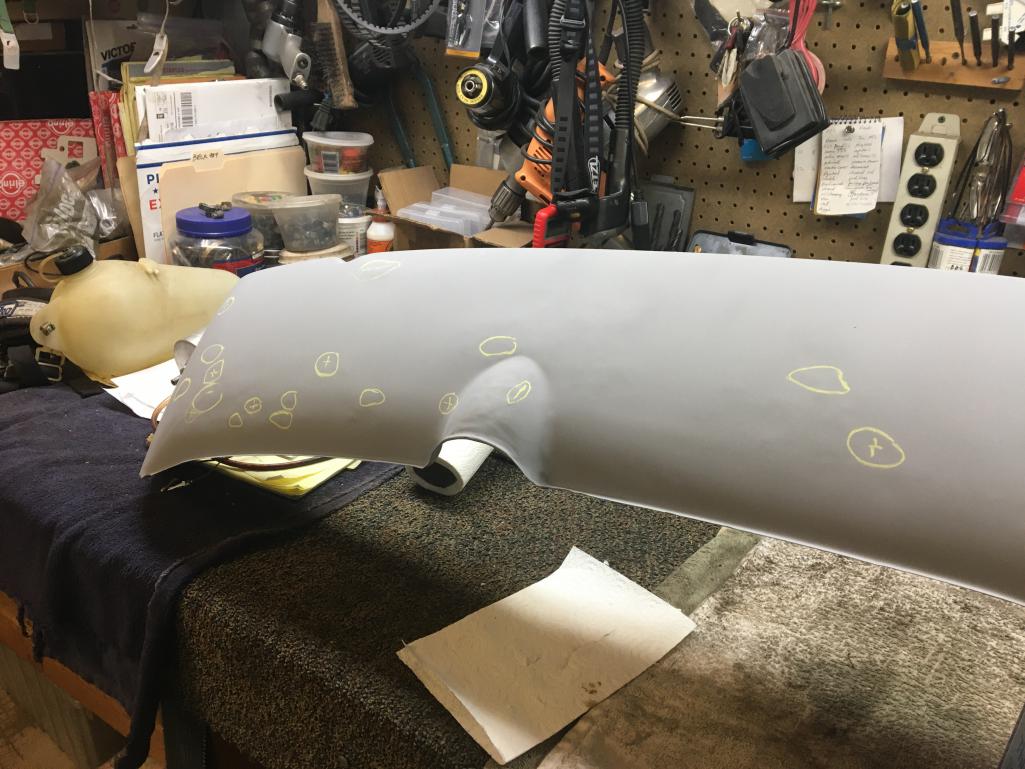
Next step is to identify areas that still require massaging. Metal work by "feel" has it's limitations. I added some high build primer which will allow me to sand and identify high and low spots. I can work the steel more...or use filler where it makes sense. This area on the front of the car is low to the ground and will receive a lot of abuse. I am going to use a Wurth stone guard product which has a texture to it, so some of the imperfections will not be visible anyway. And the finish will likely be a satin or flat black...coupled with being low to the ground, so I'm not too worried about minor stuff. Re-engineered t-bar front covers/humps.
 |
| Speedo |
 Feb 15 2021, 07:26 PM Feb 15 2021, 07:26 PM
Post
#491
|
|
Senior Member    Group: Members Posts: 554 Joined: 7-November 06 From: Boulder Member No.: 7,170 Region Association: Rocky Mountains 
|
|
| Speedo |
 Feb 15 2021, 07:30 PM Feb 15 2021, 07:30 PM
Post
#492
|
|
Senior Member    Group: Members Posts: 554 Joined: 7-November 06 From: Boulder Member No.: 7,170 Region Association: Rocky Mountains 
|
|
| Speedo |
 Feb 15 2021, 07:32 PM Feb 15 2021, 07:32 PM
Post
#493
|
|
Senior Member    Group: Members Posts: 554 Joined: 7-November 06 From: Boulder Member No.: 7,170 Region Association: Rocky Mountains 
|
|
| Speedo |
 Feb 20 2021, 07:09 PM Feb 20 2021, 07:09 PM
Post
#494
|
|
Senior Member    Group: Members Posts: 554 Joined: 7-November 06 From: Boulder Member No.: 7,170 Region Association: Rocky Mountains 
|
|
| Speedo |
 Feb 20 2021, 07:10 PM Feb 20 2021, 07:10 PM
Post
#495
|
|
Senior Member    Group: Members Posts: 554 Joined: 7-November 06 From: Boulder Member No.: 7,170 Region Association: Rocky Mountains 
|
|
| Speedo |
 Feb 20 2021, 07:12 PM Feb 20 2021, 07:12 PM
Post
#496
|
|
Senior Member    Group: Members Posts: 554 Joined: 7-November 06 From: Boulder Member No.: 7,170 Region Association: Rocky Mountains 
|
At this point, I am going to use some filler for the remaining irregularities. This is about as far as I can go...with hammer and dolly.
Attached thumbnail(s) 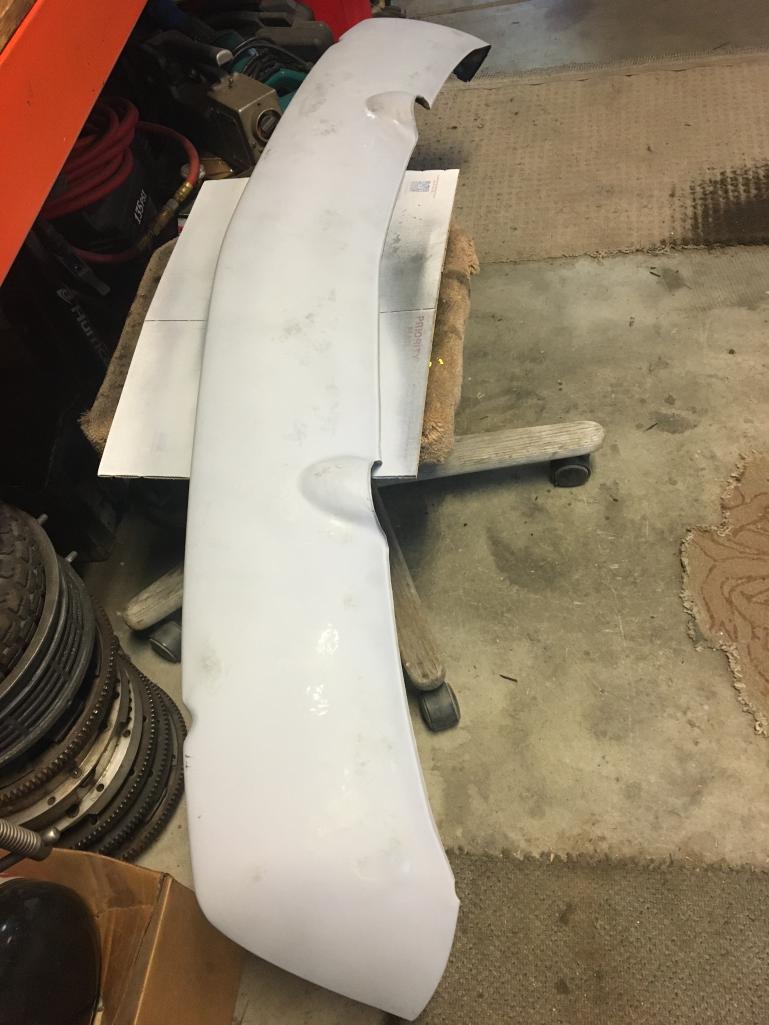
|
| Speedo |
 Feb 20 2021, 07:19 PM Feb 20 2021, 07:19 PM
Post
#497
|
|
Senior Member    Group: Members Posts: 554 Joined: 7-November 06 From: Boulder Member No.: 7,170 Region Association: Rocky Mountains 
|
Head lights...and all the related dash wiring still has me a bit stressed. I need to finish up the under bonnet stuff...washer reservoir, lines, pump etc. I have everything except for the teats that hold the pump to the firewall, and fresh clear lines. Once those and the reservoir are in place I will install the steering rack. Holding off on the fuel tank till I can test some of my electrics. Speaking of which...(Thanks Ian), I watched his headlight resto youtube and saw how he tested the headlight motors. I tested both of mine which are all installed and they both work as expected (hoped)...yesss!
|
| Luke M |
 Feb 20 2021, 07:53 PM Feb 20 2021, 07:53 PM
Post
#498
|
|
Senior Member    Group: Members Posts: 1,394 Joined: 8-February 05 From: WNY Member No.: 3,574 Region Association: North East States 
|
Looking good Lars... (IMG:style_emoticons/default/beerchug.gif) Don't let the wiring get to you. You got it almost done then move onto something else. |
| Speedo |
 Mar 28 2021, 05:16 PM Mar 28 2021, 05:16 PM
Post
#499
|
|
Senior Member    Group: Members Posts: 554 Joined: 7-November 06 From: Boulder Member No.: 7,170 Region Association: Rocky Mountains 
|
Gas tank got pulled off the shelf and dis-assembled this weekend. Tank looked new inside, fuel sender seemed to be working correctly. Got rid of a few scratches, primed and painted. New gaskets and back together. Going back into the car as soon as I get a new filter screen, the outlet gaskets and the correct fuel line to connect the tank to my new stainless lines. BTW what is the verdict on the length of the new fuel lines...keep them short and access them and the clamps from underneath the car through the opening in the suspension cavity, or make them long enough so you can connect them from above and such that they will coil under the tank as you lower it into position?
Next, I don't remember my tank having a charcoal canister mounted on top of it...although the parts diagram tells me it did? I also looked at my son's 72 1.7 and he has the whole setup from the charcoal canister through the drivers inner fender along the underside of the door sill and into the engine compartment. My six is missing the holes in the chassis for all those "vapor lines" to the engine compartment. Is the system on the 6 different? In my PET diagrams I only see two configurations for the charcoal "re-circulation" systems...and the one similar to my tank shows the system exactly like my son's 1.7 but I don't remember removing all that stuff. I'm hoping my 6 eliminates some of that so please make my day. (IMG:style_emoticons/default/blink.gif) Pics coming shortly... |
| mepstein |
 Mar 28 2021, 05:37 PM Mar 28 2021, 05:37 PM
Post
#500
|
|
914-6 GT in waiting                Group: Members Posts: 19,596 Joined: 19-September 09 From: Landenberg, PA/Wilmington, DE Member No.: 10,825 Region Association: MidAtlantic Region 
|
There's a discussion thread about early sixes and charcoal canisters. IIRC, the early 70's didn't have one, later 70-72 did.
http://www.914world.com/bbs2/index.php?showtopic=317791 |
  |

|
Lo-Fi Version | Time is now: 24th November 2024 - 07:29 PM |
Invision Power Board
v9.1.4 © 2024 IPS, Inc.


