|
|

|
Porsche, and the Porsche crest are registered trademarks of Dr. Ing. h.c. F. Porsche AG.
This site is not affiliated with Porsche in any way. Its only purpose is to provide an online forum for car enthusiasts. All other trademarks are property of their respective owners. |
|
|
  |
| Speedo |
 Mar 29 2021, 07:29 PM Mar 29 2021, 07:29 PM
Post
#501
|
|
Senior Member    Group: Members Posts: 554 Joined: 7-November 06 From: Boulder Member No.: 7,170 Region Association: Rocky Mountains 
|
|
| Speedo |
 Mar 29 2021, 07:33 PM Mar 29 2021, 07:33 PM
Post
#502
|
|
Senior Member    Group: Members Posts: 554 Joined: 7-November 06 From: Boulder Member No.: 7,170 Region Association: Rocky Mountains 
|
|
| Speedo |
 Mar 29 2021, 07:34 PM Mar 29 2021, 07:34 PM
Post
#503
|
|
Senior Member    Group: Members Posts: 554 Joined: 7-November 06 From: Boulder Member No.: 7,170 Region Association: Rocky Mountains 
|
|
| Speedo |
 Mar 29 2021, 07:36 PM Mar 29 2021, 07:36 PM
Post
#504
|
|
Senior Member    Group: Members Posts: 554 Joined: 7-November 06 From: Boulder Member No.: 7,170 Region Association: Rocky Mountains 
|
|
| Luke M |
 Mar 29 2021, 08:01 PM Mar 29 2021, 08:01 PM
Post
#505
|
|
Senior Member    Group: Members Posts: 1,394 Joined: 8-February 05 From: WNY Member No.: 3,574 Region Association: North East States 
|
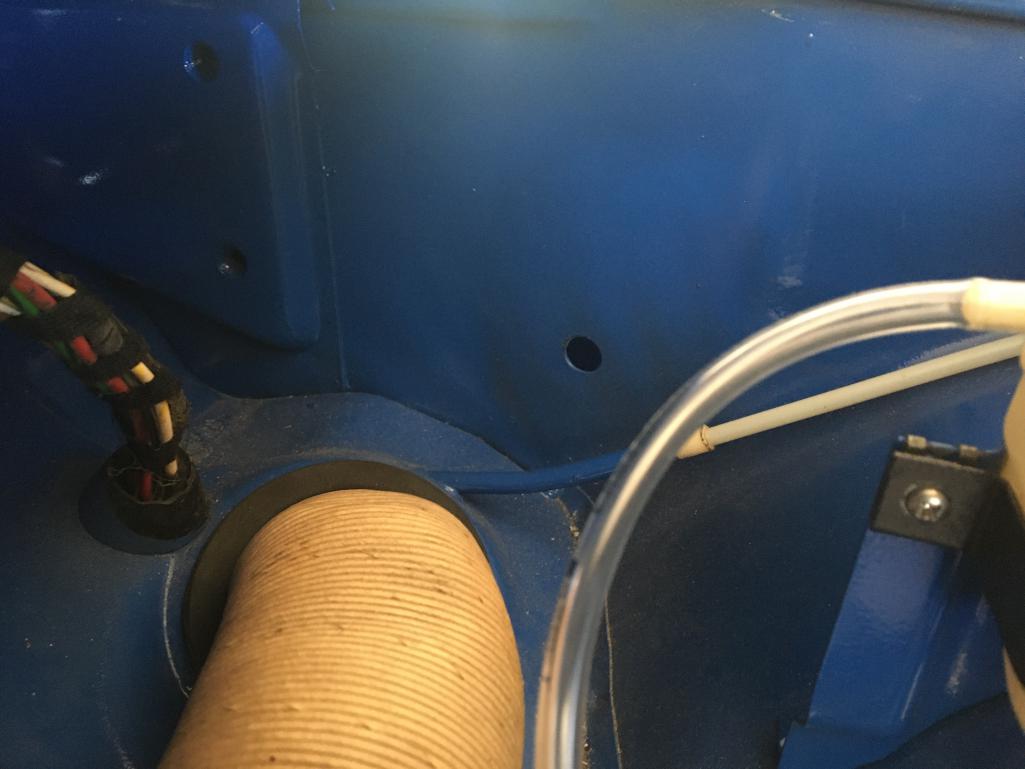
Looks good Lars. Looks like no evap for you then.
Glad to help.. (IMG:style_emoticons/default/beerchug.gif) |
| Speedo |
 Apr 19 2021, 04:34 PM Apr 19 2021, 04:34 PM
Post
#506
|
|
Senior Member    Group: Members Posts: 554 Joined: 7-November 06 From: Boulder Member No.: 7,170 Region Association: Rocky Mountains 
|
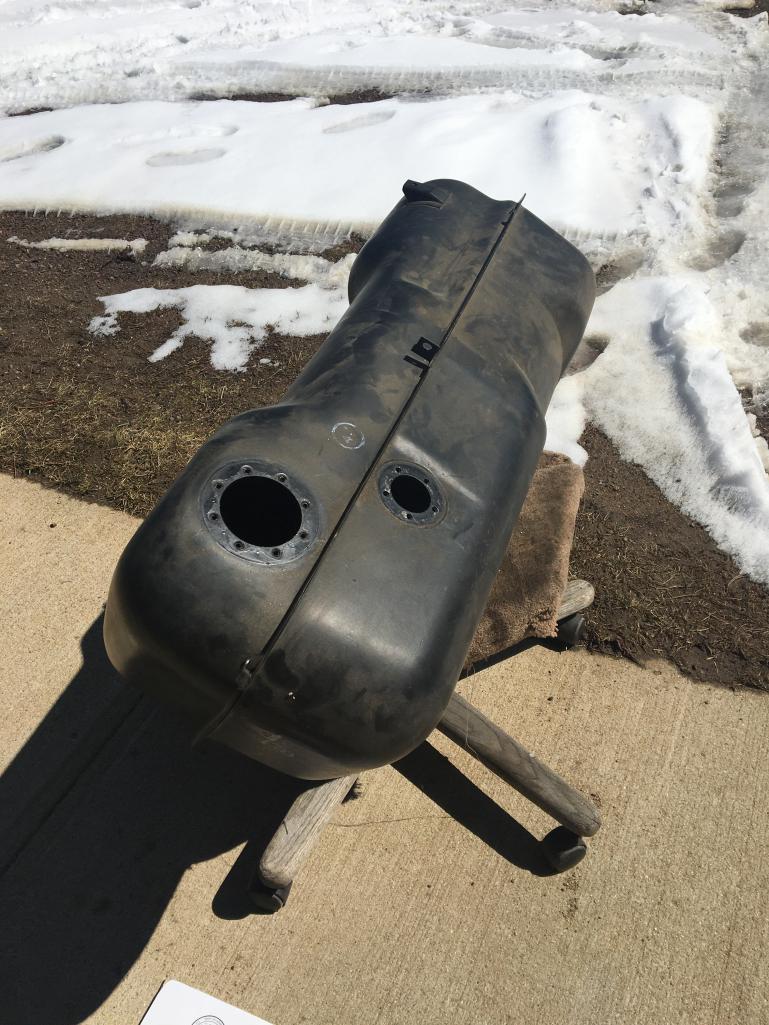
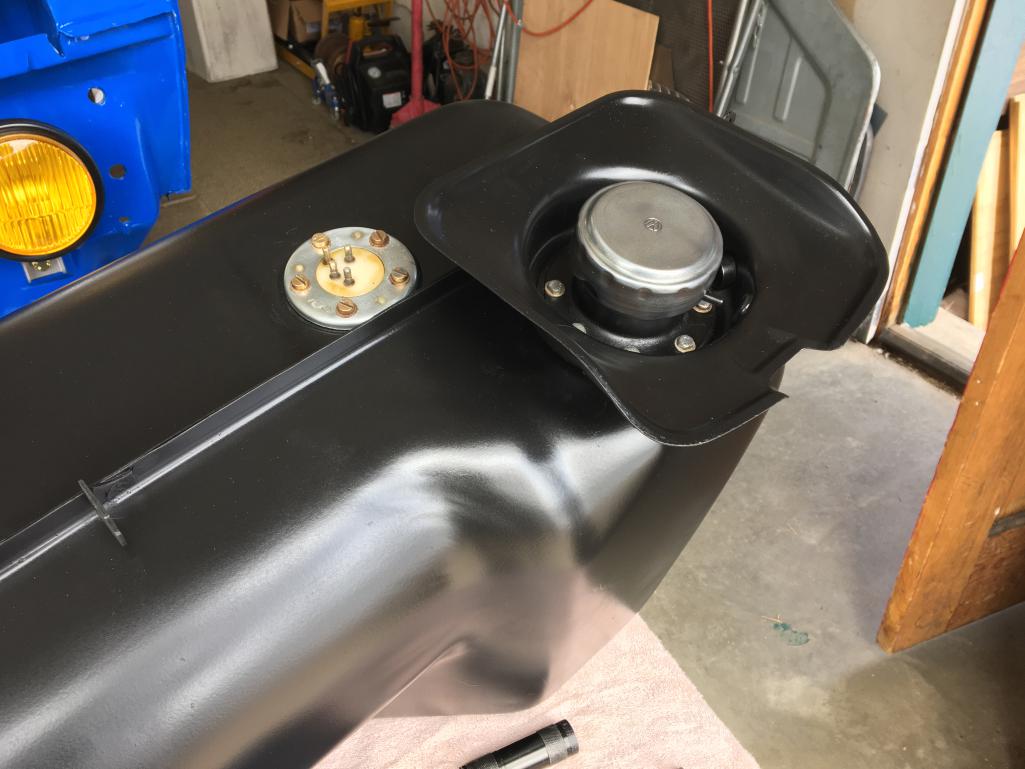
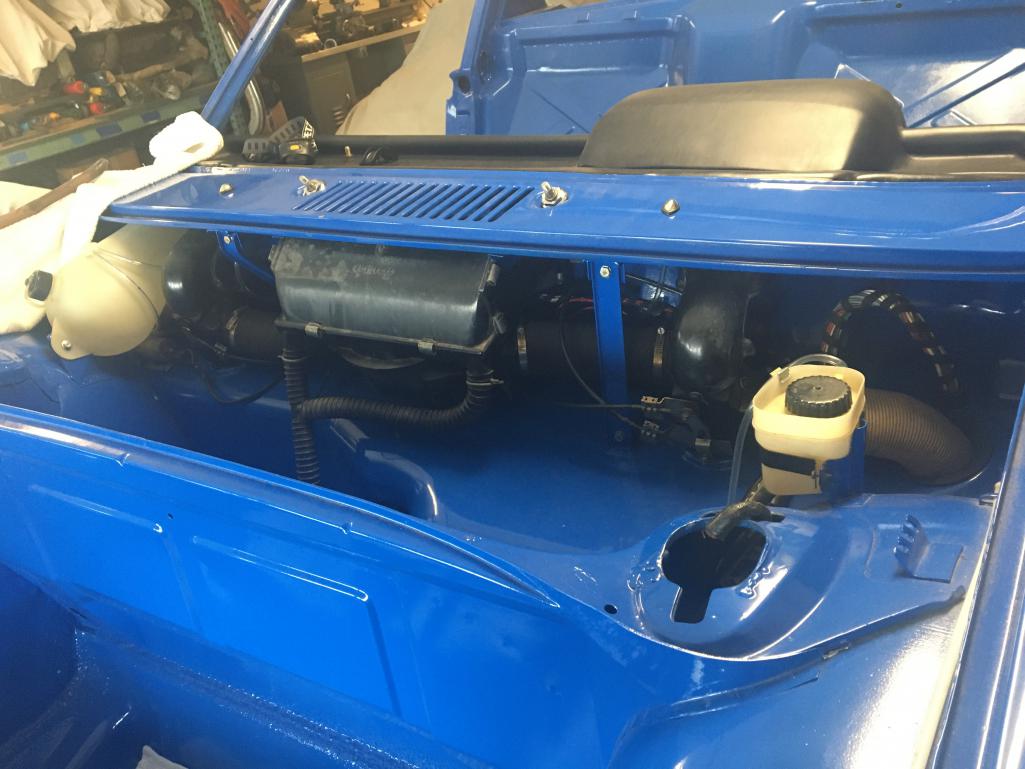
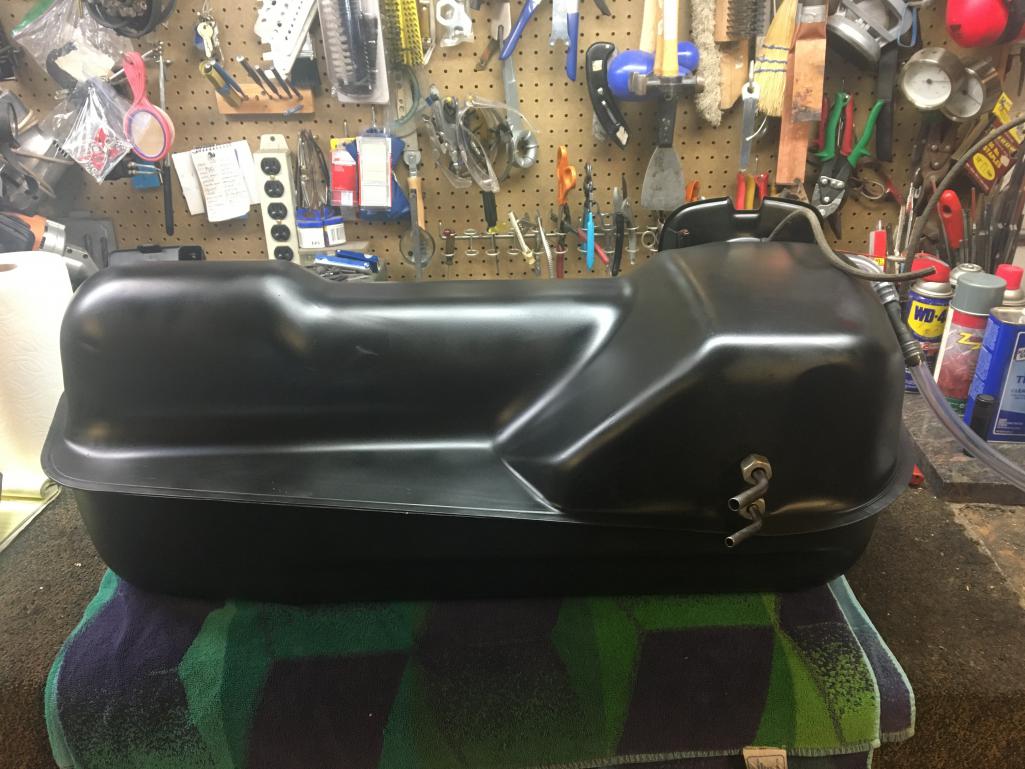
Almost ready to install the gas tank. New fuel lines, screen and clamps. I purposely am using high pressure line vs the cloth woven rubber low pressure lines. But I have a question...when we installed the gas tank in my son's 1.7, the access hole made installing and clamping the fuel lines difficult, and the line ended up with a pinch (which we had to remedy) making a tight turn from the tank fittings to the stainless new fuel lines. I have heard that a way to avaoid that hassle is to install longer fuel lines that will coil under the tank when installed. I measured the length needed and it looks like 30-32 inches would allow me to comfortably install the lines first on the tunnel fuel lines (from above), then with the tank supported, bring those lines up and install on the tank (easy access), and then sit the tank in place with the lines coiling up underneath. This sounds like the way to go. And in the event I need to un-install the tank, I just lift it out with the lines not needing to be disconnected through the access hole. Thoughts...suggestions?
(IMG:style_emoticons/default/bye1.gif) |
| krazykonrad |
 Apr 19 2021, 05:44 PM Apr 19 2021, 05:44 PM
Post
#507
|
|
Senior Member    Group: Members Posts: 1,141 Joined: 21-February 06 From: Canton, GA Member No.: 5,610 |
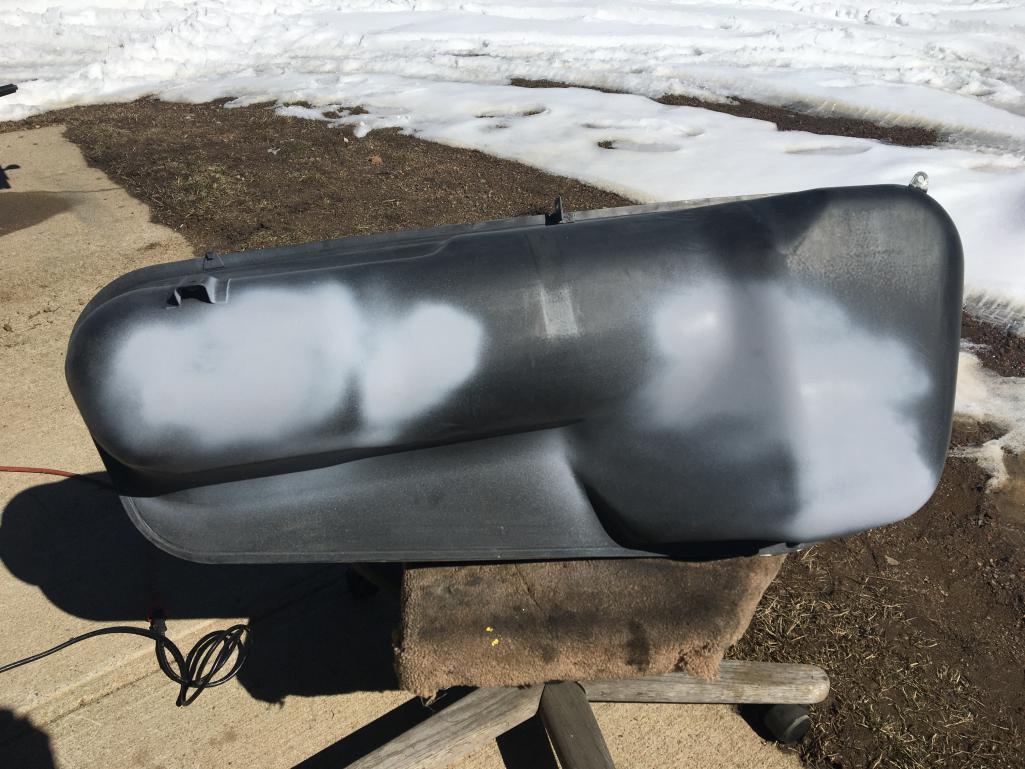
What paint did you use for the tank? I've been trying to figure out which finish is factory correct.
Thanks, Konrad |
| Speedo |
 Apr 19 2021, 06:57 PM Apr 19 2021, 06:57 PM
Post
#508
|
|
Senior Member    Group: Members Posts: 554 Joined: 7-November 06 From: Boulder Member No.: 7,170 Region Association: Rocky Mountains 
|
|
| Speedo |
 Apr 19 2021, 07:06 PM Apr 19 2021, 07:06 PM
Post
#509
|
|
Senior Member    Group: Members Posts: 554 Joined: 7-November 06 From: Boulder Member No.: 7,170 Region Association: Rocky Mountains 
|
As I definitely don't like to get overly aggressive and install parts that will impede my ability to install other parts without un-installing the parts I shouldn't have installed...
I am trying to get everything ready to install the gas tank for good. Once the gas tank is in place...nothing else is accessible. I don't plan on having a radio in the car, but the antenna will be installed and the cable will be routed to where a radio "might" be in the future. So I have the antenna cleaned up and ready to install, but I don't want it in the way of other things...hood, windshield, wiper blade etc. Does the cable disconnect from the antenna itself? I need to get the cable installed...but want to hold off on the antenna. It doesn't look like it disconnects here... 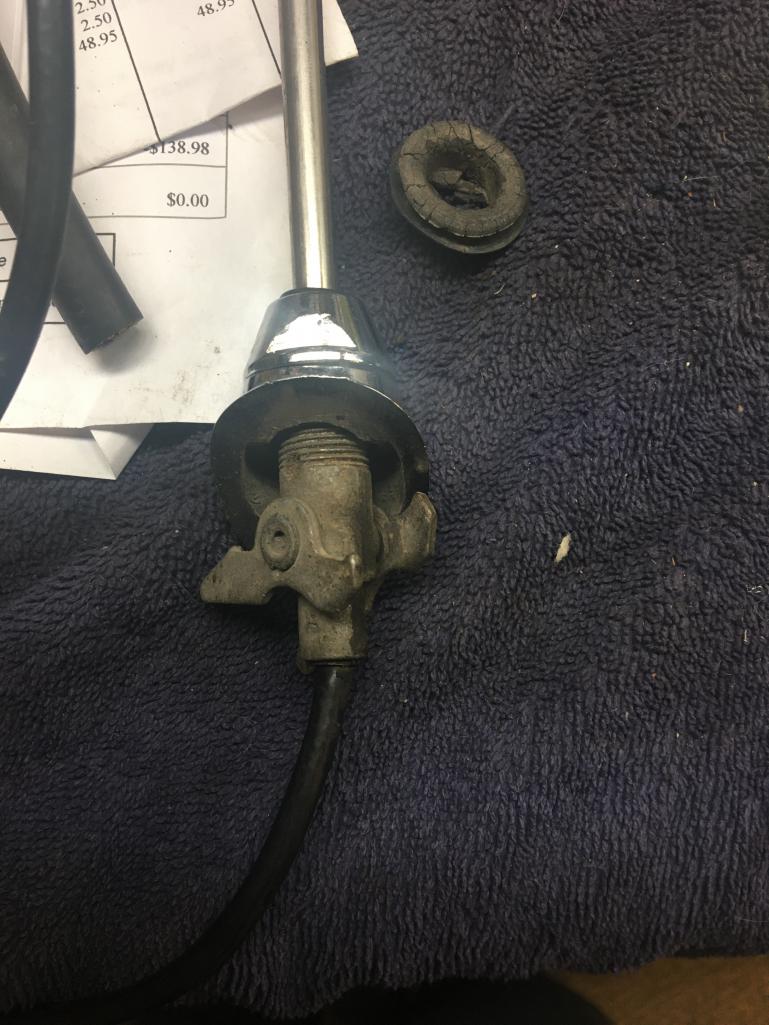 |
| Speedo |
 Apr 19 2021, 07:19 PM Apr 19 2021, 07:19 PM
Post
#510
|
|
Senior Member    Group: Members Posts: 554 Joined: 7-November 06 From: Boulder Member No.: 7,170 Region Association: Rocky Mountains 
|
|
| Speedo |
 Apr 19 2021, 07:22 PM Apr 19 2021, 07:22 PM
Post
#511
|
|
Senior Member    Group: Members Posts: 554 Joined: 7-November 06 From: Boulder Member No.: 7,170 Region Association: Rocky Mountains 
|
|
| Speedo |
 Apr 19 2021, 07:23 PM Apr 19 2021, 07:23 PM
Post
#512
|
|
Senior Member    Group: Members Posts: 554 Joined: 7-November 06 From: Boulder Member No.: 7,170 Region Association: Rocky Mountains 
|
|
| Speedo |
 Apr 19 2021, 07:25 PM Apr 19 2021, 07:25 PM
Post
#513
|
|
Senior Member    Group: Members Posts: 554 Joined: 7-November 06 From: Boulder Member No.: 7,170 Region Association: Rocky Mountains 
|
|
| Speedo |
 Apr 19 2021, 07:26 PM Apr 19 2021, 07:26 PM
Post
#514
|
|
Senior Member    Group: Members Posts: 554 Joined: 7-November 06 From: Boulder Member No.: 7,170 Region Association: Rocky Mountains 
|
|
| Speedo |
 Apr 19 2021, 07:28 PM Apr 19 2021, 07:28 PM
Post
#515
|
|
Senior Member    Group: Members Posts: 554 Joined: 7-November 06 From: Boulder Member No.: 7,170 Region Association: Rocky Mountains 
|
|
| Root_Werks |
 Apr 19 2021, 08:49 PM Apr 19 2021, 08:49 PM
Post
#516
|
|
Village Idiot      Group: Members Posts: 8,484 Joined: 25-May 04 From: About 5NM from Canada Member No.: 2,105 Region Association: Pacific Northwest 
|
One of the fun parts about putting a 914 back together is all the nice new clean parts. So much nicer than rusty, greasy take apart.
|
| Luke M |
 Apr 20 2021, 05:40 AM Apr 20 2021, 05:40 AM
Post
#517
|
|
Senior Member    Group: Members Posts: 1,394 Joined: 8-February 05 From: WNY Member No.: 3,574 Region Association: North East States 
|
Most if not all of the dirty work in here has been done. Let me know if you see something out of sort or incorrect so I can fix it. 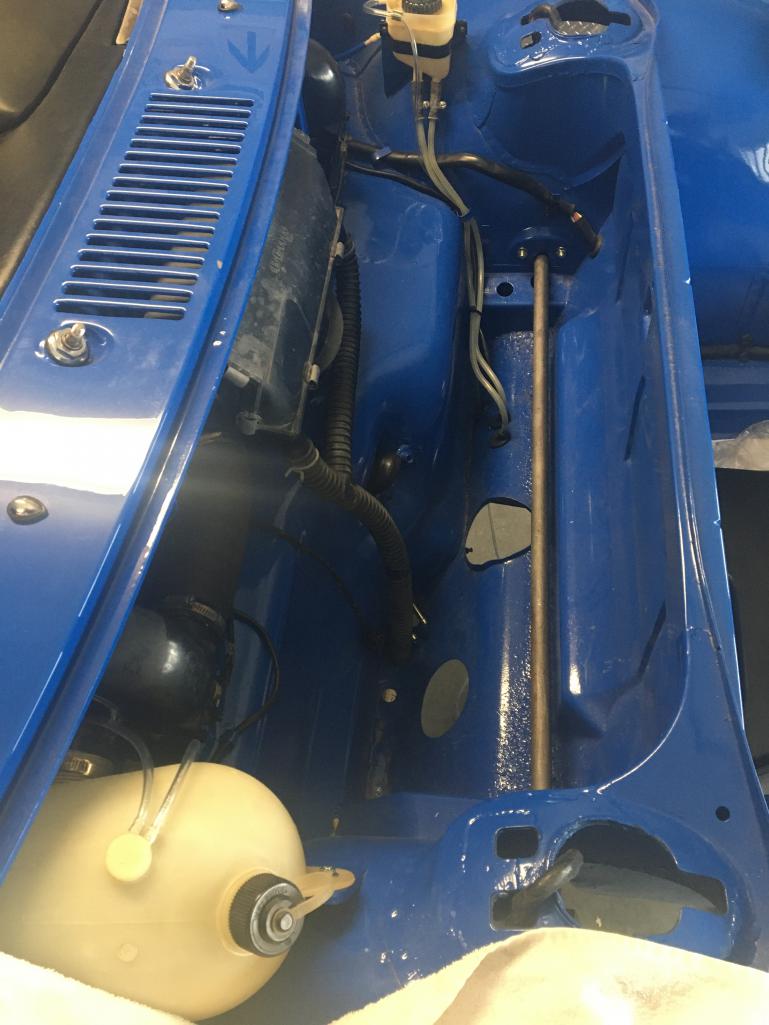 Looks good Lars. A few things. I take your putting in the rack prior to tank install. Looks like you are missing the felt pads for under the tank. Most replace them with rubber or neoprene pads. I posted a pic of my 6 for the location. Also is your steering rack cross member correct? Hard to tell if it's the early/6 style. Post a pic of the t-bar area. It should be flat not round on the end. Don't forget the two rubber side pieces for the tank. They get wedged between the tank and chassis. Attached image(s) 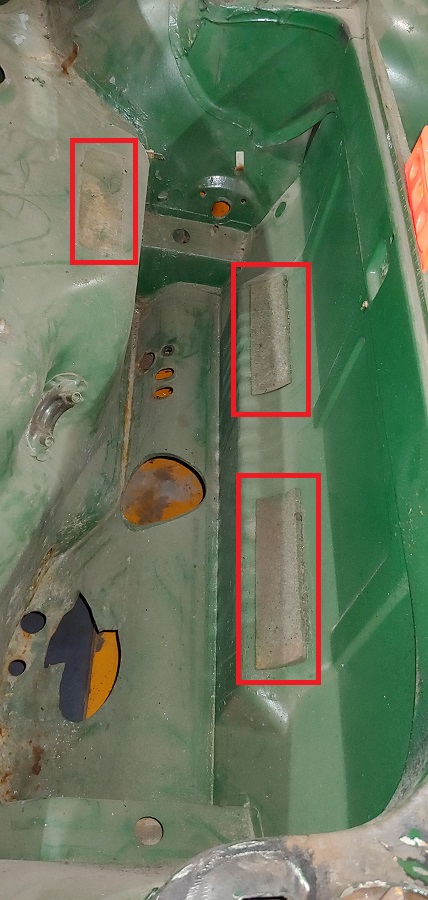 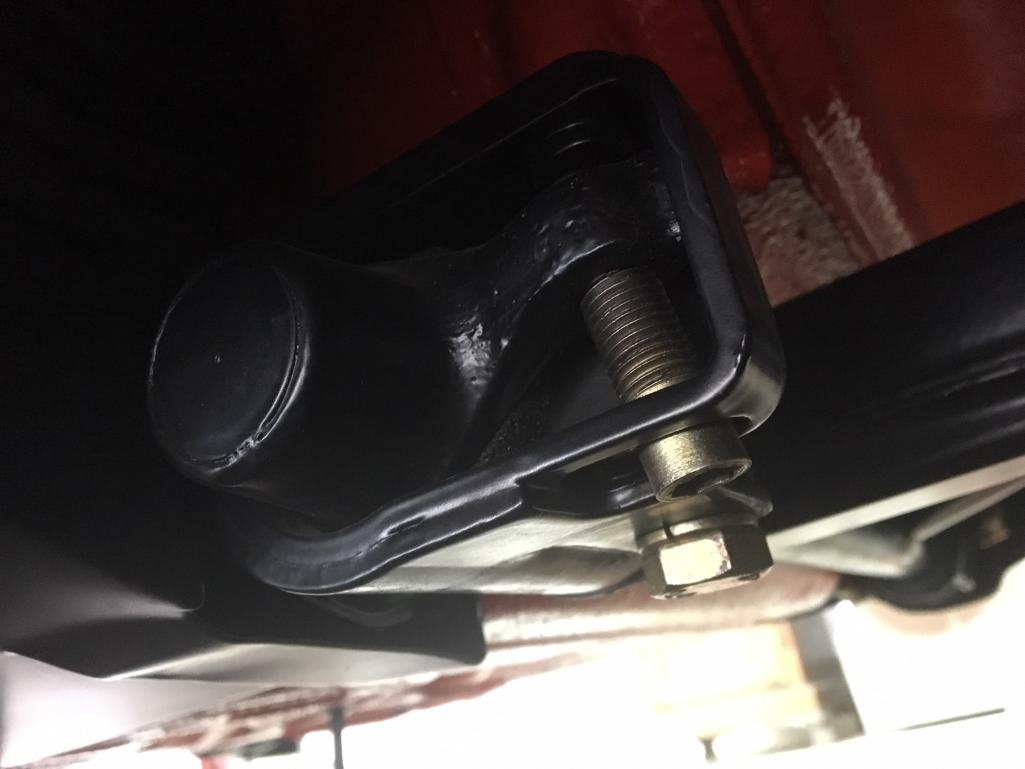
|
| ClayPerrine |
 Apr 20 2021, 09:32 AM Apr 20 2021, 09:32 AM
Post
#518
|
|
Life's been good to me so far.....                Group: Admin Posts: 15,902 Joined: 11-September 03 From: Hurst, TX. Member No.: 1,143 Region Association: NineFourteenerVille 
|
The charcoal canister on a 70 six was only installed on cars originally sold in California. Our 70 six has one, and all the holes for the lines. The lines had been removed by the DAPO's DAPO (Not Rusty). I have a set of lines in my vast plethora of 914 parts, and I will be cleaning them up and installing them. Clay |
| Speedo |
 Apr 20 2021, 09:34 AM Apr 20 2021, 09:34 AM
Post
#519
|
|
Senior Member    Group: Members Posts: 554 Joined: 7-November 06 From: Boulder Member No.: 7,170 Region Association: Rocky Mountains 
|
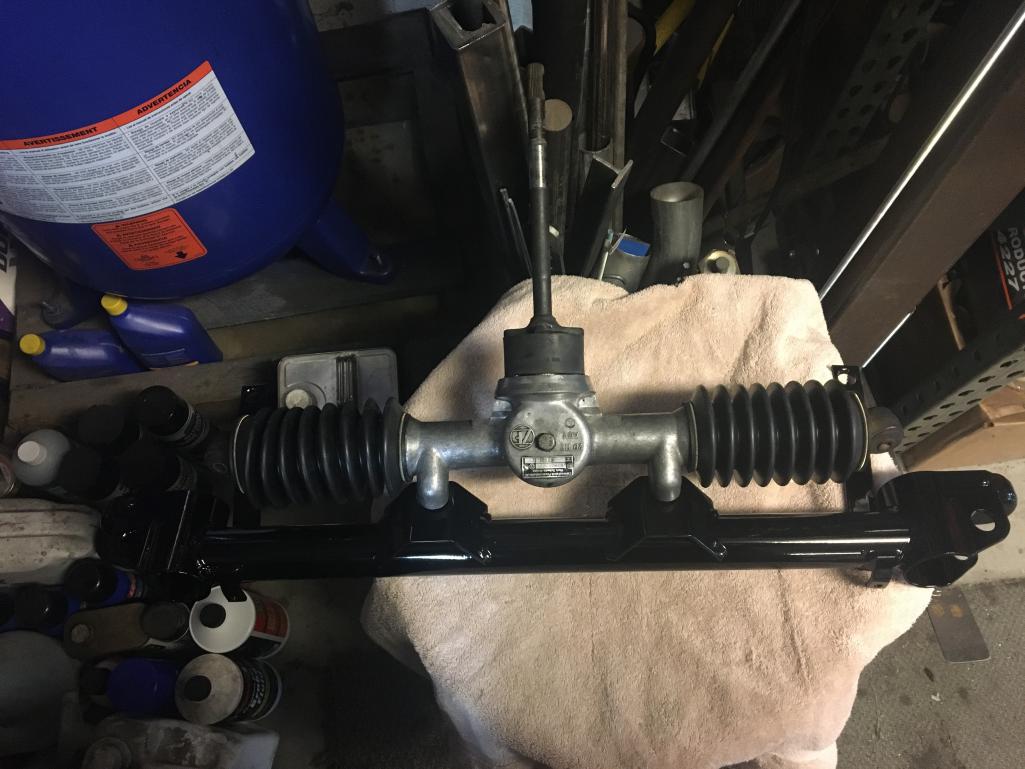
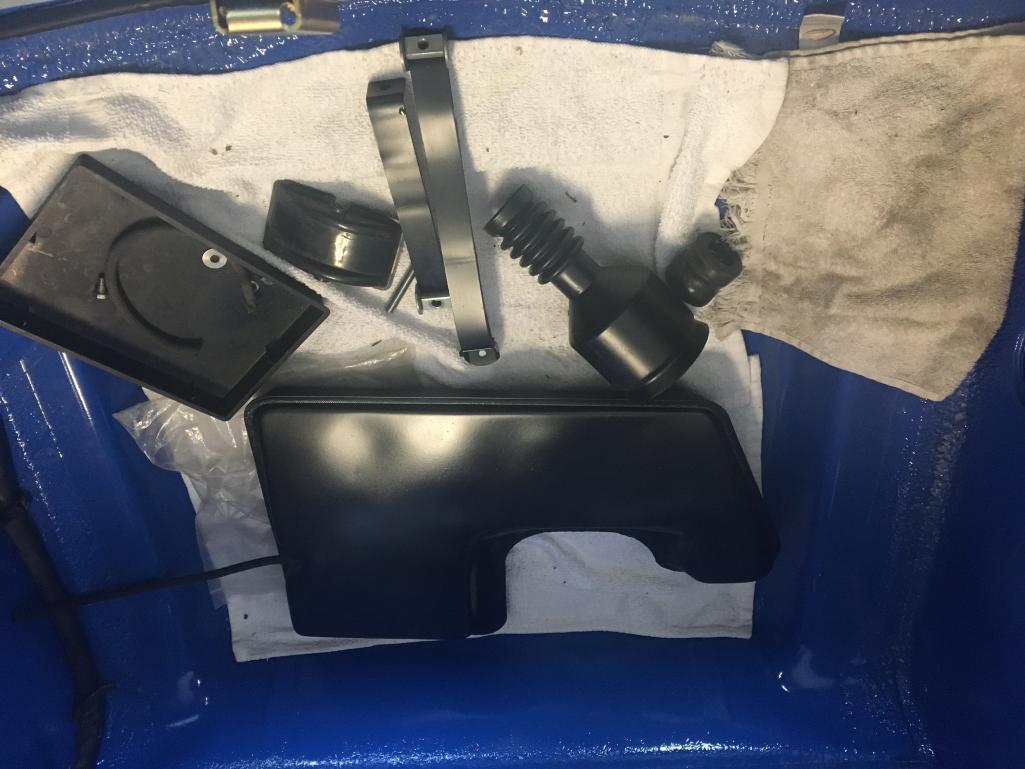
Most if not all of the dirty work in here has been done. Let me know if you see something out of sort or incorrect so I can fix it.  Looks good Lars. A few things. I take your putting in the rack prior to tank install. Looks like you are missing the felt pads for under the tank. Most replace them with rubber or neoprene pads. I posted a pic of my 6 for the location. Also is your steering rack cross member correct? Hard to tell if it's the early/6 style. Post a pic of the t-bar area. It should be flat not round on the end. Don't forget the two rubber side pieces for the tank. They get wedged between the tank and chassis. Luke, Good call on the felt. I have it somewhere...and or rubber to replace is a good idea. I have the rubber wedges for the sides all ready to go. I have one picture here, but I'll get better picks of the crossmember. I removed it from the car with the A arms and struts and immediately took the package to get sandblasted and powder coated. Been stored ever since. If it is not correct the PO must have swapped it out? Car was never hit up front so not sure why it might have been replaced? The pictures will tell the story... 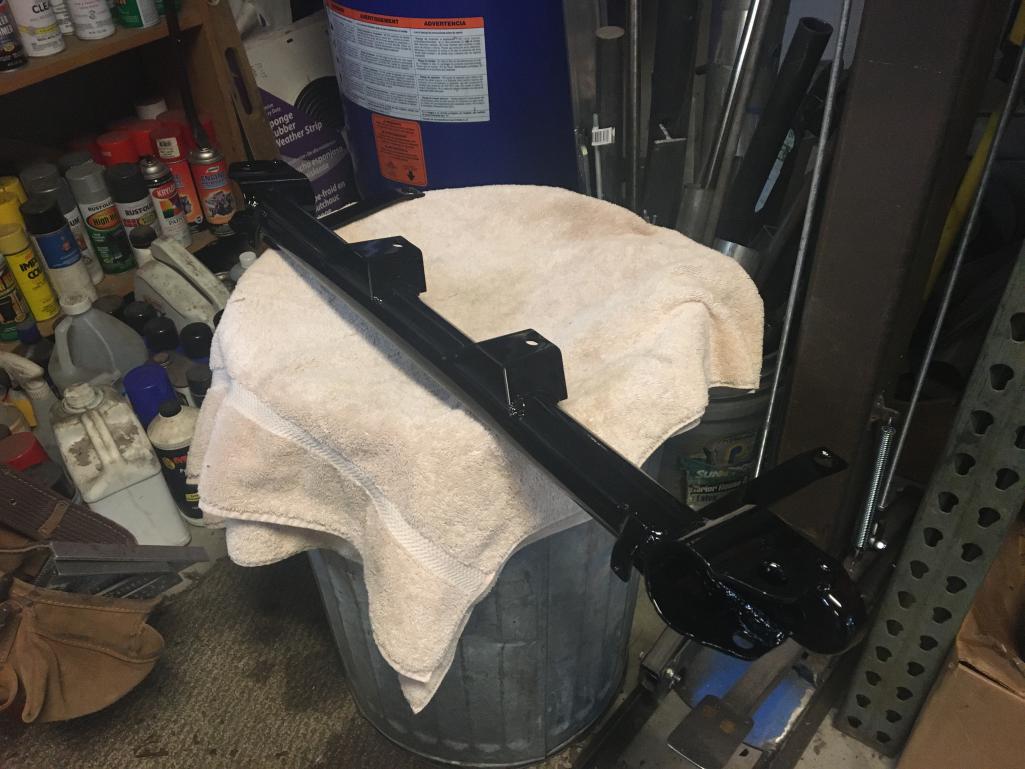 |
| ClayPerrine |
 Apr 20 2021, 09:37 AM Apr 20 2021, 09:37 AM
Post
#520
|
|
Life's been good to me so far.....                Group: Admin Posts: 15,902 Joined: 11-September 03 From: Hurst, TX. Member No.: 1,143 Region Association: NineFourteenerVille 
|
The crossmember looks correct.
If you need pictures of how something goes together on a 70 six, let me know. I can take a picture of ours for you. It is mostly unmolested. Clay |
  |
1 User(s) are reading this topic (1 Guests and 0 Anonymous Users)
0 Members:

|
Lo-Fi Version | Time is now: 24th November 2024 - 06:24 PM |
Invision Power Board
v9.1.4 © 2024 IPS, Inc.


