|
|
|
Porsche, and the Porsche crest are registered trademarks of Dr. Ing. h.c. F. Porsche AG.
This site is not affiliated with Porsche in any way. Its only purpose is to provide an online forum for car enthusiasts. All other trademarks are property of their respective owners. |
|
|

  |

| Montreal914 |
 May 22 2022, 09:42 AM May 22 2022, 09:42 AM
Post
#1
|
|
Senior Member  Group: Members Posts: 1,541 Joined: 8-August 10 From: Claremont, CA Member No.: 12,023 Region Association: Southern California |
OT, but I thought I'd share since these are available for modern H2O Porsche and many other cars that we regularly drive... (IMG:style_emoticons/default/smile.gif)
We recently bought a Honda Fit for our daughter. And, as many 10+year old cars out there, the steering wheel has been damaged by the sun and just wear. So I started looking for a used steering wheel on Ebay but nothing was within my budget. Luckily, I came across an add for a hand-stitched leather steering wheel cover on Amazon. (IMG:style_emoticons/default/idea.gif) After reading the reviews I figured that the $43 price was definitely worth the try. Plus I had experience recovering my 914 steering a few years back, so I knew what I was getting into. (IMG:style_emoticons/default/biggrin.gif) Here is the steering wheel's starting point. Nasty, crumbly, sticky... (IMG:style_emoticons/default/icon8.gif) 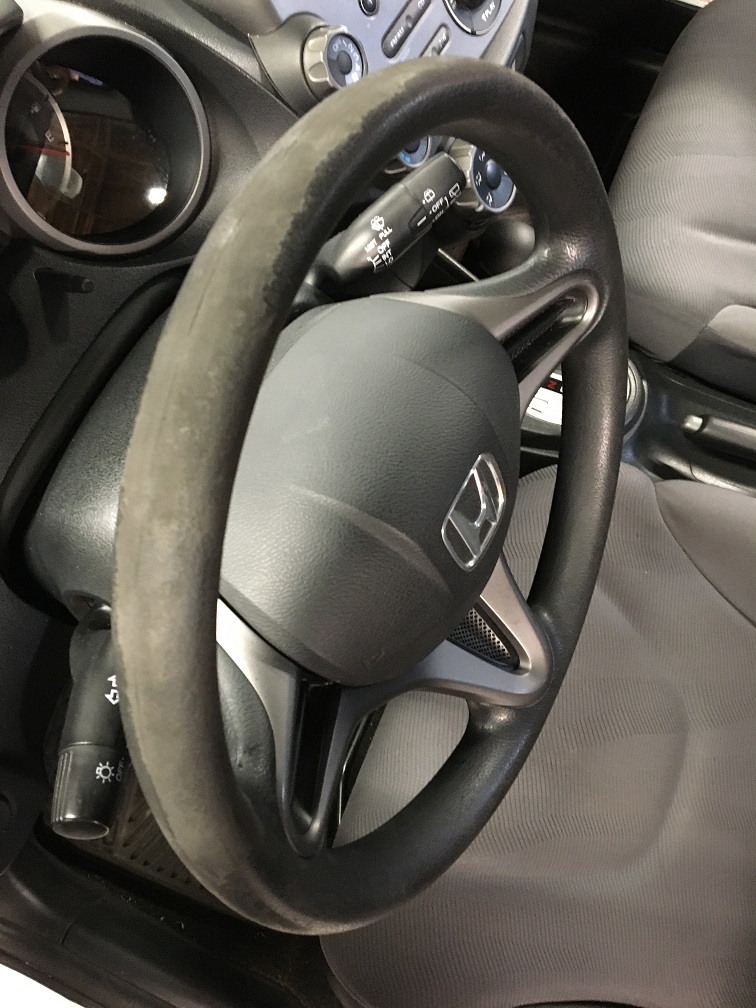 The kit come with all the necessary tools and material needed for the installation. Also, there are a few YouTube videos that give you pointers on how to install it. First, set the leather loop on the steering. I had placed it there and left the car in the sun for a couple of days so the leather had already started to settle. 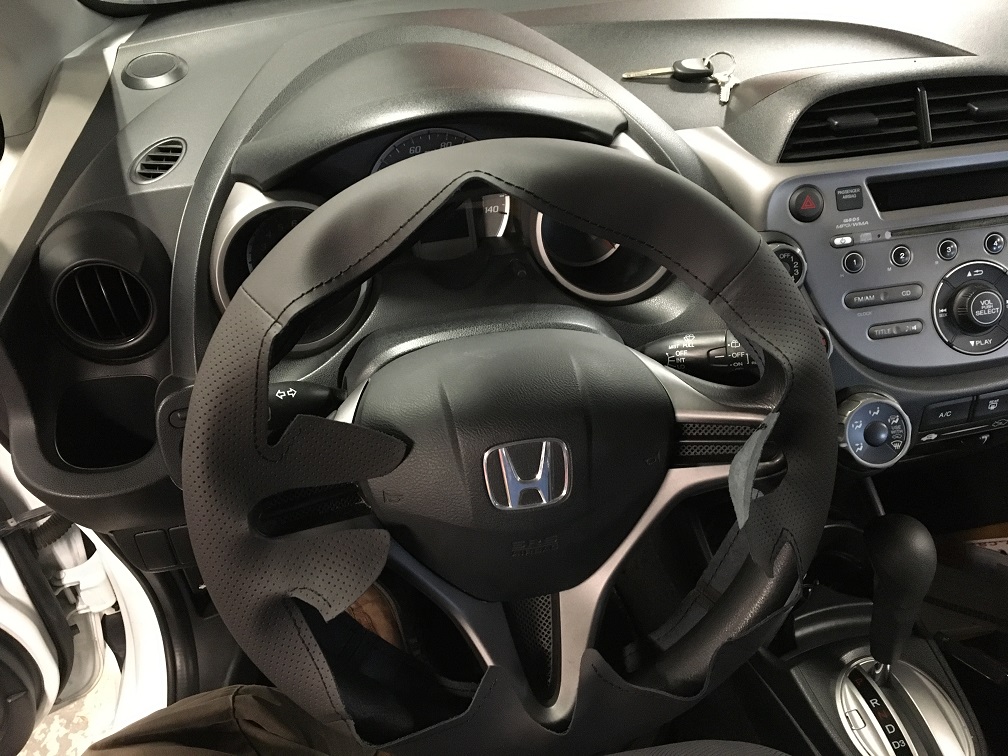 Next step is to stick the supplied double face tape which will hold the cover in place as you work. 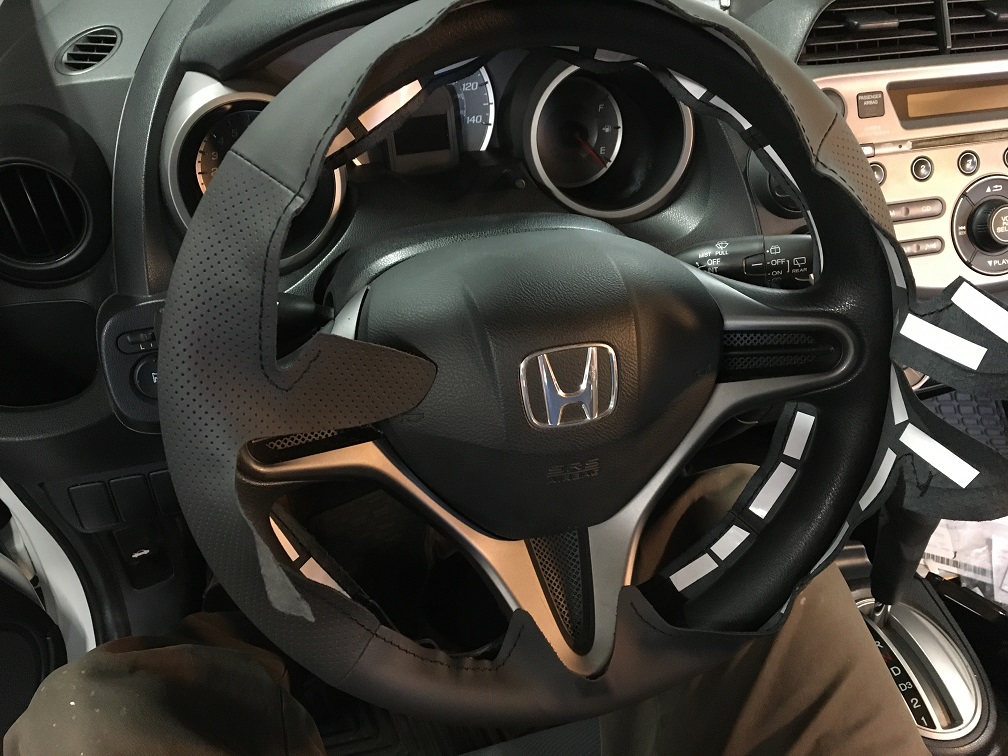 I recommend having tweezers to remove the protective layer (white) even more so in tighter areas. The tape was an big improvement from my original recovering experience of my 914 steering where it was recommended to use spay-on contact cement. The tape is a lot easier to use and is forgiving if you need to peel off a portion and reposition. Conform the leather around the steering wheel making sure the butt joint is on the molding line (center inner line) of the steering. At this point I noticed that some areas would actually be overlapped, which was a concern, but kept on going. This was already very promising! (IMG:style_emoticons/default/smile.gif) 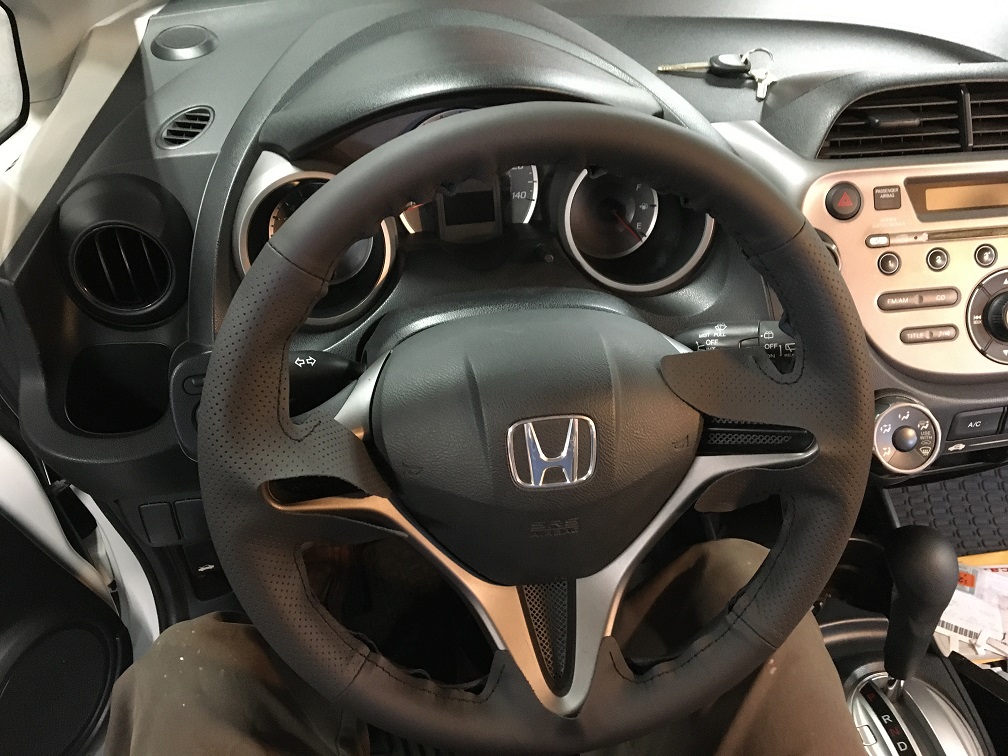 Next step; hiding all of the edges under the various steering trims which will give this installation the factory look. Like anything, patience and small steps will give good results. Better to fold the leather and roll it under the trim by pushing with the provided plastic pry tool. Pushing directly on the leather face to squeeze it in could result in puncturing it. (YouTube video trick) (IMG:style_emoticons/default/popcorn[1].gif) 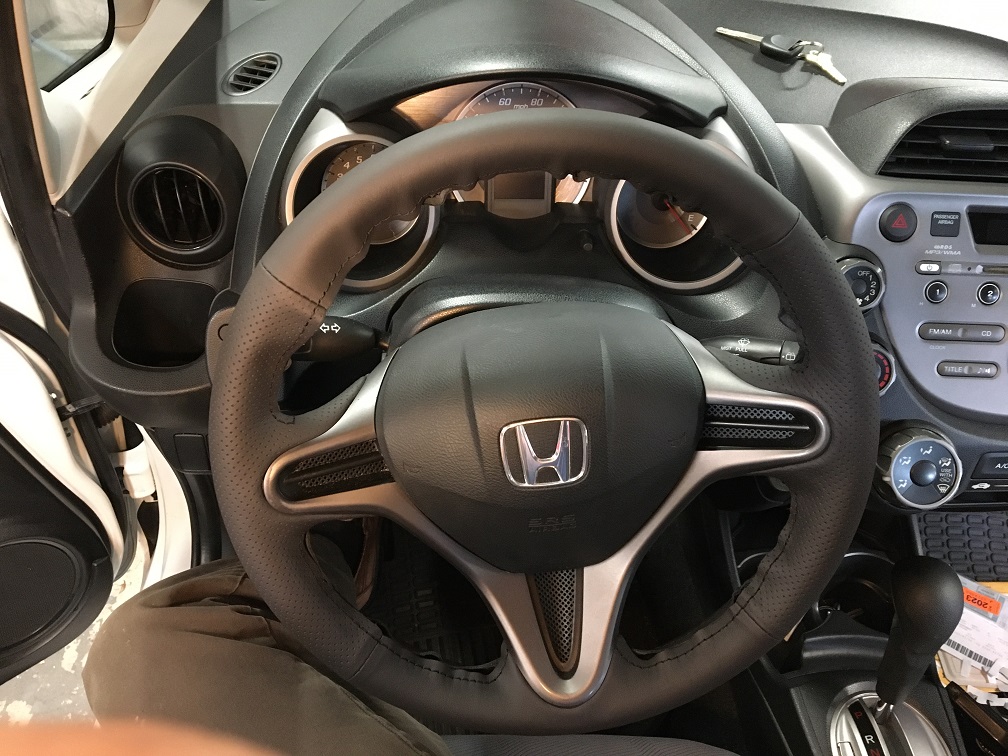 Final step, stitching! (IMG:style_emoticons/default/stirthepot.gif) Unlike the 914 kit where the leather was perforated and required two needles going through the holes in a cross pattern, this cover is easier to deal with as you zigzag with a single thread using the already sewn stitched line along the edge. You thread in each exposed loop and pull. Here is after the first of the three areas to sew. 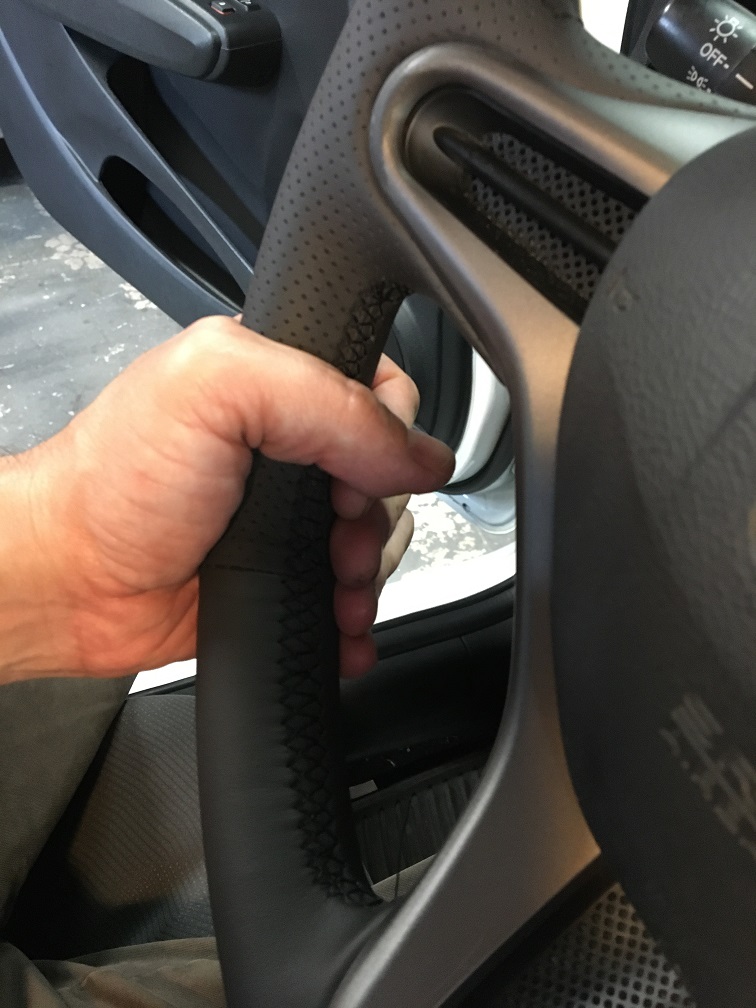 For the overlapping areas, I made sure to consistently use the front lap over the back one. Once you pull each stich tight, the overlap disappeared and the joint was smooth without any bumps. (IMG:style_emoticons/default/sunglasses.gif) More threading (IMG:style_emoticons/default/rolleyes.gif) Up to the final and very rewarding result! (IMG:style_emoticons/default/smilie_pokal.gif) The whole thing took me about 5 hours and didn't require removing the steering wheel or messing up with the airbag. I actually only hit the horn once! (IMG:style_emoticons/default/laugh.gif) Final result: 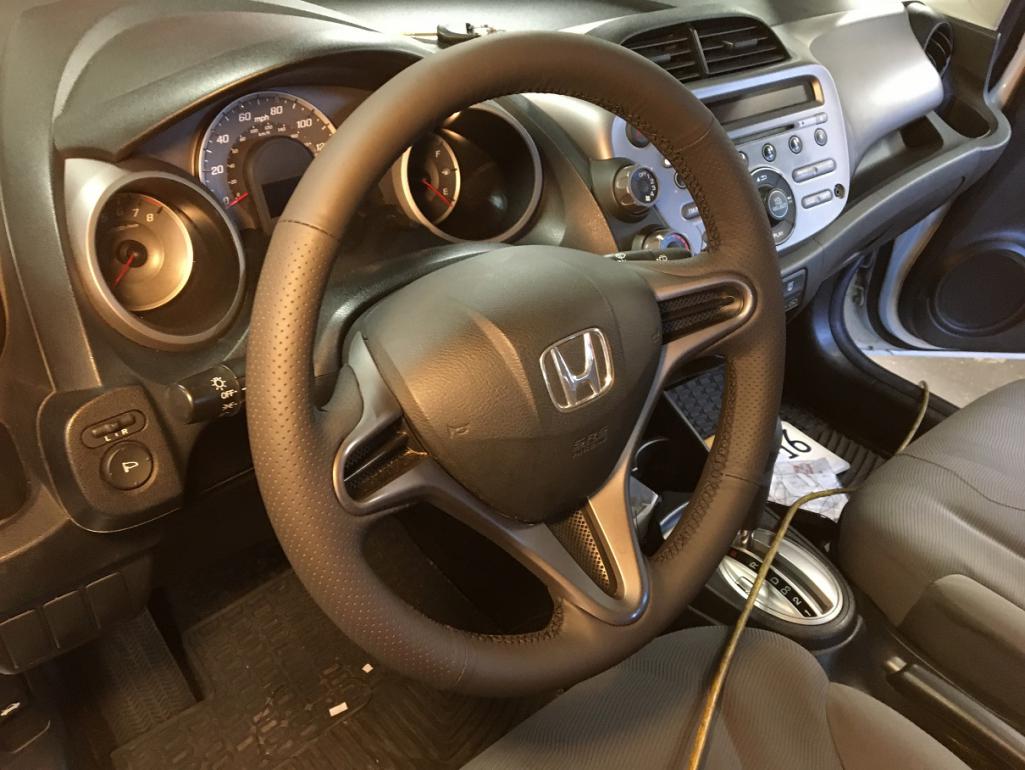 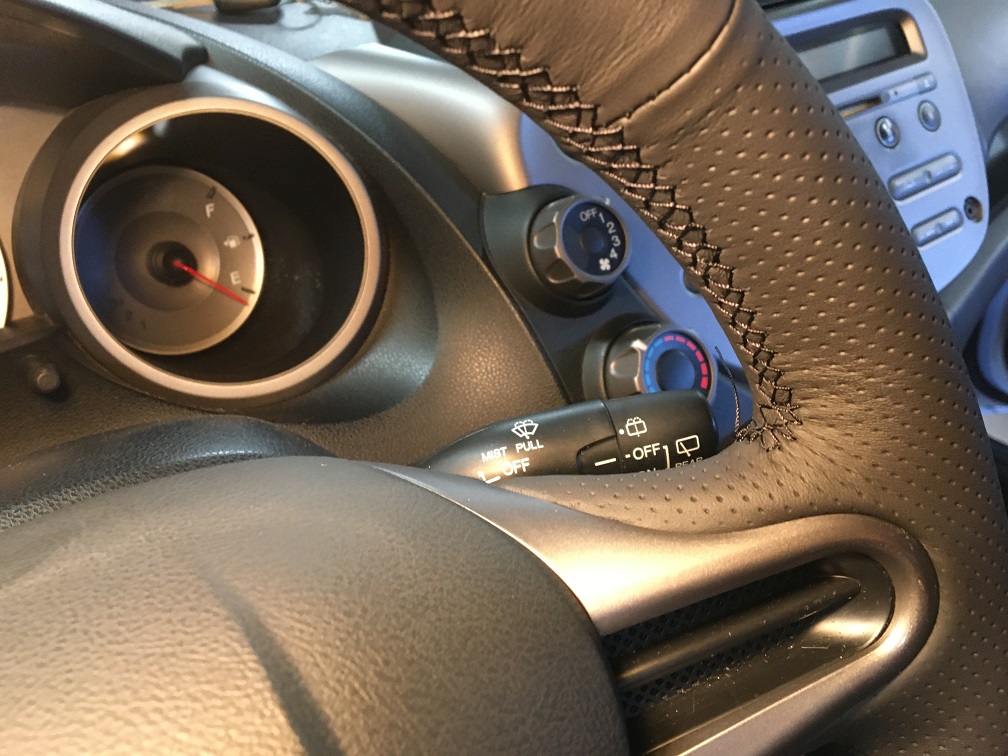 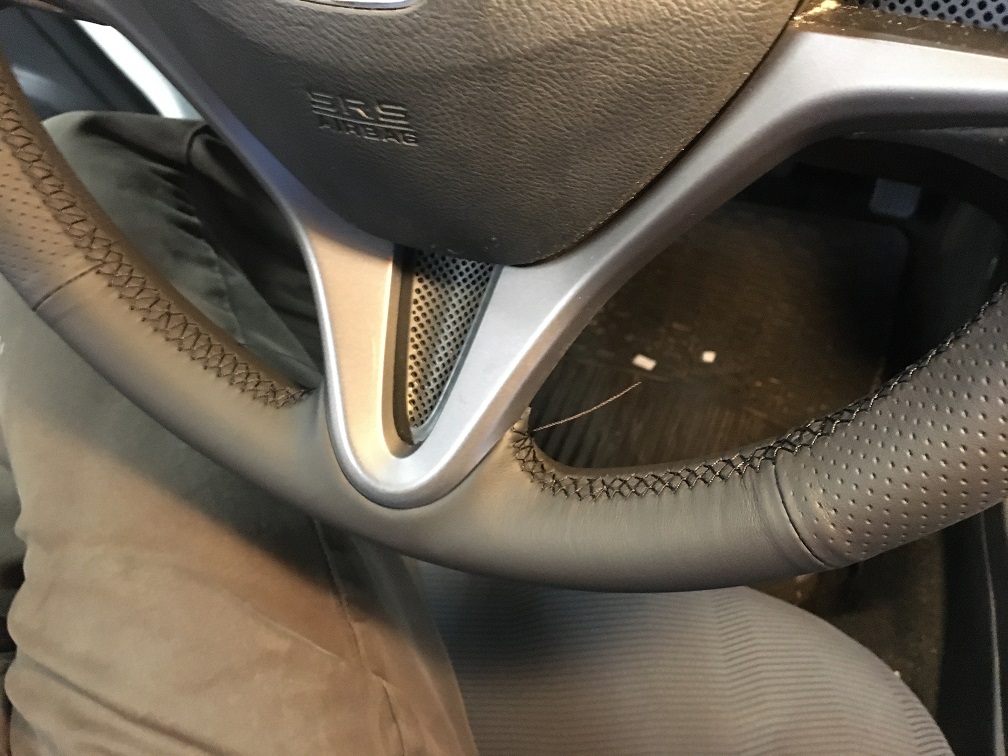 We'll see how durable this cover is over time. This is obviously not a Dallas Steering recover job, but for the price, it feels very nice and I, or actually my daughter, will get to enjoy it every time she goes for a drive. (IMG:style_emoticons/default/driving-girl.gif) As a matter of fact, I am so pleased with the result that I have purchased another kit for my other daughter's Jetta... (IMG:style_emoticons/default/laugh.gif) (IMG:style_emoticons/default/driving-girl.gif) (IMG:style_emoticons/default/driving-girl.gif) More sewing ahead... (IMG:style_emoticons/default/rolleyes.gif) |
   |

 
|
| mepstein |
May 22 2022, 11:50 AM
Post
#2
|
|
914-6 GT in waiting Group: Members Posts: 19,239 Joined: 19-September 09 From: Landenberg, PA/Wilmington, DE Member No.: 10,825 Region Association: MidAtlantic Region |
Looks terrific. (IMG:style_emoticons/default/smilie_pokal.gif)
|
|
|
|
| Cairo94507 |
May 22 2022, 12:31 PM
Post
#3
|
|
Michael Group: Members Posts: 9,714 Joined: 1-November 08 From: Auburn, CA Member No.: 9,712 Region Association: Northern California |
That looks as nice as a factory leather covered wheel (IMG:style_emoticons/default/smilie_pokal.gif) .
|
|
|
|
| JamesJ |
May 22 2022, 01:31 PM
Post
#4
|
|
Member Group: Members Posts: 220 Joined: 30-April 20 From: Sunnyvale, CA Member No.: 24,202 Region Association: Northern California |
Thanks for posting. I was not aware there was a DIY option. I recently bought a Honda Civic and the steering wheel is "hammered" from the sun. I'll give this a try!
|
|
|
|
| Montreal914 |
May 22 2022, 02:13 PM
Post
#5
|
|
Senior Member Group: Members Posts: 1,541 Joined: 8-August 10 From: Claremont, CA Member No.: 12,023 Region Association: Southern California |
QUOTE(JamesJ @ May 22 2022, 12:31 PM)  Thanks for posting. I was not aware there was a DIY option. I recently bought a Honda Civic and the steering wheel is "hammered" from the sun. I'll give this a try! Right! That is where I was until I found the cover. (IMG:style_emoticons/default/idea.gif) These two videos show the same procedure, but the second one shows how not to poke trough the leather as you tuck it under the trim. https://www.amazon.com/vdp/1c184aa996324651...ef=dp_vse_ibvc0 https://www.youtube.com/watch?v=uQQulN1n7S4 Good luck! (IMG:style_emoticons/default/smile.gif) |
|
|
|
|
1 User(s) are reading this topic (1 Guests and 0 Anonymous Users)
0 Members:

|
Lo-Fi Version | Time is now: 25th April 2024 - 09:33 PM |
Invision Power Board
v9.1.4 © 2024 IPS, Inc.